
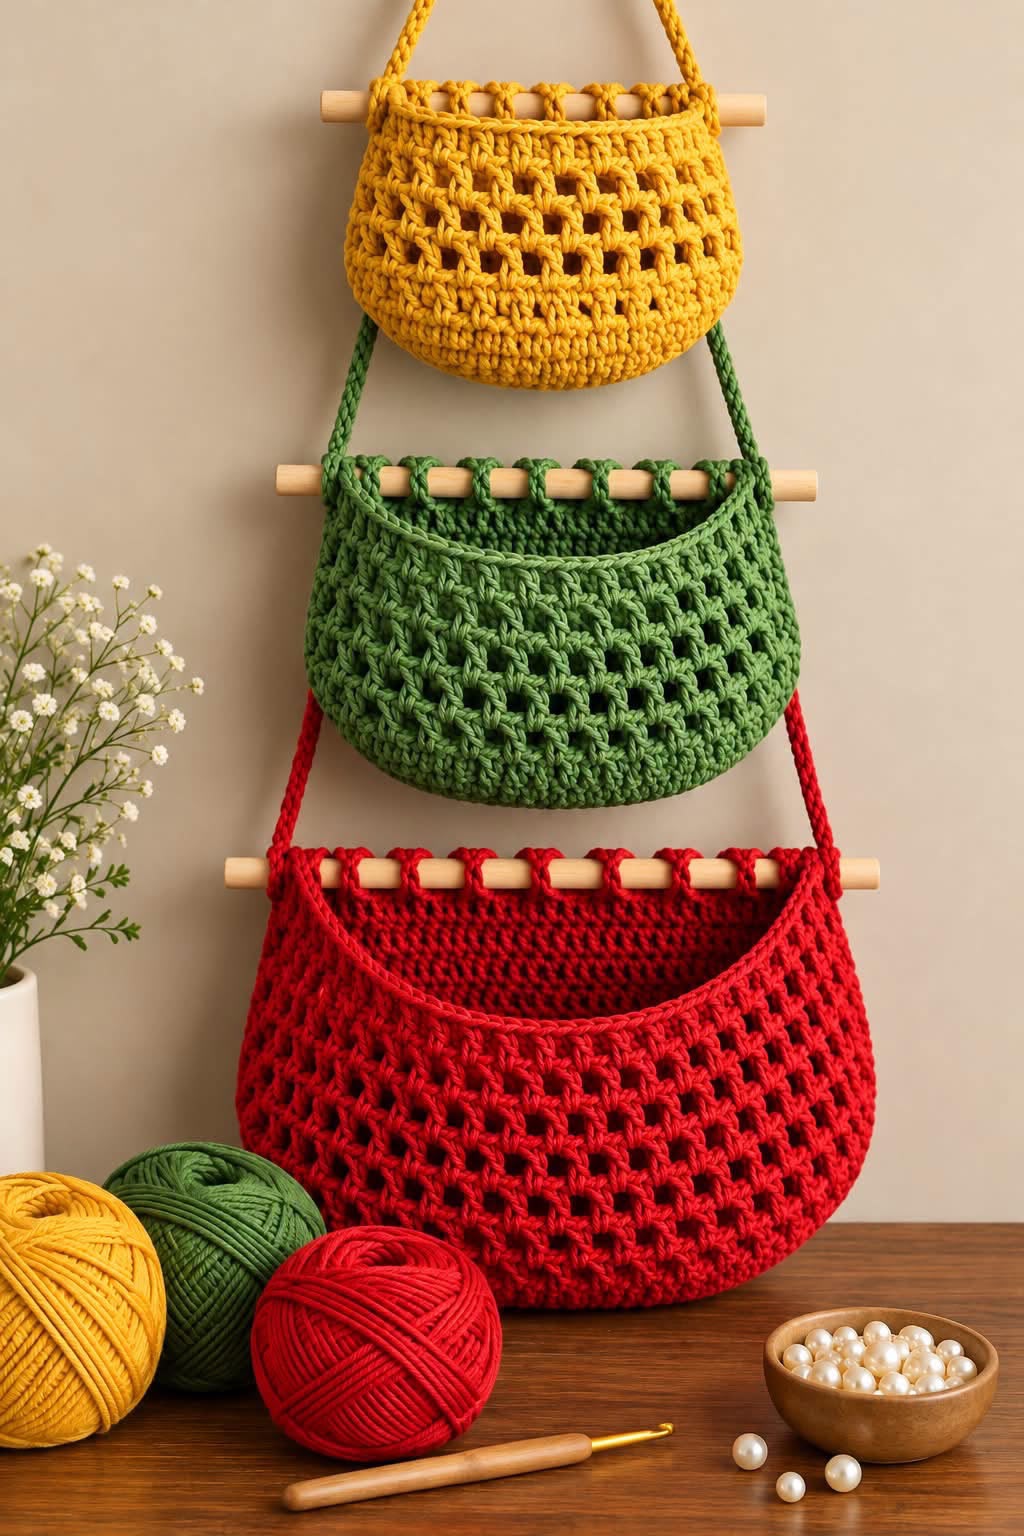
Overview & Design Inspiration
There is something deeply satisfying about creating practical home decor that clears clutter while filling your space with handcrafted warmth. The Crochet Wall Organizer Pattern transforms overlooked vertical spaces into purposeful art, bringing tactile beauty and smart utility together in one delightful project.
Whether you need a dedicated landing spot for mail in the entryway or a chic way to store notions in your craft corner, this organizer delivers effortless charm. It strikes the perfect balance between rustic bohemian texture and clean, modern function, making it an instant favorite for makers everywhere.
Materials & Recommended Supplies
- Yarn: Worsted-weight (Medium #4) 100% cotton or sturdy cotton-blend yarn (approx. 250–350 yards), chosen for minimal stretch and crisp stitch definition.
- Crochet Hook: 4.0 mm (US G/6) or 4.5 mm (US 7) hook, sizing down slightly to create a dense, rigid fabric.
- Hanging Support: 12-inch to 16-inch wooden dowel rod (approx. 1/2-inch diameter), natural driftwood branch, or sturdy metal suspension ring.
- Notions: Locking stitch markers to align pocket edges perfectly before joining.
- Finishing Tools: Sharp craft scissors, a steel tapestry needle for seaming and weaving in ends, and a flexible measuring tape.
Essential Techniques & Stitch Highlights
Structure is everything when designing vertical storage, which makes dense foundational stitches your best allies. Compact stitches like traditional single crochet, extended single crochet, or modified half double crochet work wonders to create a firm, opaque base that resists stretching over time.
To keep the organizer visually engaging, pockets can highlight contrasting textures such as bobble stitches, delicate ribbing, or clean linen stitch. These textural variations not only look stunning on display, but they also provide extra structural integrity right where you need it most.
Working in neat, back-and-forth rows ensures crisp edges that hang completely flat against your wall. Mastering consistent tension throughout each row guarantees your pockets will sit flush and hold their shape, even when loaded with daily essentials.
Construction & Assembly Highlights
The journey begins with the main back panel, which is worked flat from the bottom up to serve as the canvas for your pockets. Crafting this base first allows you to lay out your storage compartments and visualize the final balance before stitching anything down permanently.
Pockets can be crocheted as separate modular pieces and positioned precisely where your personal items fit best. Once pinned securely with stitch markers, they are attached to the back panel using neat slip stitch joins or whip stitches worked with a sturdy tapestry needle.
The project concludes by securing the top edge directly over your wooden dowel or creating reinforced hanging loops. Adding a simple braided or twisted cord to the dowel ends gives your organizer a polished, balanced hang that is ready for instant display.
Customization & Styling Ideas
One of the greatest joys of this pattern is customizing the pocket dimensions to suit your specific lifestyle. Divide a large pocket into slender sleeves for crochet hooks and pens, or leave wide, deep pouches to cradle notebooks, mail, or cozy skeins of yarn.
Play with color palettes that enhance your room’s aesthetic, pairing warm neutrals like cream, sand, and taupe for a serene Scandinavian vibe. If you prefer a bold statement piece, opt for rich terracotta, forest green, or modern retro color blocking.
Think beyond standard craft storage by styling this piece in a nursery for baby lotions and swaddles, or in the bathroom for brushes and rolled washcloths. Adding wooden beads or playful fringe along the bottom hem provides the perfect final touch of artisanal flair.
Pro Tips for Flawless Results
- Size Down Your Hook: Use a hook one to two sizes smaller than recommended on the yarn label to create an ultra-tight, non-sagging fabric weave.
- Wet Block Every Piece: Steam or wet block your back panel and pockets before seaming to ensure razor-straight borders and perfectly squared corners.
- Pin Before You Sew: Secure your pockets with several locking stitch markers across all edges to prevent shifting or bunching while you seam them down.
- Reinforce Heavy Pockets: If you plan to store heavier items like scissors or full bottles, sew a discreet running stitch through the pocket base using matching sewing thread for invisible strength.
Frequently Asked Questions
What is the best yarn choice to prevent stretching?
Non-mercerized 100% cotton yarn or a firm linen-cotton blend is the gold standard for wall organizers. Unlike acrylic or animal fibers, cotton has virtually no bounce or elasticity, ensuring your organizer retains its neat shape under weight.
Is this project suitable for ambitious beginners?
Absolutely! The project relies almost entirely on basic beginner stitches worked flat, with no complicated shaping or working in the round required. The only new skill a novice might encounter is seaming panels together, which is simple to learn and practice.
How do I clean and care for my crochet wall organizer?
For everyday upkeep, gently dust the organizer with a lint roller or light vacuum attachment. If it needs a deeper wash, slide out the removable wooden dowel and hand wash the crochet fabric in cool water, reshaping and laying it flat to dry.
Watch the Full Step-by-Step Video Tutorial
Prefer visual guidance? Follow along with the complete video tutorial below at your own pace: