
Overview & Design Inspiration
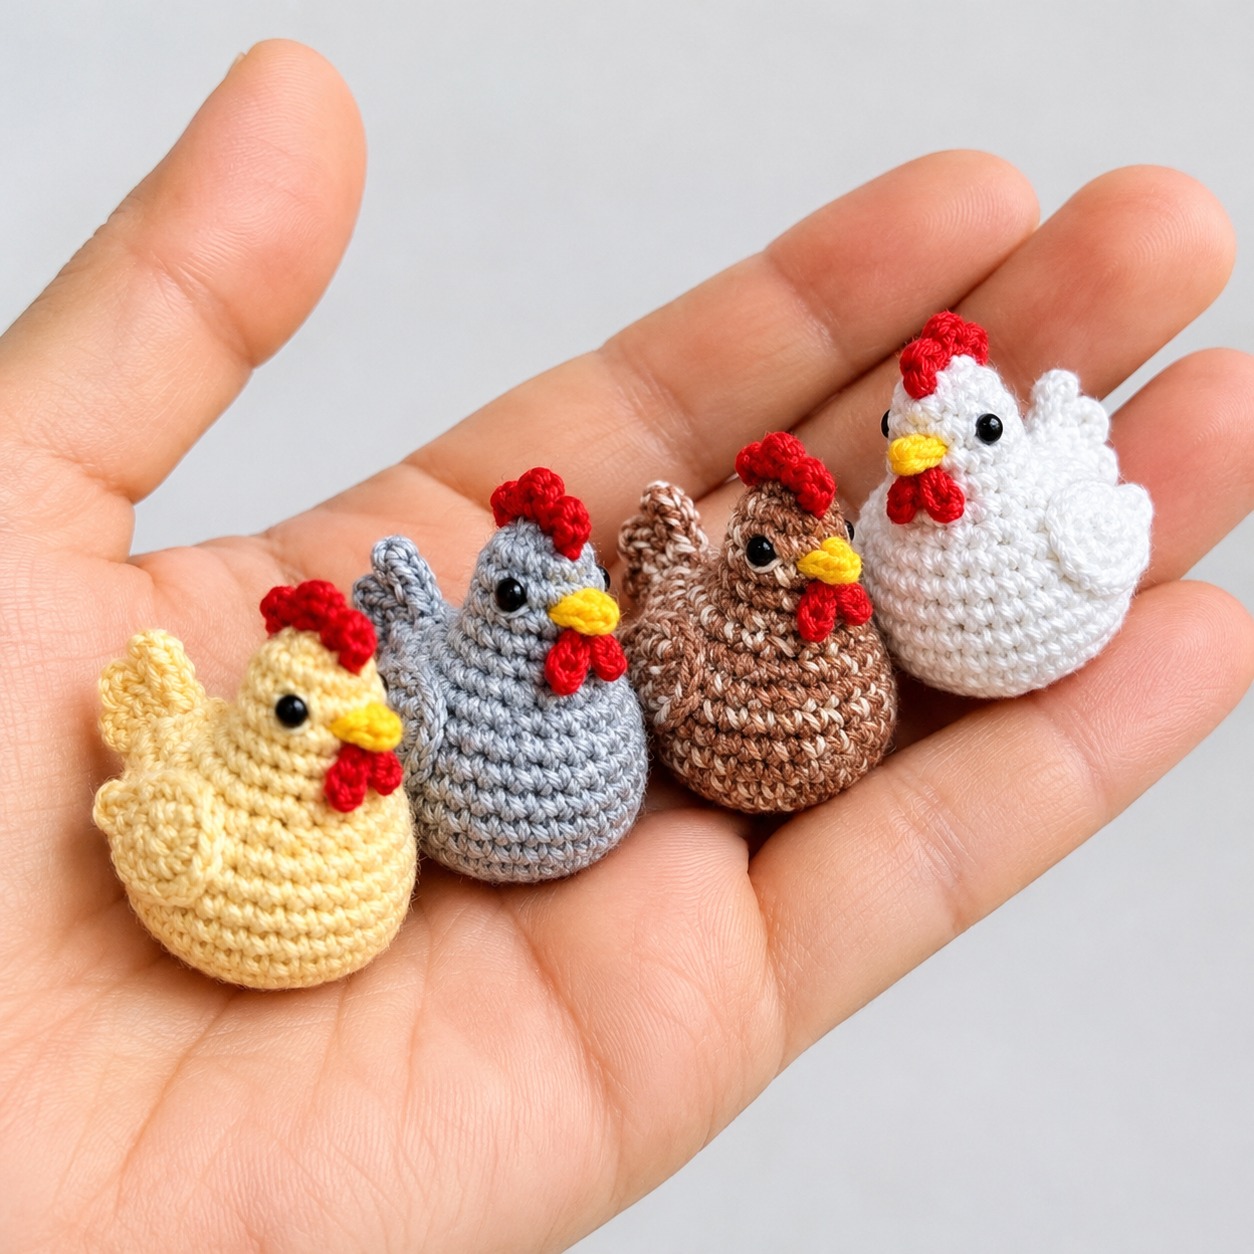
There is something irresistible about tiny, handmade creations that bring big personality in a miniature package. The Crochet Mini Hen Amigurumi Pattern captures the rustic charm of farmyard life with a plump body, bright red comb, tiny wings, and a cheery little beak.
Whether you want to clear out small scraps of yarn from your stash or craft a flock of colorful friends, these sweet little chickens are pure joy to work up. Their compact size makes them rewarding for quick craft sessions, leaving you with an adorable finished piece in just an afternoon.
Materials & Recommended Supplies
- Main Body Yarn: Lightweight cotton or cotton-blend yarn (Fine/Sport or DK weight) in soft yellow, cream, warm brown, or light gray.
- Accent Yarns: Small scraps of vibrant red yarn for the comb and wattles, plus golden yellow yarn for the beak.
- Crochet Hook: 2.0 mm to 2.5 mm (US B-1 to C-2), choosing a size slightly smaller than usual to keep stitches dense.
- Notions & Tools: High-loft polyester fiberfill stuffing, stitch markers, yarn needle, embroidery scissors, and black embroidery thread or 4mm safety eyes.
Essential Techniques & Stitch Highlights
This pattern relies on foundational amigurumi techniques that every crocheter will love practicing. The project starts with a magic ring, establishing a tightly closed base that keeps stuffing from escaping right from the very first stitch.
You will work in continuous spiral rounds using standard single crochet stitches, increases, and smooth invisible decreases. Because there are no joined seam lines at the end of rounds, your little hen maintains a flawless, smooth fabric all the way around.
Simple surface stitching and basic assembly techniques bring the facial features to life. A few neat embroidered stitches or quick yarn joins turn simple geometric shapes into an expressive, character-filled little bird.
Construction & Assembly Highlights
The beauty of this mini hen lies in its seamless, integrated construction. Starting at the bottom base, you will gradually build outward to form a wide, stable bottom before gently tapering inward toward the neck and head in one continuous piece.
Working the body and head as a single unit eliminates unnecessary sewing, making the project exceptionally beginner-friendly. Once the main shape takes form, you will add light stuffing, focusing on giving the lower body enough weight to stand upright on its own.
Finally, you will craft tiny accent pieces—such as the small wings, bright red comb, and neat beak—and sew them into place. With just a few quick stitches, your hen adopts a uniquely cheerful personality all its own.
Customization & Styling Ideas
One of the best parts of this pattern is playing with color palettes to mimic real chicken breeds or playful fantasy birds. Try classic white and red for a traditional barnyard look, speckled gray for a Plymouth Rock aesthetic, or pastel shades for spring decor.
These mini hens make delightful, versatile additions to your handmade collection. Nestle a group of them into decorative Easter baskets, turn them into whimsical keychains, or add a loop to hang them as charming tree ornaments.
You can also experiment with yarn textures! A slightly brushed cotton yarn or a fine fuzzy blend adds realistic downy warmth, while small French knots embroidered on the body simulate speckled feather patterns.
Pro Tips for Flawless Results
- Maintain Tight Tension: Use a small hook size to create tight single crochets so your fiberfill stuffing remains completely hidden inside.
- Always Use a Stitch Marker: Because spiral rounds have no visible seams, placing a marker in the first stitch of every round is crucial for accurate stitch counts.
- Stuff Gradually and Lightly: Add tiny tufts of stuffing as you taper the neck, shaping the bottom flat so your hen sits upright without rolling over.
- Embroider Eyes Early: If you prefer embroidered eyes over safety eyes, stitch them onto the face before completely closing the top of the head for easier thread control.
Frequently Asked Questions
Is this mini hen pattern suitable for complete beginners?
Yes, this project is wonderfully beginner-friendly! It uses basic single crochet stitches, straightforward shaping, and simple continuous rounds that are easy to master with a little practice.
What type of yarn works best for amigurumi chickens?
Lightweight cotton yarn is the top choice because it gives clear stitch definition and holds its shape exceptionally well. Acrylic yarn also works wonderfully if you maintain tight stitch tension throughout the project.
How long does it take to finish one miniature chicken?
Due to its tiny size—measuring around 2 to 2.5 inches tall—most crocheters can easily complete a mini hen in about one to two hours, making it ideal for fast, satisfying crafting.
Watch the Full Step-by-Step Video Tutorial
Prefer visual guidance? Follow along with the complete video tutorial below at your own pace: