
Overview & Design Inspiration
Hello, my crafty friends! There is nothing quite like decking the halls with handmade holiday treasures, and this little project is sure to steal your heart. Combining the nostalgic warmth of traditional gingerbread cookies with a wonderfully playful construction, these handmade ornaments bring instant cheer to any Christmas tree.
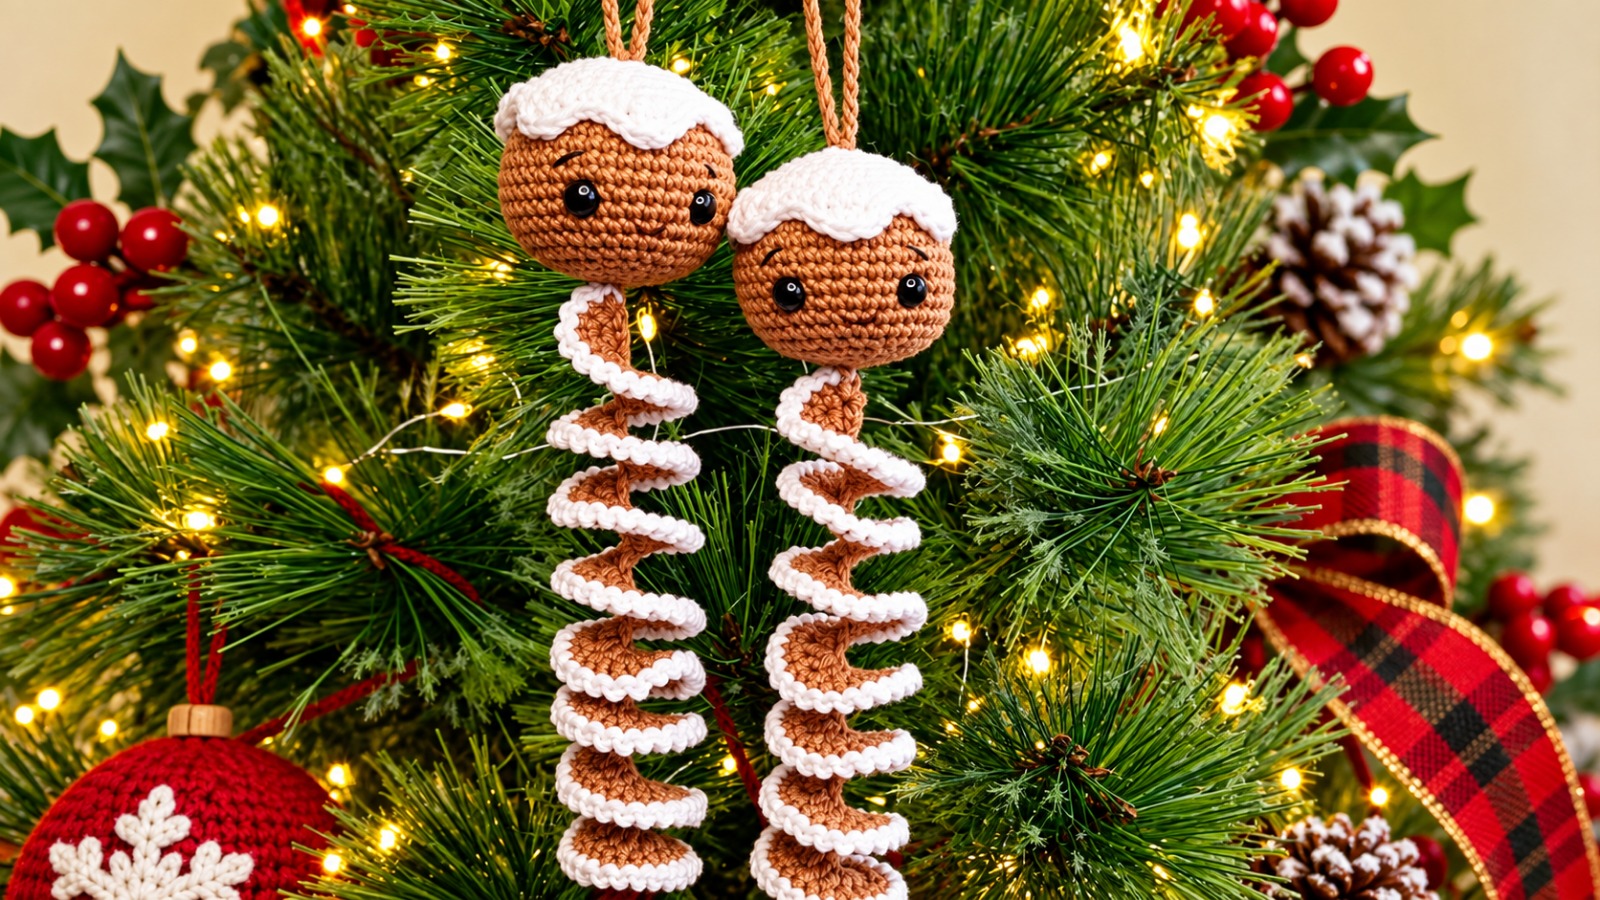
Inspired by classic holiday treats, this design features a sweet, round head complete with piped icing, flowing right into a whimsical, bouncy spiral body. They work up surprisingly fast, making them a fantastic way to use up those precious scraps of yarn lingering in your stash while creating heirloom-quality holiday decor!
Materials & Recommended Supplies
Gathering your supplies is half the fun! To achieve that classic baked-cookie look, you will want to choose the right fibers and notions for a neat, sturdy finish.
- Yarn: Lightweight cotton or cotton-blend yarn in gingerbread brown and bright white. Cotton provides fantastic stitch definition and helps the spiral maintain its bouncy shape.
- Crochet Hook: 2.5 mm to 3.5 mm (US C/2 to E/4), depending on your personal tension and chosen yarn weight. A smaller hook ensures tight stitches so your stuffing stays hidden.
- Notions: Fiberfill stuffing, a yarn needle, scissors, and locking stitch markers.
- Facial Details: Embroidery floss or scrap yarn for stitching a sweet face. Embroidered eyes are especially recommended if your ornaments will hang near little hands or furry family members!
Essential Techniques & Stitch Highlights
Bringing this project to life is an absolute joy because it relies on simple techniques that yield impressive results. The round head is worked using classic amigurumi principles, beginning with an adjustable magic ring and building up a smooth, spherical shape through steady increases and decreases.
The real magic happens in the body, which uses a clever geometric trick rather than traditional shaping. By working multiple stitches—such as half double crochets or double crochets—into a single foundation chain, the fabric naturally forces itself into a delightful, bouncy curl. Edging this spiral with crisp white stitches gives the illusion of freshly piped holiday icing!
Construction & Assembly Highlights
Constructing your holiday ornament is a wonderfully satisfying journey from flat yarn to 3D festive art. You will begin by crocheting the rounded head in continuous rounds, pausing midway to gently stuff it with fiberfill for a lovely, plush feel before closing it up.
Next comes the adorable white icing cap, finished with gentle scalloped edges that look like dripping frosting, sewn right onto the crown. Once you attach a sturdy hanging loop, you will work the long foundation chain for the body, watching it instantly twist into a spiral as you pack those stitches in. Finally, edge the spiral with white yarn and attach it to the head for a finished piece full of personality!
Customization & Styling Ideas
One of the best things about holiday crafting is making each piece uniquely yours! Feel free to play with the length of your foundation chain to create everything from short, bouncy spirals to long, dramatic tree danglers.
While traditional gingerbread brown is a classic choice, you can easily experiment with pastel pinks for a sugar-cookie vibe, rich chocolates, or festive peppermint reds and greens. Beyond the Christmas tree, these charming ornaments make wonderful package toppers, garland accents, or sweet handmade gifts for teachers and neighbors.
Pro Tips for Flawless Results
- Maintain Firm Tension: Keep your stitches nice and tight, especially on the head, to prevent the fiberfill stuffing from peeking through the gaps.
- Don’t Overstuff: Add just enough stuffing to create a smooth, pleasant round shape without stretching your crochet stitches out of proportion.
- Embrace the Twist: Let the body curl naturally as you crochet; trying to flatten the strip while working will only fight the magic of the design!
- Test the Balance: Always hold your finished ornament by its hanging loop before final assembly to ensure the head hangs straight and balanced.
Frequently Asked Questions
Can I use acrylic yarn instead of cotton?
Absolutely! While cotton gives wonderful stitch definition and holds a crisp spiral shape, acrylic yarn produces a softer, lighter ornament. Just be sure to use similar weights for both your brown and white yarn so the proportions stay balanced.
How do I stop the head from leaning to one side when hung?
The secret is stitch placement! When attaching your hanging loop at the upper center of the head, make sure it is centered directly over your starting magic ring. Doing a quick hang-test before securing all your ends ensures it will sit perfectly straight on the tree.
What if I don’t know how to use a magic ring?
No worries at all! You can easily substitute the magic ring by chaining 2 and working your initial stitches into the second chain from your hook. It achieves the exact same closed-center result!
Watch the Full Step-by-Step Video Tutorial
Prefer visual guidance? Follow along with the complete video tutorial below at your own pace: