
Overview & Design Inspiration
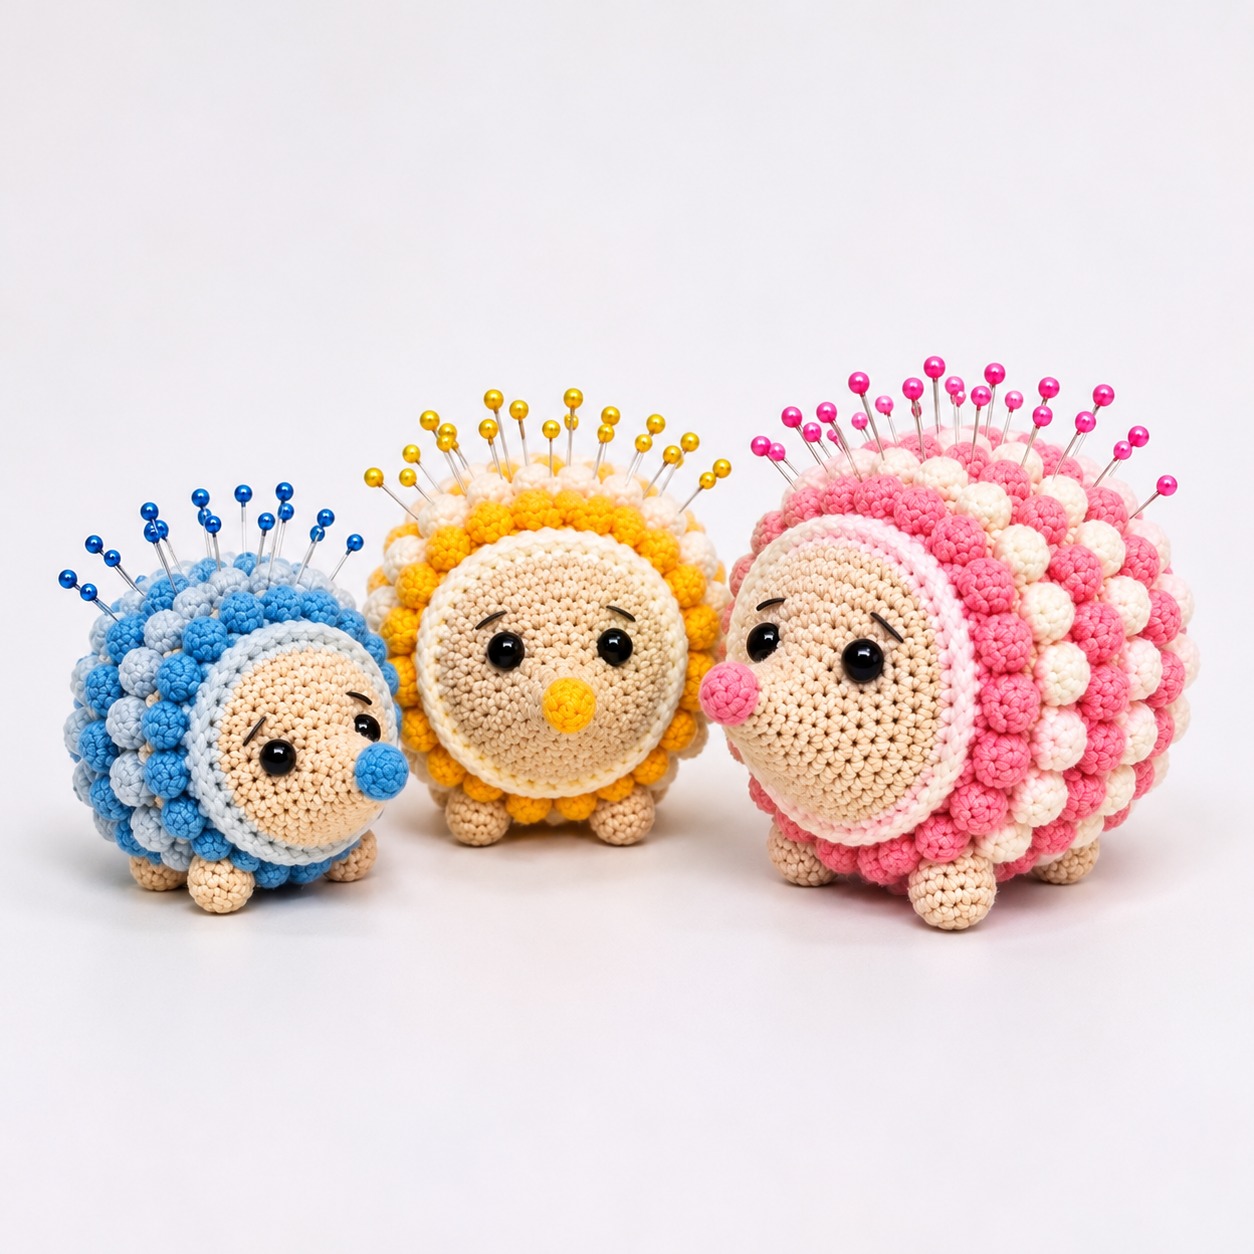
There is something irresistible about a craft project that bridges the gap between pure cuteness and practical functionality. The Crochet Hedgehog Pincushion Amigurumi brings instant joy to any sewing table, combining a sweet embroidered face with a delightfully textured, pin-ready back.
Whether you are looking to tidy up your sewing desk or make a thoughtful handmade gift for a quilting friend, this little woodland creature is a joy to create. With its contrasting smooth snout, cozy bobble spines, and tiny feet, each hedgehog you stitch radiates handmade personality.
Materials & Recommended Supplies
- Yarn: Medium-weight (Category 4 / Worsted or DK) 100% cotton yarn in natural beige (for the face and feet) and 2 coordinating accent colors for the body and spines.
- Crochet Hook: 3.0 mm (US C-2 or D-3) to ensure tight, firm stitches that hold stuffing securely.
- Stuffing: Dense wool roving, crushed walnut shells in a pouch, or tightly packed high-density polyester fiberfill.
- Notions: Dark embroidery thread for eyes and nose, yarn needle, stitch markers, and sharp scissors.
Essential Techniques & Stitch Highlights
This pattern makes wonderful use of basic amigurumi building blocks combined with rich dimensional texture. Working in continuous spiral rounds keeps your joins invisible and your hedgehog’s body smooth and structural.
The signature feature of this pattern is the bobble stitch, which forms the tactile “spines” across the hedgehog’s back. By working clusters of partially completed double crochets in single stitches, you create plush bumps that pop out on the exterior fabric to securely hold your sewing pins.
Mastering the magic ring technique allows you to start the snout and body with a perfectly seamless, tight center. Seamless increases and invisible decreases keep the overall shape rounded, plump, and stable on your flat work surface.
Construction & Assembly Highlights
The project begins with constructing the rounded main body using continuous rounds. As you progress from the base upward, texture is introduced along the top and sides while keeping the facial area smooth to highlight the hedgehog’s sweet facial features.
Once the main body takes shape, you will craft the tiny feet and prepare your facial details. Embroidering the delicate eyes, nose, and tiny eyebrows on the smooth section before fully closing the body makes securing thread ends effortless.
Firm stuffing is the final secret to a functional pincushion. Fill the body densely so it maintains a sturdy shape, then neatly sew on the feet and weave in all yarn ends for a durable, boutique-quality finish.
Customization & Styling Ideas
One of the best aspects of this design is how easily it adapts to your personal style or craft room palette. Pastel pinks, soft sky blues, and buttercup yellows create a charming modern aesthetic, while rich browns and heathered tans yield a classic woodland look.
You can also turn your hedgehogs into themed desk accessories or seasonal decor. Add a tiny embroidered flower near one ear for a springtime touch, or stitch a little santa hat for a festive holiday pincushion!
These hedgehogs also make fantastic yarn-scrap busters. Combine leftover yarn bits from previous projects to create colorful, multi-toned spines across the hedgehog’s back for a cheerful stash-busting creation.
Pro Tips for Flawless Results
- Drop a Hook Size: Use a slightly smaller hook than your yarn label suggests to ensure tight stitches that prevent stuffing from peeking through.
- Opt for Dense Filling: Fill your hedgehog with wool roving or a small pouch of crushed walnut shells to give your pincushion weight and superior pin grip.
- Pop Bobbles Outward: As you stitch the spine section, use your fingertip to push each bobble stitch out toward the right side of your fabric for maximum texture.
- Embroider Early: Stitch the eyes and facial expression before completing the final decrease rounds so you can easily hide knots inside the stuffed body.
Frequently Asked Questions
Is this pattern beginner-friendly?
Yes! If you know basic single crochet stitches, simple increases, and decreases, learning the bobble stitch is a quick and rewarding step up for ambitious beginners.
What type of yarn works best for a functional pincushion?
Cotton yarn is highly recommended because it offers crisp stitch definition, resists stretching over time, and withstands repeated pin insertions without fraying.
Can I use plastic safety eyes instead of embroidery?
Absolutely! Safety eyes look adorable on amigurumi, though embroidered eyes are often preferred if the pincushion will be used heavily near sharp tools.
Watch the Full Step-by-Step Video Tutorial
Prefer visual guidance? Follow along with the complete video tutorial below at your own pace: