
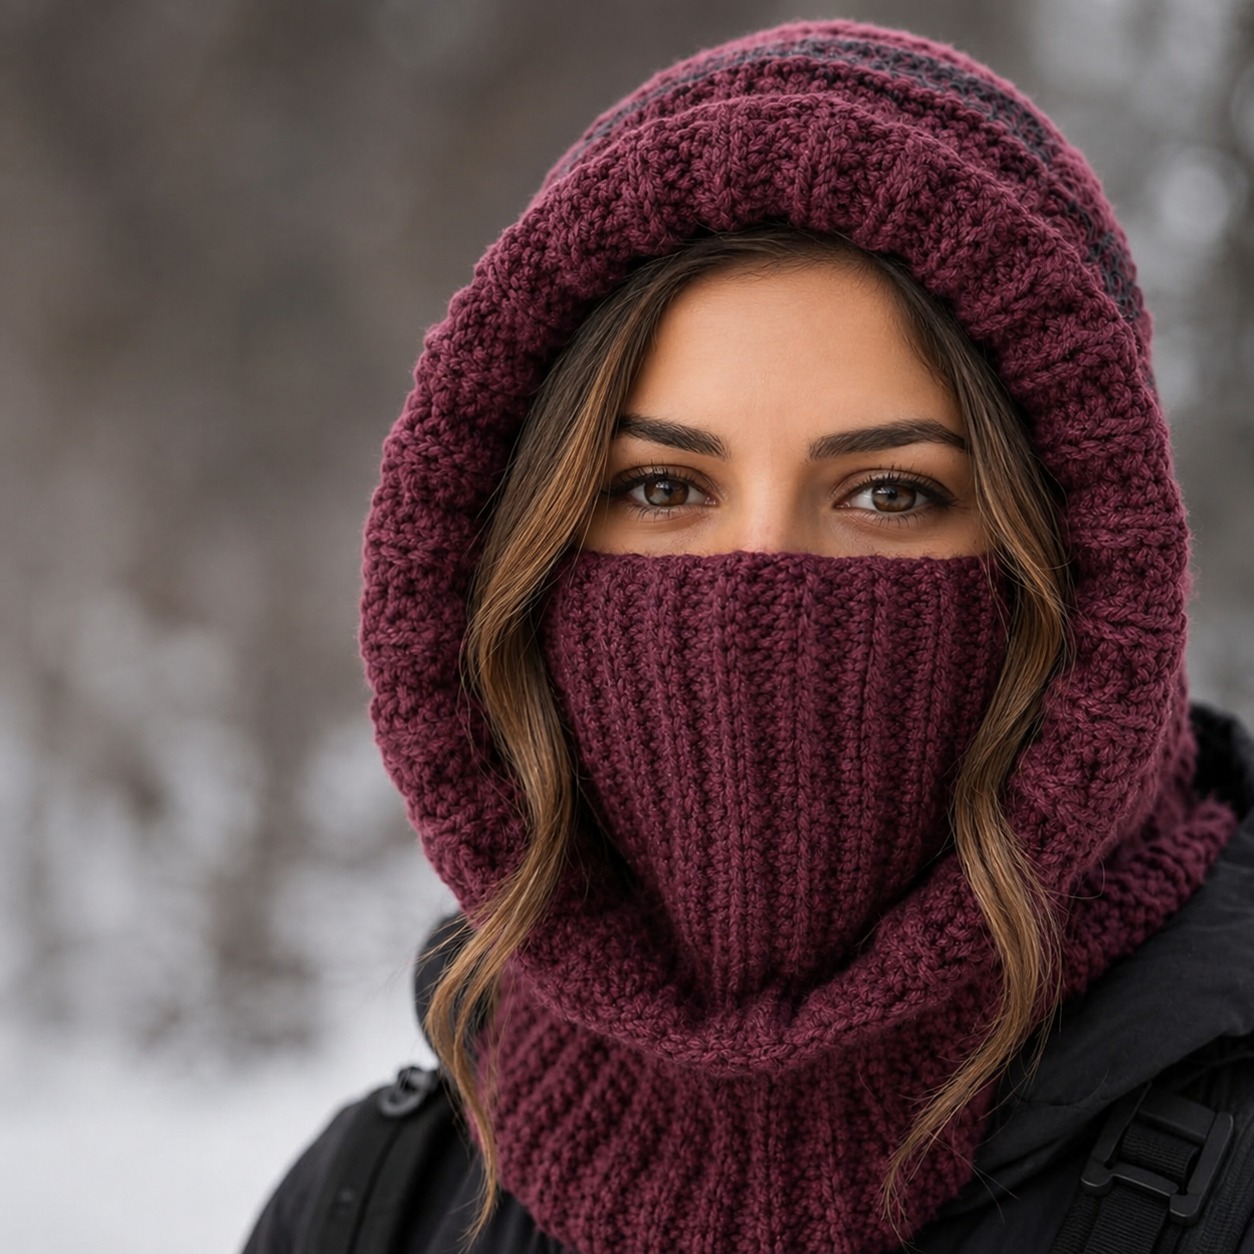
Overview & Design Inspiration
Welcome, fellow yarn lovers! There is nothing quite like slipping into a handmade winter accessory that shields you from the biting wind while looking effortlessly chic. Inspired by cozy, modern cold-weather aesthetics, this crochet balaclava pattern is destined to become your go-to project for chilly morning walks and snow-covered adventures.
Combining the best of a structured hood and a generous, comfortable neck warmer, this design wraps you in complete warmth. Best of all, because you are crafting it with your own two hands, you can tailor every single inch to fit your personal style and comfort level perfectly.
Materials & Recommended Supplies
- Yarn: Approximately 250–400 yards of soft medium-weight or bulky yarn. Choose a fiber with enough flexibility and bounce to comfortably hug your head.
- Crochet Hook: A 5.0 mm (US H-8) to 6.5 mm (US K-10.5) hook, depending on your personal tension and yarn thickness.
- Notions: Stitch markers, a yarn needle, scissors, and a flexible measuring tape.
Essential Techniques & Stitch Highlights
This project relies on a fantastic blend of familiar U.S. crochet terminology to build a fabric that is both insulating and flexible. You will work primarily with foundational stitches like single crochet and half double crochet to create a solid, protective barrier against the elements.
A true star of this design is working in the back loop only (BLO). This simple adjustment creates gorgeous horizontal ridges that mimic knitted ribbing, adding incredible stretch and visual texture to your finished hood and neckline.
Construction & Assembly Highlights
The magic of this balaclava begins by creating a custom rectangular panel that forms the main hood. By measuring directly from the base of the neck, over the crown, and down to the opposite side, you ensure a wonderful fit right from the start.
Once your textured panel reaches the right height, you fold it and seam the crown to establish the basic hood shape. From there, you seamlessly work around the facial opening, transition down into a cozy neck section, and finish with optional lower ribbing for that polished, store-bought look.
Customization & Styling Ideas
One of the greatest joys of handmade fashion is the freedom to customize. Play with a rich jewel-toned bulky yarn for a dramatic winter look, or opt for a soft pastel medium-weight yarn for a lighter, everyday spring-and-autumn layering piece.
You can easily adjust the depth of the hood or extend the neck length so it tucks effortlessly deep inside your favorite winter coat. It also makes an unforgettable, heartfelt handmade gift for anyone in your life who braves the cold weather.
Pro Tips for Flawless Results
- Always swatch first: Spend a few moments making a gauge swatch to ensure your fabric feels soft, warm, and wonderfully flexible before diving into the main project.
- Try it on as you go: Periodically drape the hood over your head and test the facial opening to catch any fitting adjustments early.
- Use your stitch markers: Keep markers handy to easily track your round beginnings and any shaping increases around the neckline.
Frequently Asked Questions
Is this project suitable for confident beginners?
Absolutely! While the finished accessory looks sophisticated and advanced, the actual construction relies on straightforward, foundational stitches like half double crochet and single crochet. If you know how to chain and work basic stitches, you can totally make this.
Can I adjust the size of the face opening?
Yes, and you definitely should! When establishing the face opening, it is always best to keep it slightly larger at first. You can easily refine and snug up the fit later by adding edging rounds or a neat single crochet border.
What is the best way to handle the neck shaping?
To achieve that gorgeous, flared coverage that sits smoothly under a jacket, simply work a few evenly spaced increases around selected rounds as you move down toward the shoulders. Adjust the length to anywhere from 5 to 8 inches depending on your personal coverage preference.
Watch the Full Step-by-Step Video Tutorial
Prefer visual guidance? Follow along with the complete video tutorial below at your own pace: