
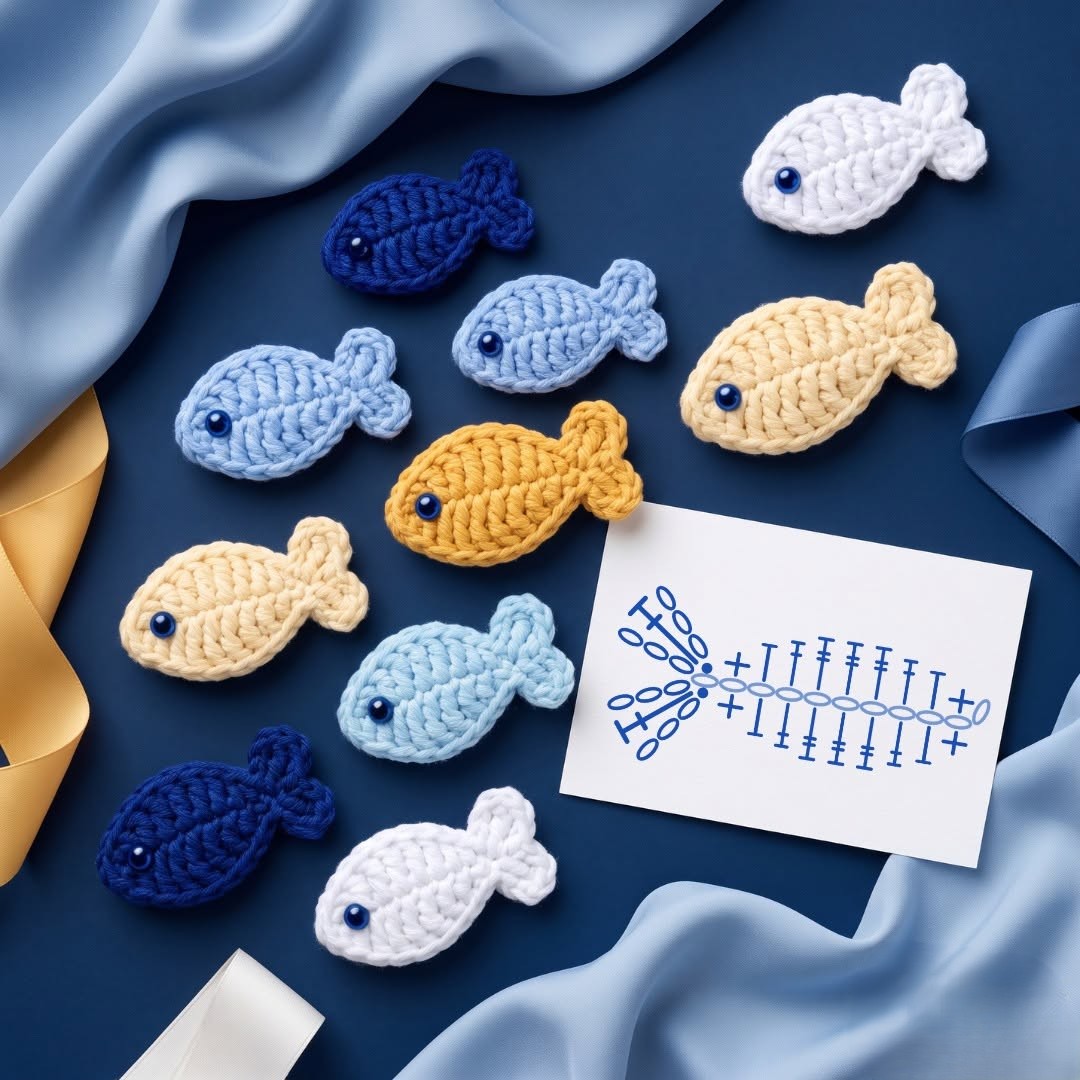
Overview & Design Inspiration
Welcome to our vibrant crafting corner, fellow yarn lovers! There is something wonderfully magical about taking a simple strand of leftover yarn and transforming it into a tiny, living work of art in just one sitting.
The Crochet Easy Mini Fish Pattern is designed to capture that exact joy, offering a quick, deeply satisfying amigurumi project that works up in minutes. Whether you are looking to bust your yarn stash or create a fleet of playful sea creatures, this adorable little fish will swim right into your heart.
Materials & Recommended Supplies
Gathering your supplies is the exciting first step toward bringing your mini fish to life! Because this is a miniature project, choosing the right materials ensures crisp stitch definition and a neat, professional finish.
- Medium-weight (Category 4) cotton or acrylic yarn in your favorite vibrant shades
- 3.0 mm to 3.5 mm crochet hook (US C/2 or E/4)
- Polyester fiberfill for light stuffing
- Yarn needle for weaving in ends
- Stitch markers and a pair of sharp scissors
- 6 mm to 8 mm safety eyes or embroidery floss for a child-safe alternative
Essential Techniques & Stitch Highlights
This charming pattern is a fantastic way to practice foundational amigurumi skills without feeling overwhelmed. You will work continuously in spiral rounds starting from the nose, utilizing the ever-handy Magic Ring to create a seamless, tightly closed center.
As you shape the body, you will practice even tension, single crochet increases, and the brilliant invisible decrease method for a smooth, bump-free silhouette. The sweet little tail comes together seamlessly by working straight across the flattened opening, combining simple chains, half double crochets, and double crochets to form a delightful fan-like fin.
Construction & Assembly Highlights
Constructing this mini fish is an absolute breeze once you get into the rhythmic flow of spiral rounds. You begin at the snout, gradually expanding the body with gentle increases before working straight rounds that create the perfect fish profile.
After lightly stuffing the front section, the body tapers naturally toward the tail. Instead of messy sewing, the tail is cleverly formed by crocheting directly through both layers of the flattened edge to close the body, followed by a quick row of varied stitch heights for the fin and simple side fins worked right onto the flanks.
Customization & Styling Ideas
The absolute best part about this little pattern is its incredible versatility and endless room for personalization. You can easily adapt these fish into keychains, baby mobile decorations, garlands, magnets, gift toppers, or playful nursery ornaments!
Experiment with ocean-inspired shades like turquoise and navy for a realistic tropical look, or whip up a rainbow of pastel colors for a baby shower. If you prefer a flatter design for appliqués, you can simply omit the stuffing entirely and crochet two identical flat body pieces to seam together.
Pro Tips for Flawless Results
- Maintain snug, even stitch tension so your polyester fiberfill never peeks through the gaps.
- Always use a stitch marker at the start of your rounds to keep your shaping completely symmetrical.
- Stuff only the front half of the fish lightly; leaving the tail unstuffed allows it to lie flat and shape beautifully.
- Double-check your safety eye placement before securing the backing washers to give your fish the most expressive gaze.
Frequently Asked Questions
Can I use blanket yarn to make a giant version of this fish?
Absolutely! While the pattern is optimized for lightweight cotton or acrylic, swapping to bulky chenille yarn and a larger hook will yield a wonderfully squishy, oversized plush fish.
Are safety eyes safe for baby toys?
If you plan on gifting your finished fish to infants or toddlers, it is always best to embroider the eyes using black yarn or embroidery floss to avoid any choking hazards.
Do I need to fasten off between the body and the tail?
Not at all! The design features a clever continuous construction where you flatten the final body stitches and crochet right across them to form the tail base instantly.
Watch the Full Step-by-Step Video Tutorial
Prefer visual guidance? Follow along with the complete video tutorial below at your own pace: