
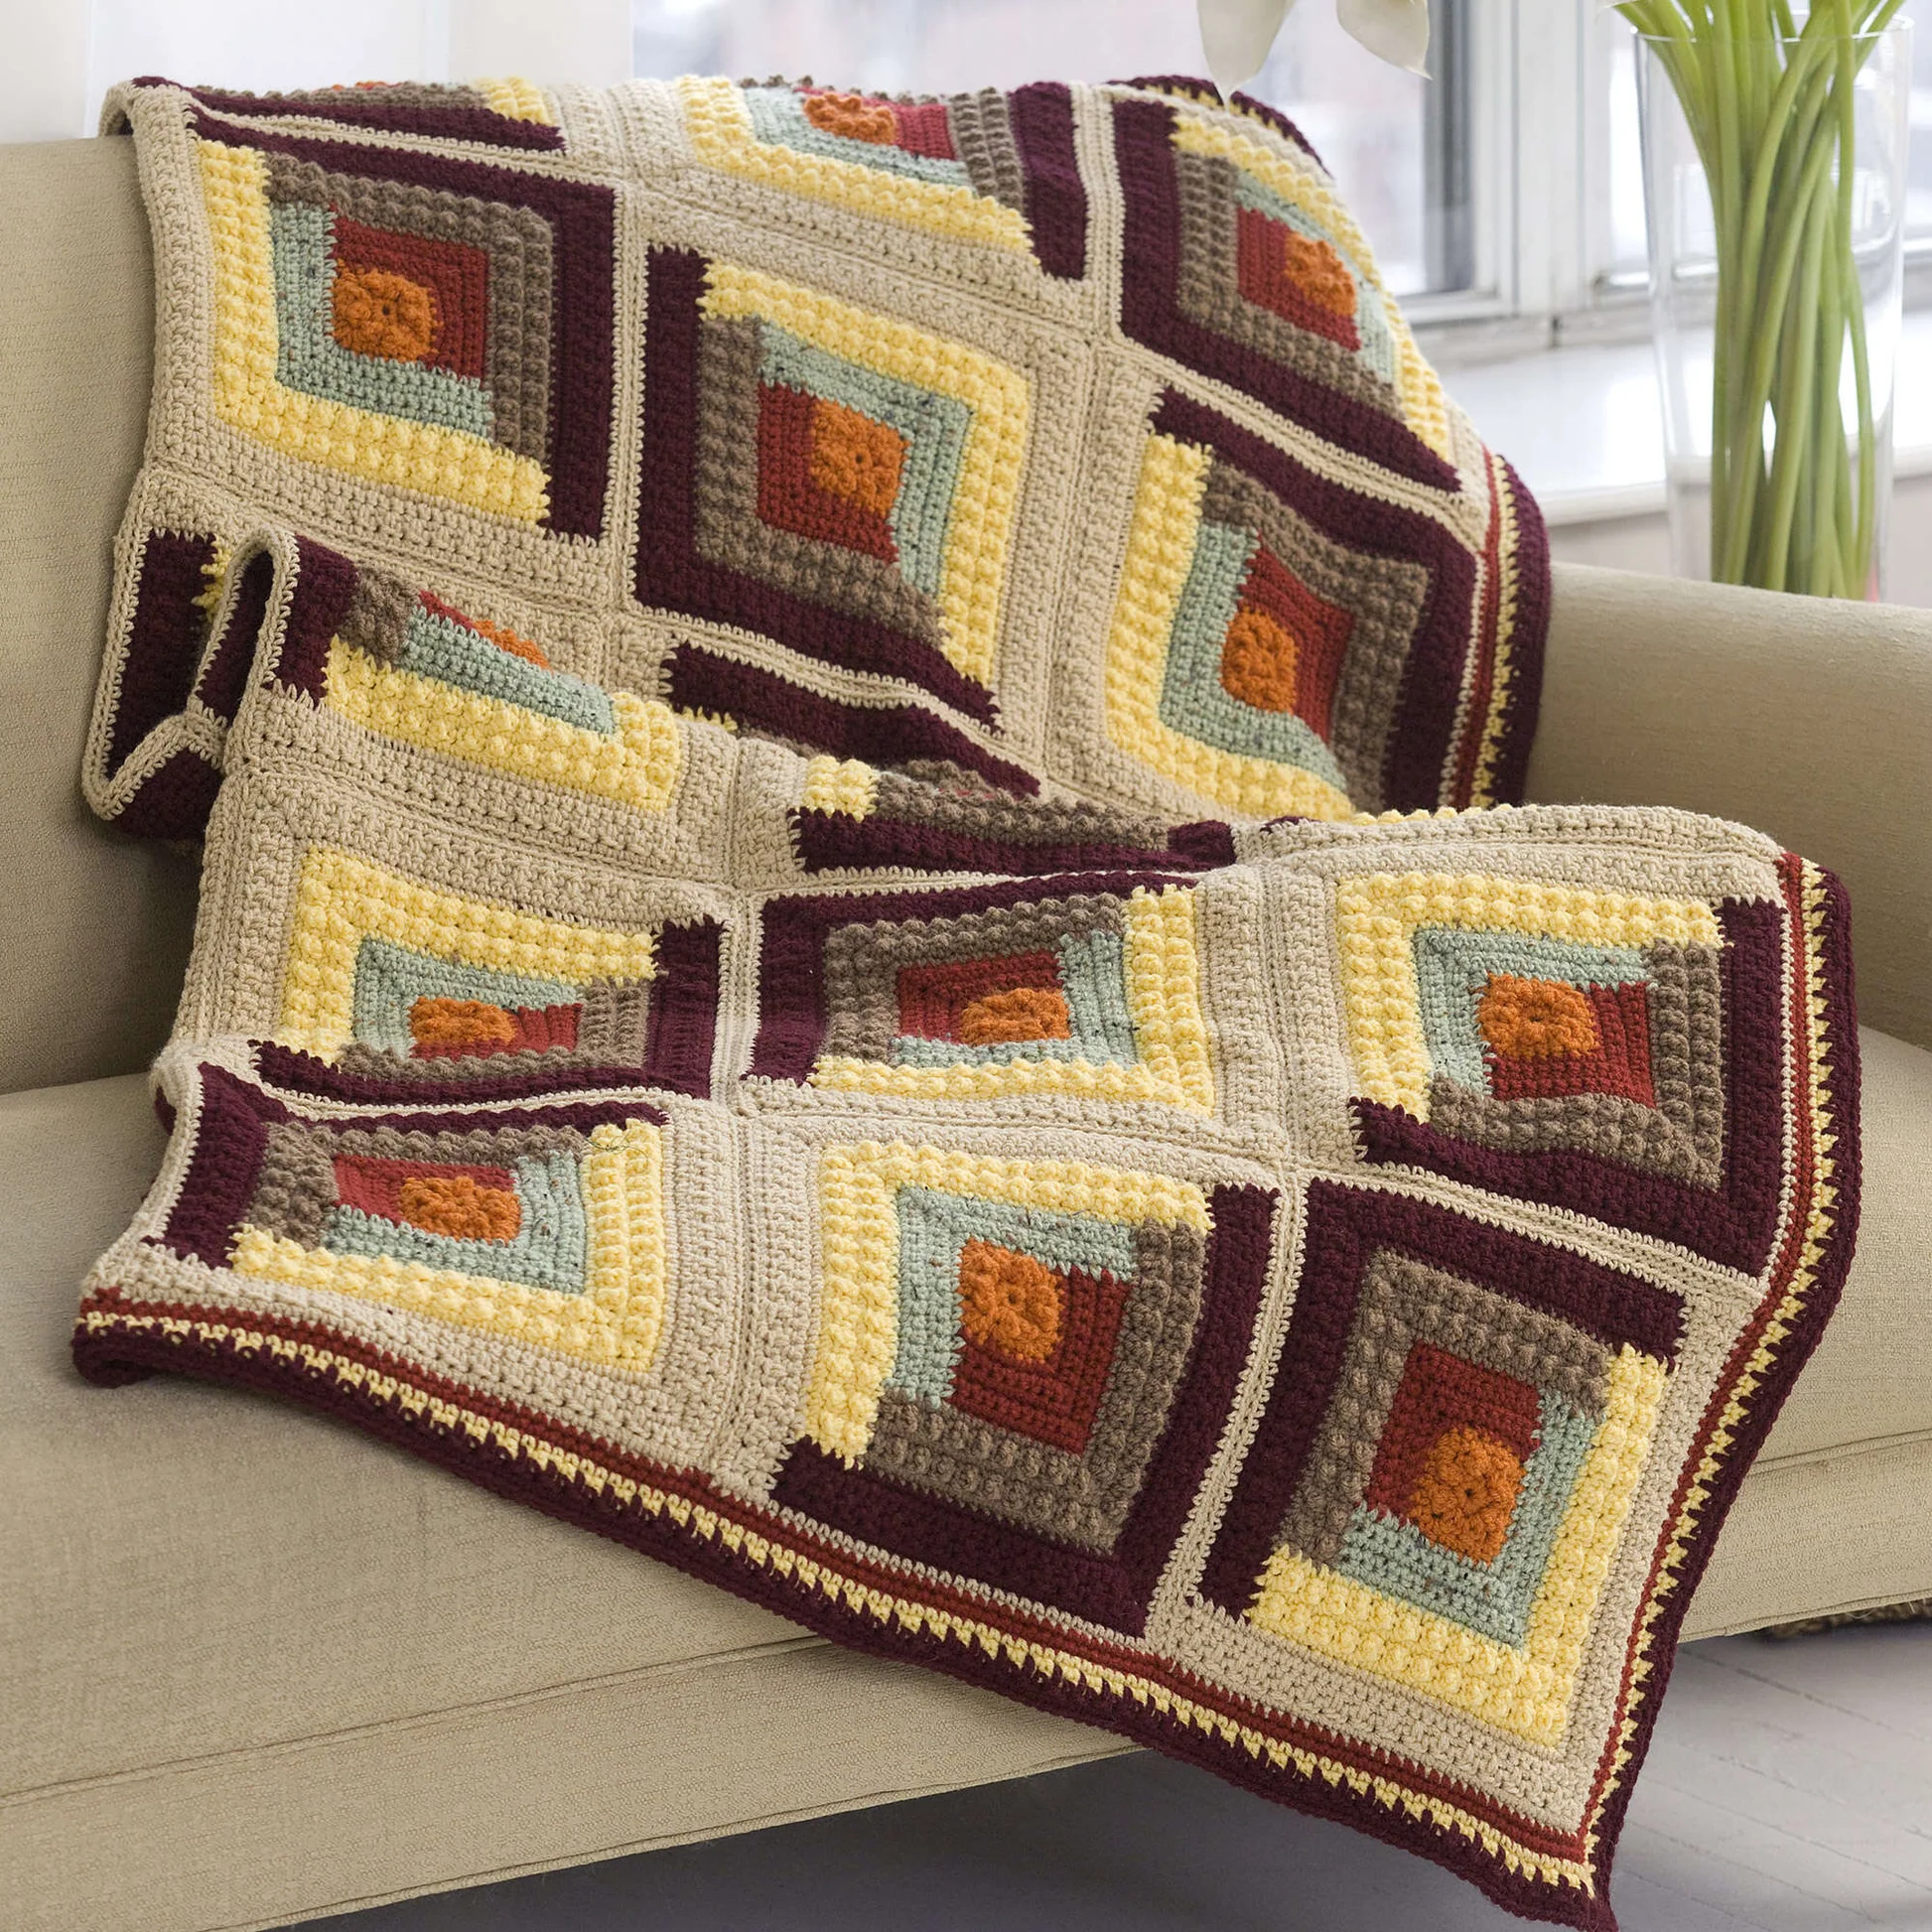
Oh, hello there, fellow crafters! Can you feel that crisp, inviting autumn air? The leaves are turning golden, and there’s a delicious scent of pumpkin spice everywhere. It’s truly the most magical time to snuggle up with a hook and some gorgeous yarn.
That’s why today, I’m thrilled to share a timeless project that perfectly captures the essence of the season: our stunning Autumn Log Cabin Throw Blanket Crochet Pattern! This isn’t just a blanket; it’s a warm hug for your home, steeped in crafting tradition.
The log cabin design holds a special place in crafting history, celebrated for its striking geometric beauty and incredible adaptability. Imagine vibrant rusts, cheerful mustards, and deep, grounding browns coming together, mirroring a breathtaking fall landscape.
Whether you’re looking for a rewarding challenge or simply want to infuse your space with handmade charm, this blanket is an absolute dream. Let’s embark on this cozy autumn adventure together!
Materials & Yarn Suggestions
Before we dive in, let’s gather our treasures! Choosing the right yarn is like picking the perfect fall palette for your masterpiece.
For this project, we’ll be using worsted weight yarn. Acrylic or wool blends are wonderful choices for their softness, durability, and beautiful stitch definition.
- Worsted Weight Yarn:
- Color A: Burnt Orange (approx. 200g)
- Color B: Mustard Yellow (approx. 150g)
- Color C: Deep Brown (approx. 250g)
- Color D: Cream White (approx. 200g)
- Crochet Hook: 5.0mm (H-8) – This size helps achieve a lovely drape and standard gauge.
- Scissors: For neat yarn trimming.
- Tapestry Needle: Essential for weaving in those ends like a pro!
- Stitch Markers: Handy little helpers for marking corners or color transitions, especially if you’re new to this technique.
Remember, always check your gauge before starting to ensure your blanket will be the perfect size!
Technique Breakdown & Step-by-Step Guide
The beauty of the log cabin pattern lies in its clever construction. You’ll build your blanket outwards from a central square, adding “logs” of color around it.
Building Your Center Block
We’ll begin with the heart of your blanket! Take Color A and crochet a small, dense square using single crochet stitches.
This square doesn’t need to be huge; it’s just the foundation from which all your other logs will grow. Focus on keeping your stitches even and consistent here.
Adding Your First “Logs”
Now, let’s start forming those distinctive “logs”! With the right side of your center square facing you, attach Color B with a slip stitch to any edge.
Work several rows of single crochet along this edge, building up a rectangular strip, or “log.” Once that log is complete, fasten off and weave in your ends.
Repeat this process on each of the other three edges of your center square. You’ll now have your first layer of colorful logs surrounding the center!
Expanding Your Blanket with Layers
This is where the magic really happens! You’ll continue adding logs, but this time, you’ll work along the *entire length* of the growing block.
Attach a new color (Color C, for instance) to the longest available edge of your current square. Crochet several rows of single crochet stitches along this entire length, effectively making a longer log that spans two sides of the previous layer.
Continue this process, rotating through your chosen colors (Color D, then back to Color A, and so on). Each time you add a new log, you’ll be working along a progressively longer edge, expanding your blanket in that beautiful log cabin spiral.
Aim for each log to have a consistent number of rows (e.g., 5 rows of single crochet) to maintain uniformity across your blanket.
Finishing, Assembly & Styling Ideas
Once your gorgeous blanket reaches your desired size – typically around 50×60 inches for a cozy throw – it’s time to add those perfect finishing touches!
The Border
A well-defined border truly frames your masterpiece. Attach Color A to any edge and work a round of single crochet stitches all the way around your blanket, making sure to place three single crochet stitches into each corner for a neat turn.
For your second border round, switch to Color B and work half double crochet stitches all the way around. Finally, use Color C for a beautiful, crisp last row of single crochet stitches.
Fasten off securely and, with your tapestry needle, weave in all remaining ends. This meticulous step ensures a professional, durable finish.
Styling Your Cozy Creation
Your Autumn Log Cabin Throw is now ready to shine! Drape it artfully over your sofa or armchair, inviting endless cozy moments.
It’s also absolutely perfect for your reading nook, adding a pop of warm color and texture. Or, consider it a heartfelt, cherished gift for a loved one – a true labor of love that speaks volumes!
Pro Crafter Tips
Embrace Your Autumn Palette
While our suggested colors create a classic autumn vibe, don’t be afraid to make this blanket uniquely yours! Consider adding a pop of crimson, a deep forest green, or even a touch of glistening gold for a vibrant twist.
Play with different shades of the same color for subtle depth, or go bold with high contrast! The beauty of the log cabin is its versatility.
Master Your Tension
Consistent tension is your secret weapon for a professional-looking finished blanket. If your stitches vary in tightness, your blanket might ripple or pucker.
If you’re new to changing colors, practice a few small swatches first. This helps you get a feel for keeping your stitches even and your joins neat, resulting in a beautifully uniform blanket.
Frequently Asked Questions
Can I use a different yarn weight?
Absolutely! Just be aware that using a different yarn weight will alter the finished size of your blanket. You’ll also need to adjust your hook size accordingly to maintain a good fabric and drape.
How can I make my blanket bigger or smaller?
To adjust the size, simply change the dimensions of your initial center square and/or the number of “log” layers you crochet around it. Each added layer expands the blanket significantly!
Watch the Full Step-by-Step Video Tutorial
Prefer visual guidance? Follow along with the complete video tutorial below at your own pace: