
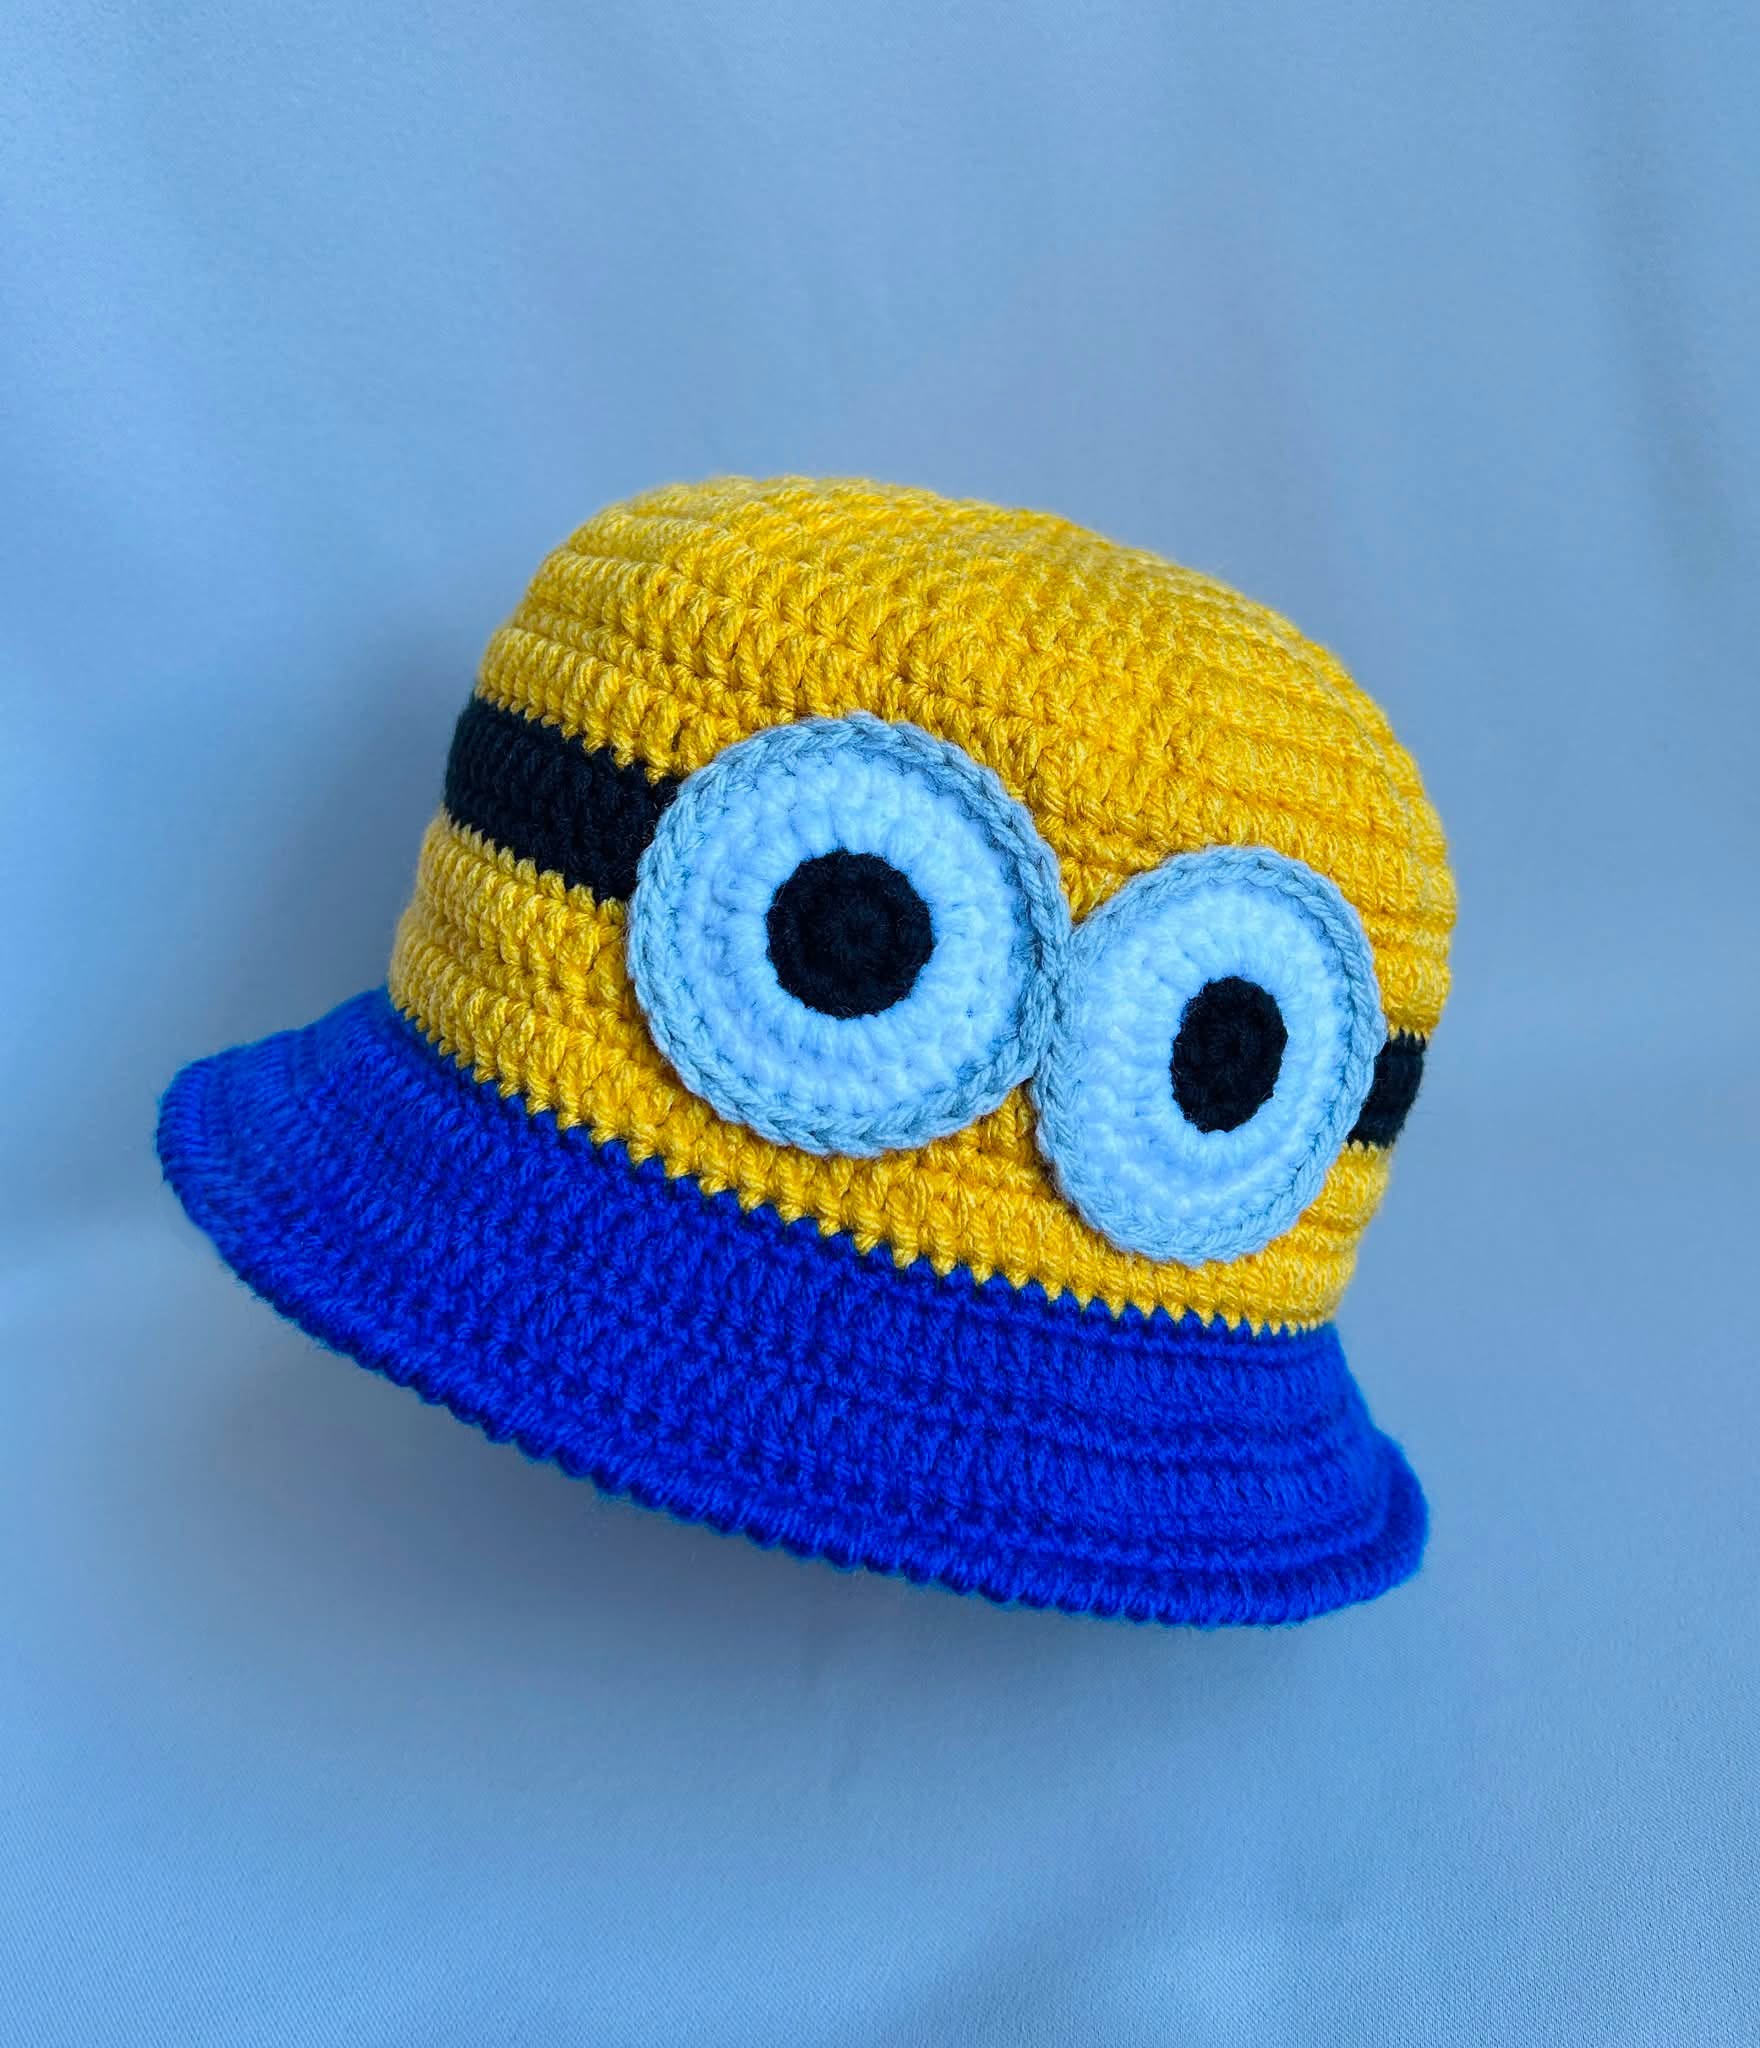
Overview & Design Inspiration
Welcome, fiber friends, to one of the most delightfully cheerful projects to hit your crochet hook this season! The Crochet Minions Bucket Hat is a playful fusion of timeless everyday wear and beloved cartoon charm that instantly brings a smile to everyone who sees it.
Whether you are stitching this up for a sunny day out at the theme parks, a playful festival, or as a wildly popular handmade gift for a family member, this vibrant accessory is pure joy from the very first loop to the final woven-in end.
Materials & Recommended Supplies
Gathering your supplies is half the fun, and working with quality materials ensures your finished hat stays structured and vibrant wear after wear. Here is everything you need to bring your cheerful little buddy to life:
- Yarn: Worsted-weight cotton or cotton-blend yarn (such as a smooth, mercerized cotton) for brilliant stitch definition and structure. Acrylic yarn is also a great lightweight alternative.
- Colors Needed: Bright yellow (main body), royal black/blue (overalls band), black (goggle strap and smile details), white (eyes), gray (goggles), and a tiny scrap of brown for the iris.
- Crochet Hook: 4.5 mm (G/7) or 5.0 mm (H/8) crochet hook, depending on your personal tension.
- Notions: Yarn needle for weaving ends, locking stitch markers, measuring tape, and scissors.
Essential Techniques & Stitch Highlights
This project is a fantastic playground for practicing core crochet skills without feeling overwhelmed. Worked primarily in continuous rounds of single crochet, it relies on precise stitch placement and smooth transitions to build its iconic silhouette.
You will master the magic ring foundation, steady increases to form a flat crown, and seamless color-changing techniques to transition from the bright yellow body to the royal blue overalls band. Finishing touches like the textured crab stitch (reverse single crochet) on the brim add that final professional polish.
Construction & Assembly Highlights
The magic of this bucket hat lies in its intuitive top-down construction. You begin at the crown with a secure magic ring, gradually expanding your circle until it reaches the ideal diameter for your intended size before transitioning smoothly into the vertical sides.
After working the main body and the playful blue overalls section, the hat flares out naturally to create a sturdy, protective brim. Once the base is complete, you will crochet the goggle frames, expressive eyes, and smile separately before securing them to the front for that unmistakable, personality-packed finish.
Customization & Styling Ideas
Handmade accessories are all about putting your own creative spin on the design, and this bucket hat is wonderfully adaptable. You can easily adjust the circumference and crown depth to fit toddlers, children, or adults by modifying your increase rounds.
Want to mix it up? Try creating a two-eyed minion variant, adjust the brim width for extra sun coverage, or pair your hat with matching handmade amigurumi charms for the ultimate playful summer ensemble!
Pro Tips for Flawless Results
- Keep Your Tension Even: Maintain a consistent grip, especially during the crown increases, to ensure your hat maintains a smooth, symmetrical shape without warping.
- Use Your Stitch Markers: Because bucket hats are typically worked in continuous spiral rounds, a locking stitch marker is your best friend for tracking the start of each row.
- Pin Before You Sew: Always use pins to position the eyes, goggles, and smile details before stitching them down permanently to ensure perfect symmetry.
Frequently Asked Questions
Is this project suitable for confident beginners?
Absolutely! If you are comfortable working in the round with single crochets and basic increases, you will find this project approachable, rewarding, and deeply satisfying.
Can I wash my finished minion bucket hat?
Yes, especially if you choose a quality cotton or cotton-blend worsted yarn. We recommend hand washing in cool water and laying the hat flat to dry to preserve its shape.
How do I adjust the size of the hat?
To make the hat smaller for children, simply stop your crown increase rounds a bit earlier and work fewer side rounds before adding the blue band. For a larger adult fit, add one or two extra increase rounds to the crown.
Watch the Full Step-by-Step Video Tutorial
Prefer visual guidance? Follow along with the complete video tutorial below at your own pace: