
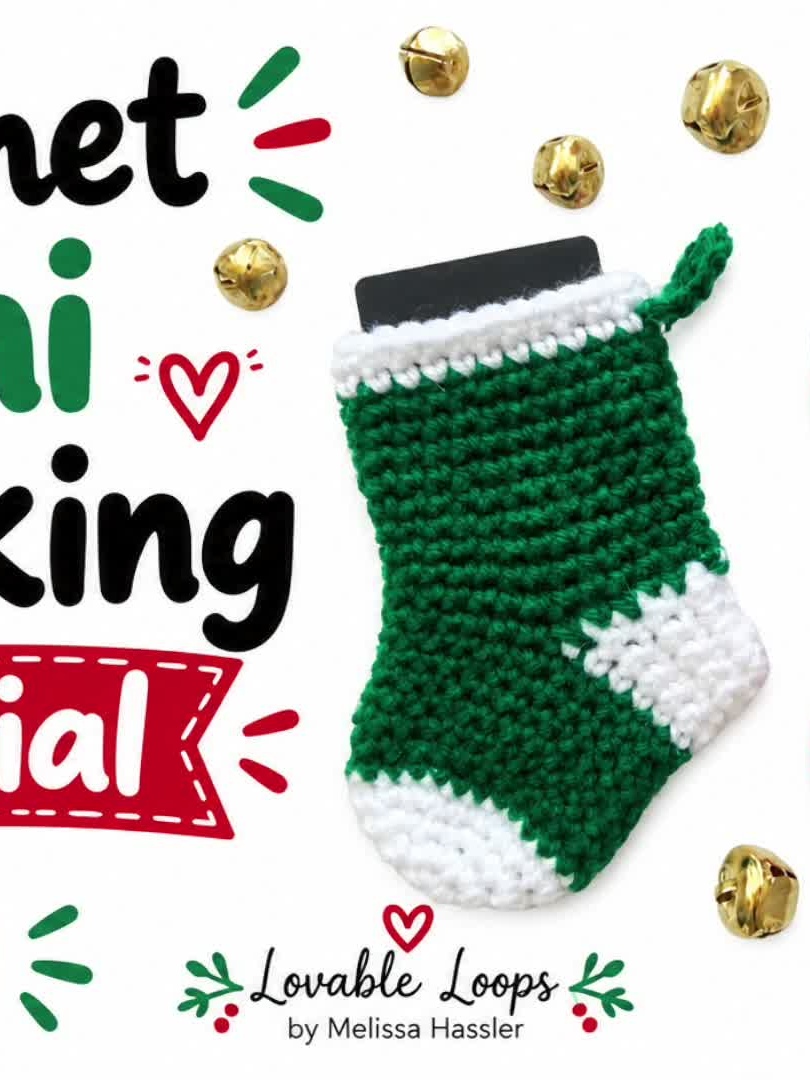
Introduction & Holiday Inspiration
There’s something magical about a tiny stocking that can hold a gift card or a few coins, especially when it’s handmade with love. This mini stocking from Lovable Loops captures the classic holiday palette while staying small enough to tuck onto a tree branch or mantle.
Melissa Hassler’s tutorial walks you through a quick, beginner‑friendly project that adds a personal touch to your Christmas décor. Grab your hooks, sip some cocoa, and let’s create a festive little treasure chest together.
Materials & Yarn Recommendations
For a true‑to‑video look, you’ll need three yarn colors:
- Deep Forest Green (worsted/size 4) – the main body.
- Candy Cane Red (worsted/size 4) – the heel and toe accents.
- Cream White (worsted/size 4) – the trim that frames the stocking.
A 4.0 mm (G/6) crochet hook works perfectly with these medium‑weight yarns, giving you a nice drape without being too bulky. I also recommend a light, washable acrylic blend for easy holiday cleaning.
Technique Breakdown & Step‑by‑Step Overview
Start with a magic ring and work in single crochet (sc) for the solid green body. Chain 2, 6 sc into the ring, pull tight, and join with a slip stitch.
Increase each round by adding 6 sc evenly (12, 18, 24…) until the base measures about 2 inches across. This creates a sturdy, flat foundation for the stocking’s foot.
Switch to the red yarn for the heel: work a short row of 4 sc, turn, and continue back for a total of 8 sc, then join to the green body. This contrast adds visual interest and defines the foot.
For the sides, continue in green, crocheting in rounds without joining, and increase every other round to shape the gentle curve of the stocking. After about 12 rounds, you’ll have a tall, tapered tube.
When you reach the desired height (about 3 inches), change to white yarn for the trim. Work a single‑crochet border around the entire opening, then add a second round for a plush finish.
Finally, finish the toe with red again: work a few short rows decreasing the stitch count to close the opening neatly. Slip stitch the final round, fasten off, and weave in all ends.
Finishing, Assembly & Holiday Styling Ideas
Block the mini stocking gently with steam to even out any uneven edges—just be careful not to stretch the delicate trim. A quick press with a warm iron (no steam) can also smooth the seams.
Attach a tiny loop of yarn or a small metal hook to the top for hanging on a tree branch, wreath, or gift bag. Fill it with a handwritten holiday note, a small chocolate, or a cash gift for a personal touch.
Pair several mini stockings in a row for a charming “gift cascade” on your mantel, or use them as decorative tags on wrapped presents. The contrasting red heel and white trim make them pop against any backdrop.
Pro Crafter Tips
- Use a stitch marker to keep track of the start of each round—especially helpful when switching colors.
- If you prefer a softer edge, work the trim in double crochet (dc) instead of single crochet; just keep the tension even.
- For a sturdier stocking that can hold heavier items, reinforce the base with a thin strip of felt before stuffing.
Frequently Asked Questions
Q: Can I use a different hook size and still get the same shape?
A: Yes! If you choose a larger hook, you may need to add an extra increase round to keep the proportions balanced. Conversely, a smaller hook will tighten the fabric, so reduce one increase round.
Q: Is this pattern suitable for yarn substitutes like cotton or bamboo?
A: Absolutely. Cotton gives a crisp finish ideal for a polished look, while bamboo adds a lovely sheen. Just adjust your hook size slightly to maintain a relaxed stitch tension.
Watch the Full Step-by-Step Video Tutorial
Prefer visual guidance? Follow along with the complete video tutorial below at your own pace: