
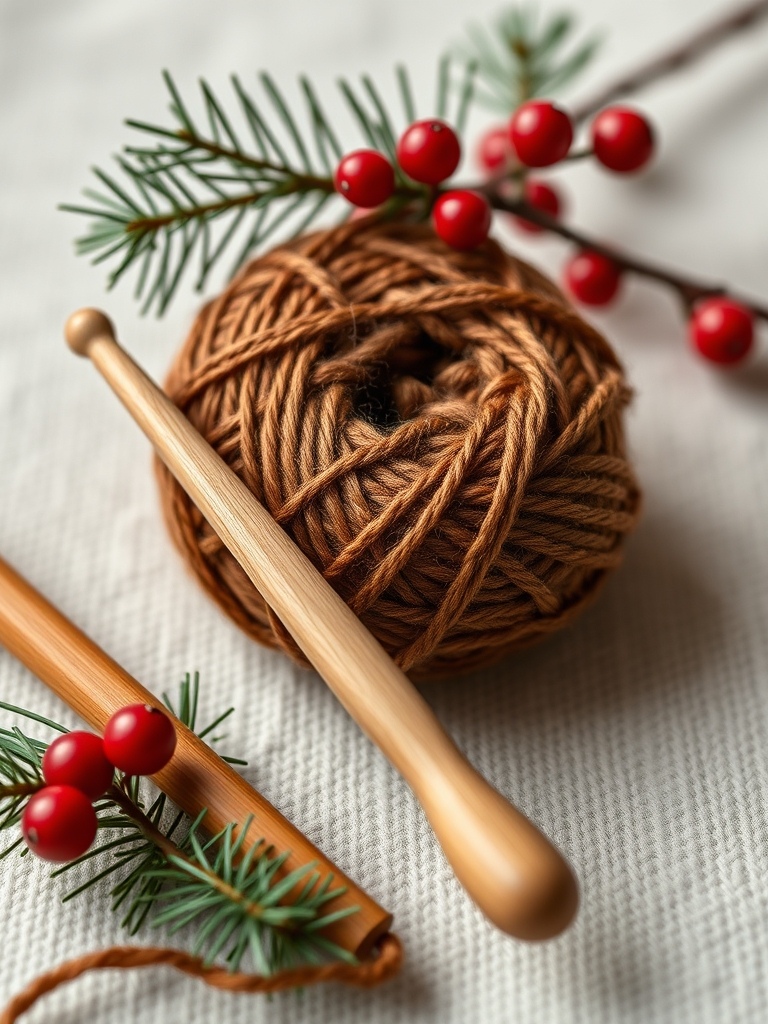
Introduction & Holiday Inspiration
When the first snowflakes drift past the window, I love gathering my yarn and dreaming of a handmade stocking to hang over the mantle. This tutorial from Yarn Stash with Marching North captures that nostalgic feeling with a simple yet striking design that anyone can master.
The finished piece is a plush, rib‑cuffed stocking in a rich gingerbread brown body, accented by a warm cream heel and toe. It’s perfect for filling with treats, tiny gifts, or even a tiny crocheted surprise for the little ones.
Materials & Yarn Recommendations
- Yarn:
- Gingerbread Brown – worsted weight (DK or sport works too); I used Red Heart Super Saver in “Brown Sugar”.
- Cream – a soft, buttery worsted yarn for the cuff, heel and toe; I chose Lion Brand Wool-Ease “Vanilla Cream”.
- Hook: 5.5 mm (I = 6 mm) crochet hook, metal or ergonomic.
- Notions: stitch markers, tapestry needle, scissors.
- Optional: a small pom‑pom or decorative pine sprig for holiday styling.
Technique Breakdown & Step-by-Step Overview
We’ll build the stocking in three logical sections: the folded ribbed cuff, the bobble‑stitch body, and the contrasting heel‑toe block. The pattern uses only basic stitches—single crochet, half‑double crochet, and a simple bobble stitch—so beginners feel confident.
1. Folded Ribbed Cuff
Cast on 44 stitches with the cream yarn. Work 2 rows of half‑double crochet (hdc) in the front loop only. Turn, then slip the first stitch, *skip 2, slip 1* across the row to create a folded rib effect. Repeat for a total of 8 rows. The cuff should measure about 3 inches tall when folded.
2. Bobble‑Stitch Body
Switch to the gingerbread brown yarn. Begin with a foundation chain of 44 and work a row of single crochet (sc) to join. From there, follow the bobble stitch pattern: (yo, insert hook, yo, pull up a loop, yo, pull through 2 loops, yo, pull through remaining 2 loops) – this creates a plush “bobble”. Work 12 rows of bobbles, maintaining the original 44‑stitch width. The body will stand about 9 inches tall, perfect for a classic stocking length.
3. Heel & Toe Block
With the cream yarn, set up a 12‑stitch heel panel at the bottom of the body. Work 6 rows of single crochet, then turn the heel by decreasing one stitch each side every other row until you have 6 stitches left. Mirror the same process at the top for a toe panel. Slip stitch the heel and toe to the body, then seam the sides with a tapestry needle using a whipstitch.
4. Final Assembly
Fold the cuff in half, aligning the raw edges, and sew it to the top of the body with a neat invisible seam. Weave in all ends, block lightly if desired, and your stocking is ready to be hung.
Finishing, Assembly & Holiday Styling Ideas
Give the stocking a gentle steam block to even out the bobbles and set the cuff’s rib. Hang it on a rustic wooden hook or a decorative branch for a farmhouse vibe. Add a tiny pine sprig with red berries, a mini pom‑pom, or a hand‑stitched name tag for a personalized touch.
For a coordinated mantel display, make a matching small “gift bag” using the same bobble stitch and cuff, or crochet a set of mini stockings for each family member.
Pro Crafter Tips
- Use a stitch marker at the beginning of each round to keep track of your ribbed cuff repeats; it saves a lot of counting.
- If the bobble stitch feels bulky, work it in a slightly lighter weight yarn (DK) and increase your hook size by 0.5 mm for a smoother drape.
- When seaming the heel and toe, a slip‑stitch join creates a clean edge that blends seamlessly with the bobble texture.
Frequently Asked Questions
Q: Can I substitute the yarn colors with my own holiday palette?
A: Absolutely! The pattern works with any two‑tone combination. Try a deep navy with ivory for a classic look, or a vibrant red with gold for a bold statement.
Q: How do I adjust the size for a larger or smaller stocking?
A: Change the foundation chain in multiples of 4 for the cuff and body, then proportionally adjust the heel and toe panels. Adding or subtracting 8 stitches will increase or decrease the overall width by about ½ inch.
Watch the Full Step-by-Step Video Tutorial
Prefer visual guidance? Follow along with the complete video tutorial below at your own pace: