
Introduction & Holiday Inspiration
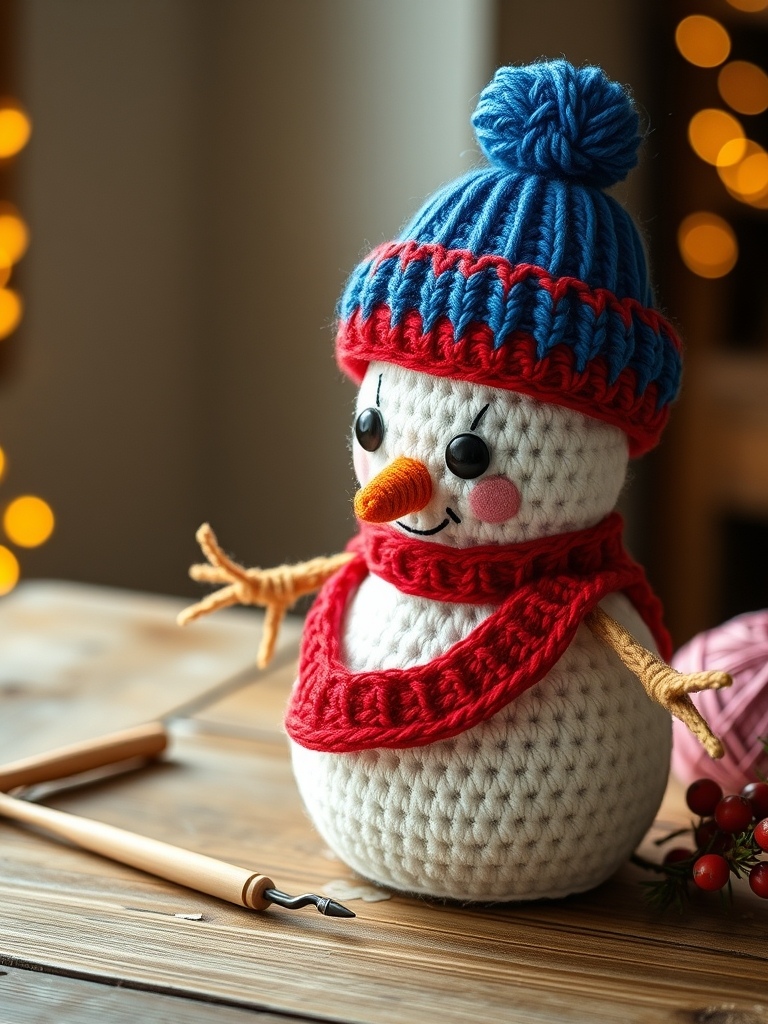
When the first snowflakes drift past the window, my crochet hook starts itching for a cozy, cuddly project. This baby snowman, straight from Sweet Softies’ charming video, brings a warm, handmade touch to any Christmas mantel or gift pile.
Materials & Yarn Recommendations
You’ll need a set of soft, worsted‑weight acrylic yarns that match the video’s palette: pure white for the body, bright red for the scarf, deep blue for the beanie, and golden‑brown for the stick arms. A small amount of orange felt (or yarn) works perfectly for the tiny nose, and two 6 mm black safety eyes add that classic sparkle.
Additional supplies include a 3.5 mm (E‑size) crochet hook, a tapestry needle for weaving in ends, a pair of stitch markers, and a pom‑pom maker (or a simple handful of extra blue yarn). A stitch counter isn’t required but can keep track of the rounds as you work.
Technique Breakdown & Step-by-Step Overview
Start with a magic ring and work the snowman’s head in continuous rounds, using single crochet (sc) for a tight, plush texture. The first round is 6 sc, then increase by 6 each round until you reach 36 stitches, forming a neat dome.
After the head, continue without increasing to shape the body, adding a few rounds of sc to give the snowman a chubby belly. Switch to the red scarf yarn and crochet a simple flat tube—6 sc, 2 rounds of increase, then 6 sc again—to create a snug scarf that you’ll slip over the neck later.
The beanie is crocheted separately: begin with a magic ring of 6 sc in blue, increase to 12, then 24 stitches, working a few rounds of sc before tapering with decreases to form a cute, slouchy cap. Finish the hat with a pom‑pom made from the same blue yarn and attach it with a slip knot.
Embroider the stick arms using golden‑brown yarn and a tapestry needle, stitching two short, slightly curved lines onto each side of the body. Finally, insert the safety eyes, sew on the orange nose, and slip the scarf and hat onto the snowman’s neck and head.
Finishing, Assembly & Holiday Styling Ideas
Weave all yarn tails securely with the tapestry needle, then give the snowman a gentle block to even out the shape without stretching the stitches. Place the finished amigurumi on a festive mantle, a Christmas tree skirt, or inside a stocking for a delightful surprise.
For extra holiday flair, dress the snowman in a tiny knitted sweater, add a miniature pine‑cone hat, or pair several snowmen together for a whimsical winter vignette. The soft white body also looks lovely tucked into a handmade crocheted blanket as a cozy companion.
Pro Crafter Tips
- Use a stitch marker at the start of each round to avoid losing count—especially helpful during the increase phases of the head.
- When attaching the scarf, thread a length of yarn through the first and last stitches of the scarf tube and pull snugly; this creates a seamless, no‑sew finish.
- If you prefer a softer feel, swap the worsted‑weight yarn for a DK (light) weight in the same colors; the snowman will be slightly smaller but just as huggable.
Frequently Asked Questions
Q: Can I use cotton yarn instead of acrylic?
A: Absolutely—cotton gives a crisp, matte finish and is great for a winter‑themed look, just be sure to choose a worsted or DK weight so the stitches stay snug enough for the amigurumi shape.
Q: How do I make the pom‑pom if I don’t have a maker?
A: Wrap a small bundle of blue yarn around a piece of cardboard, tie a tight center knot with a separate piece of yarn, cut the loops, and trim to a fluffy dome—no special tool needed.
Watch the Full Step-by-Step Video Tutorial
Prefer visual guidance? Follow along with the complete video tutorial below at your own pace: