
Introduction & Holiday Inspiration
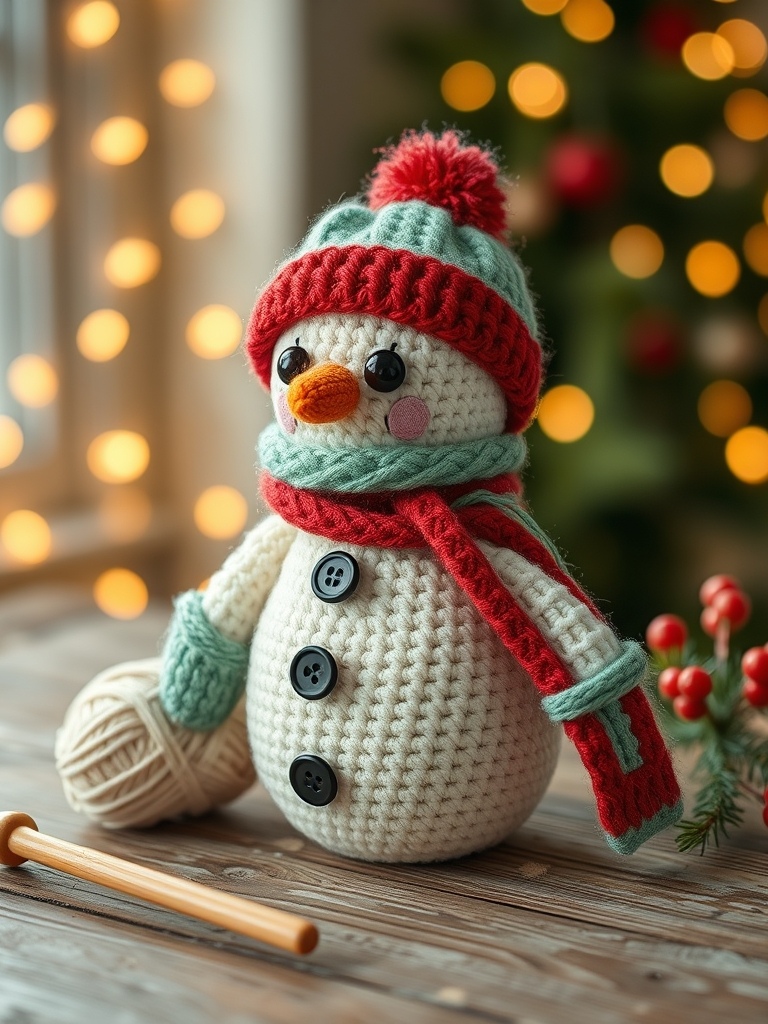
When the first snowflakes drift down, I love turning my crochet hooks into tiny winter wonders. This plush snowman, complete with a fuzzy red scarf and a cheery green‑and‑white hat, brings instant holiday cheer to any mantel or gift bag.
Inspired by Wonder Crochet’s “Easy Crochet Snowman Tutorial,” I’ve broken the video down into a written guide that lets you pause, rewind, and stitch at your own pace. Let’s make a cuddly companion that will warm hearts all season long.
Materials & Yarn Recommendations
- White DK or Sport weight cotton yarn (soft, snow‑like feel) – approx. 150 g
- Red fuzzy yarn for the scarf – 50 g of a plush, chenille‑type yarn
- Green and white worsted weight yarn for the hat – 30 g each
- Orange DK yarn for the carrot nose – a small skein (15 g)
- Black safety eyes (12 mm) and 3 black buttons (½‑inch)
- 4 mm (G/6) crochet hook for the DK work, 5 mm (H/8) for the worsted hat
- Stitch markers, yarn needle, and a pair of scissors
Technique Breakdown & Step-by-Step Overview
Start with a magic ring and work in continuous rounds unless the video calls for a slip stitch join. The snowman’s body is built in three sections: head, torso, and base.
Head: 6 single crochets (sc) in the ring, increase to 12, then 18, and finally 24 stitches over four rounds. Switch to white DK and work 4 rounds of even 24 sc, then begin decreasing (24‑18‑12‑6) to shape the chin where the orange nose will sit.
Nose: Using orange yarn, chain 6, sc in second chain, then work 4 sc in a single stitch to form a tiny carrot shape. Slip it onto the front of the head and secure with a few hidden stitches.
Torso: Return to the 24‑stitch count, crochet 6 rounds of even sc, then increase to 30 stitches for the wider middle. Work 5 rounds, then begin a gentle taper back to 24 stitches for the lower body.
Base: Keep the 24‑stitch count, add 4 rounds of sc, then increase to 30 for the bottom flare. Finish with 3 rounds of decreasing (30‑24‑18‑12‑6) to create a sturdy base that sits flat.
Scarf: With red fuzzy yarn, chain 30, join with a slip stitch, and work 8 rows of single crochets. Fold the scarf in half, seam the short ends, and slip it onto the snowman’s neck.
Hat: Using green yarn, crochet a simple beanie: 6 sc in a magic ring, increase to 12, then 18, work 4 rounds even, then cap off. Add a white pom‑pom by crocheting a tiny sphere and stitching it to the top of the hat.
Finishing, Assembly & Holiday Styling Ideas
Thread the safety eyes onto the head, spacing them evenly above the nose, and sew them securely. Attach the three black buttons down the front of the torso using a yarn needle.
Give the snowman a gentle fluffing to even out the stitches, then place it on a festive wreath, a holiday centerpiece, or gift‑wrap it for a loved one. A tiny pine‑cone or a sprig of holly tucked into the scarf adds an extra seasonal touch.
Pro Crafter Tips
- Use a stitch marker to keep track of the start of each round; it prevents accidental twists when working in the round.
- When switching yarn colors, carry the unused yarn along the back of the work to avoid unsightly holes.
- If the snowman feels too stiff, switch the white yarn to a softer bamboo or alpaca blend for a plus‑her‑size cuddle factor.
Frequently Asked Questions
Q: Can I use a different yarn weight for the hat without changing the size?
A: Yes—just adjust the hook size (use a 4 mm hook for DK and a 5 mm for worsted) and keep the stitch count the same. The hat will sit slightly looser but still look balanced.
Q: How do I make the snowman larger for a toddler’s plush toy?
A: Double the stitch counts for each section (e.g., start with 12 sc in the magic ring) and increase the number of rounds proportionally. Use a larger hook (5 mm for the body) and a sturdier yarn like a light worsted.
Watch the Full Step-by-Step Video Tutorial
Prefer visual guidance? Follow along with the complete video tutorial below at your own pace: