
Introduction & Holiday Inspiration
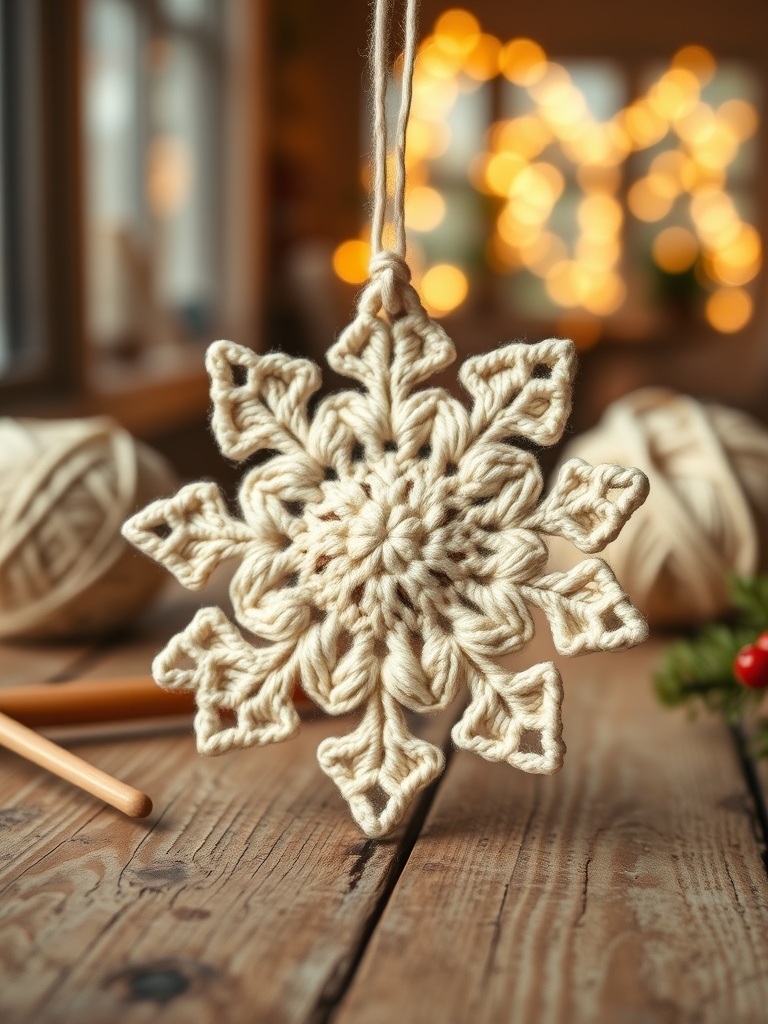
When the first flakes drift down, I love reaching for my crochet hook and turning a simple skein into a sparkling holiday charm. This soft‑cream snowflake makes a perfect tree ornament, gift tag, or window hanger that captures the quiet magic of a winter night.
Even if you’ve never tackled a lace‑style project, Maddy Marie’s quick tutorial shows that a beautiful six‑pointed snowflake can be mastered in under an hour. Let’s dive into the cozy, stitch‑by‑stitch journey together.
Materials & Yarn Recommendations
- Yarn: 100% wool, soft warm cream (medium/worsted weight). A light, fluffy yarn gives the snowflake a delicate drape while staying sturdy enough for hanging.
- Hook: 4 mm (G/6) crochet hook – the perfect balance for crisp stitch definition.
- Scissors, yarn needle, and a small piece of ribbon or twine for hanging.
- Optional: a tiny amount of silver or white embroidery thread for extra sparkle on the picot tips.
Technique Breakdown & Step-by-Step Overview
Start with a magic ring (or a small chain of 4 joined into a ring) to keep the center tight and neat.
Round 1: Work 6 single crochets (sc) into the ring. Pull the tail to close, then join with a slip stitch (sl st) to the first sc. You now have a tiny circle.
Round 2: *Chain 3 (counts as a double crochet), 2 sc in the next stitch*; repeat from * to * around. You’ll have 12 sc and 6 chain‑3 “spokes.” This creates the first set of arms.
Round 3 (Arm Lengthening): Skip the next sc, work 5 dc into the following chain‑3, then 1 sc into the next sc. Continue around. The long dc rows become the main arms of the snowflake.
Round 4 (Picot Points): In each arm, work a picot: (ch 3, sl st into the third ch, then pull the loop through both stitches). This gives the signature delicate points that catch the light.
Final Round: Slip stitch around the entire piece to tidy the edge, then fasten off. Weave in all ends with a yarn needle.
Throughout, keep your tension even; the cream wool shows every stitch, so a consistent gauge makes the snowflake look polished.
Finishing, Assembly & Holiday Styling Ideas
Thread a thin ribbon or twine through the center loop and tie a tiny knot to create a hanging loop. For a festive touch, add a dab of glitter glue to the picot tips or stitch a tiny silver star in the middle.
Hang a handful on your evergreen tree for a cascading sparkle, or attach them to a wreath for a handmade centerpiece. They also work beautifully as gift tags—just slip a small tag through the loop and write a name.
Pro Crafter Tips
- Use a light‑handed hook grip; too much pressure can flatten the picots and hide the lace detail.
- If your wool is a bit bulky, try a slightly larger hook (4.5 mm) to keep the arms from feeling stiff.
- Practice the picot chain on a scrap before the final round—this ensures uniform points and saves time.
Frequently Asked Questions
Q: Can I use a cotton or acrylic yarn instead of wool?
A: Absolutely! Choose a smooth, medium‑weight cotton or acrylic in a similar cream shade. The snowflake will be less warm but still holds its shape, perfect for allergy‑sensitive homes.
Q: How do I make the snowflake larger without changing the pattern?
A: Increase the hook size by 0.5 mm and add an extra round of double crochets on each arm before the picot round. This maintains the design while giving you a bigger, bolder ornament.
Watch the Full Step-by-Step Video Tutorial
Prefer visual guidance? Follow along with the complete video tutorial below at your own pace: