
Introduction & Holiday Inspiration
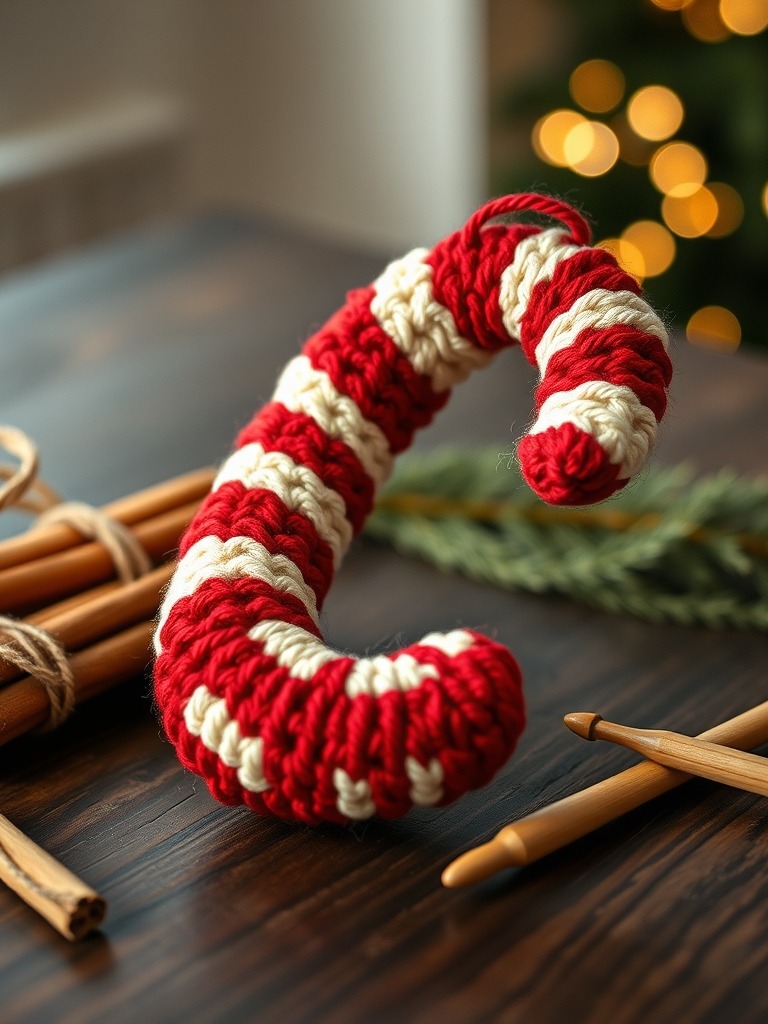
When the first snowflakes drift down, I love adding a touch of handmade charm to my tree. A tiny crocheted candy cane brings the sweet scent of the season into every corner of your home.
This tutorial, inspired by Crocheted By Vivi’s cheerful video, walks you through every stitch so you can create a vibrant red‑and‑cream ornament in just a few evenings.
Materials & Yarn Recommendations
Vivi used a soft worsted‑weight (4‑ply) yarn that gives the ornament a plush feel without being too bulky. Here’s what you’ll need:
- Worsted‑weight yarn in Crimson Red (approximately 50 g)
- Worsted‑weight yarn in Warm Cream (approximately 50 g)
- Size G (4 mm) crochet hook
- 1 mm safety‑eye needle for weaving in ends
- Small metal jump ring (optional, for hanging)
- Scissors and a stitch marker
If you prefer a lighter feel, a DK (light worsted) yarn works well, just keep the hook size the same to maintain the candy‑cane shape.
Technique Breakdown & Step-by-Step Overview
We’ll start with a magic ring, then work in rounds, alternating red and cream to create the classic striped look.
Step 1 – Magic Ring: Make a magic ring, chain 2, and work 6 single crochets (sc) into the ring. Pull tight and join with a slip stitch (sl st) to the top of the first sc.
Step 2 – Increase Round: Chain 2 (counts as first half‑double crochet), 2 sc in each stitch around (12 sc total). Join with sl st.
Step 3 – Body Rounds: Switch to red yarn. Work 2 sc in each stitch for the next round (24 sc). Then, continue with single crochets in each stitch for 4 rounds, keeping the red.
Step 4 – Stripe Change: Change to cream yarn and work a round of single crochets. Alternate colors every round until the ornament reaches about 2 inches tall.
Step 5 – Hook the Curve: To form the candy‑cane bend, start decreasing: *sc in next 2 stitches, sc2tog* repeat around. Follow with a round of single crochets, then another decrease round, shaping a gentle curve.
Step 6 – Finish the Tip: Switch back to red for the final tip. Work 4 rounds of single crochets, then fasten off, leaving a long tail for weaving.
Finishing, Assembly & Holiday Styling Ideas
Thread the yarn tail through a safety‑eye needle and pull it through the last loop to close the tip securely. Weave in all ends on the inside of the ornament.
If you’d like to hang it, attach a small jump ring to the top loop with a jump‑ring clasp or simply slip the ring through the first stitch. Hang the candy cane from a pine branch, a wreath, or a decorative garland for a pop of color.
Pro Crafter Tips
- Keep tension consistent when switching colors; a loose stitch can cause the stripes to look uneven.
- Use a stitch marker at the beginning of each round to avoid losing track of your start point, especially during the decrease rounds.
- For a glossy finish, block the finished ornaments lightly with steam before weaving in ends.
Frequently Asked Questions
Q: Can I use a different yarn weight for a larger ornament?
A: Absolutely! Switch to a bulky (6‑mm) hook and a chunky yarn for a larger, more dramatic candy cane. Just increase the number of increase rounds to keep the proportions balanced.
Q: How do I prevent the red and cream stripes from bleeding together?
A: After each color change, gently pull the yarn tight to seal the seam and use a light wash with a mild detergent before the final block. This helps set the fibers and keeps the colors crisp.
Watch the Full Step-by-Step Video Tutorial
Prefer visual guidance? Follow along with the complete video tutorial below at your own pace: