
Introduction & Inspiration
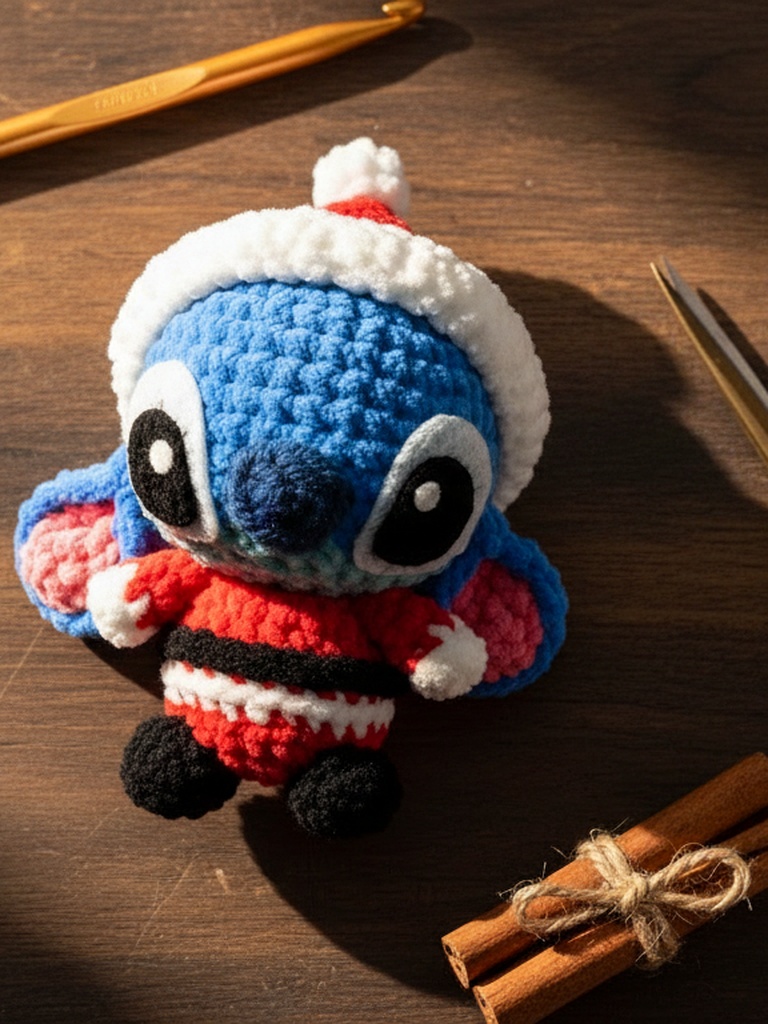
Christmas is the season of giving, warmth, and cozy creations, and few stitches capture that holiday spirit quite like the Santa Stitch. This unique texture mimics the look of a classic Santa hat, featuring a raised, ribbed body with a playful, scalloped edge that resembles a fluffy pom-pom trim. It is an absolute game-changer for holiday decor, adding instant festive flair to blankets, scarves, and even simple greeting cards. If you are looking for a project that looks complex but is actually surprisingly straightforward, this is it. The Santa Stitch creates a thick, warm fabric that holds its shape well, making it perfect for the colder months. Whether you are a seasoned crocheter looking for a new texture or a beginner wanting to learn a stitch that feels like magic, this tutorial will guide you through every loop and turn.
Materials & Yarn Recommendations
To achieve the best results with the Santa Stitch, your material choice is crucial. The stitch relies on tension and height to create its distinctive look, so you need a yarn that has good drape but enough body to stand up on its own. Here is what you will need:
- Yarn: A medium-weight (worsted) yarn works best. Cotton blends provide a crisp finish, while acrylic or wool blends offer superior softness and warmth. For a true holiday look, choose classic red, deep green, or snowy white.
- Hook: Use a hook size recommended on your yarn label, typically 5.0mm or 5.5mm for worsted weight. If your stitches look too tight, go up a size; if they are too loose, go down.
- Extras: A yarn needle for weaving in ends and scissors. You may also want a stitch marker to track the beginning of your rounds if working in the round.
Step-by-Step Stitch Walkthrough
Before we dive into the specific rows, ensure you have a solid foundation chain. The Santa Stitch is typically worked in rows, turning after every pass. The pattern repeats every two rows, creating that alternating texture. Start your first row with a standard single crochet base to establish your edge. For the main body, you will be working a combination of double crochets and chain spaces. The key to this stitch is the ‘bump’ created by the double crochet and the ‘valley’ created by the chain space. As you progress, keep your tension consistent; this is vital for the scalloped edge to look uniform. When you reach the end of the row, turn your work and insert your hook into the chain space of the row below, not the top loop. This specific placement is what gives the Santa Stitch its three-dimensional, ribbed appearance. Continue this process, alternating between the textured double crochet sections and the open chain spaces, until your piece reaches the desired length. The final row often includes a decorative border, such as a simple shell stitch or a picot, to mimic the pom-pom trim of a Santa hat.
Styling & Care Tips
Once your project is complete, blocking is essential to make the Santa Stitch truly pop. Gently wet your finished piece and pin it flat to a board, stretching the scallops slightly to open up the texture. Let it dry completely before removing the pins. For care, hand washing in cold water with a gentle detergent is recommended to preserve the integrity of the yarn. Avoid machine drying, as the heat can cause fibers to shrink or stretch unevenly, distorting the beautiful ribbed pattern. Styling-wise, this stitch is incredibly versatile. Use it for a chunky throw pillow cover, a festive scarf, or a decorative wreath base. Pair a red Santa Stitch scarf with a white knit sweater for a classic holiday look, or use green and white for a more traditional Christmas tree aesthetic. The texture adds visual interest even to simple shapes, making it a standout piece in any holiday collection. Embrace the cozy spirit of the season and let your creativity flow with this charming stitch.