
Introduction & Inspiration
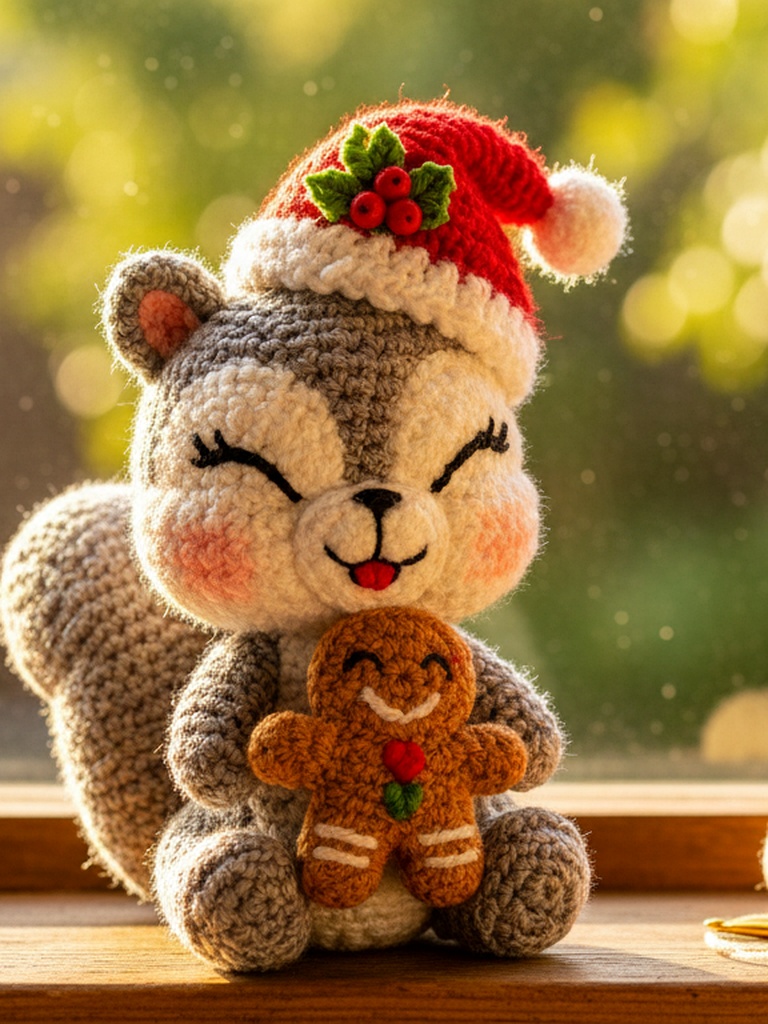
As the holiday season approaches, there is nothing quite as charming as adding a touch of woodland whimsy to your home decor. The Christmas squirrel has become a beloved staple in amigurumi crafting, offering a perfect blend of cuteness and festive spirit. Whether you are a seasoned crocheter or just picking up your hook for the first time, this tutorial is designed to be accessible, fun, and rewarding. Imagine a fluffy, bushy-tailed squirrel perched on your tree branch or sitting on a windowsill, ready to spread holiday cheer. This little creature is not just an ornament; it is a conversation starter and a heartwarming gift that showcases your creativity. In this guide, we will walk you through the entire process, ensuring you have all the tools and knowledge needed to create your own adorable Christmas squirrel.
Materials & Yarn Recommendations
To begin your project, you will need a few essential supplies. The right materials make a significant difference in the final look and durability of your amigurumi. Here is what you should gather:
- Yarn: A medium-weight (worsted) acrylic or cotton yarn works best. Choose festive colors like brown, tan, or cream for the body, and a contrasting color for the belly and tail. Acrylic is durable and holds its shape well, making it ideal for ornaments.
- Crochet Hook: Use a 3.5mm or 4.0mm hook. The exact size may vary depending on your tension, so aim for tight stitches to prevent stuffing from showing through.
- Stuffing: Polyester fiberfill is the standard choice. It is soft, lightweight, and easy to work with.
- Needles: A yarn needle for weaving in ends and a tapestry needle for attaching parts.
- Extras: Black embroidery floss or safety eyes (if preferred), and a small ribbon for hanging.
Step-by-Step Stitch Walkthrough
Creating your squirrel involves working in continuous rounds, which gives the pieces their smooth, seamless appearance. Start with the body, which is typically a sphere. You will begin with a magic ring and increase stitches in the first few rounds to form the base. As you progress, you will work several rounds of single crochet without increasing or decreasing to build the length of the body. When you reach the top, you will begin decreasing to close the shape, leaving a small opening for stuffing. Stuff the body firmly but not so tightly that it distorts the shape.
Next, move on to the head. This piece is similar to the body but slightly smaller. Work in rounds, increasing initially, then maintaining the stitch count, and finally decreasing to close the top. Attach the head to the body using a few secure stitches with your yarn needle. The ears are simple ovals; work a few rounds of single crochet and decrease to close them, then attach them to the top of the head. The tail is the defining feature of the squirrel. Create a long, tapered shape by working in a straight line, increasing at the base and decreasing towards the tip. Stuff the tail lightly to keep it flexible and bushy. Finally, attach the tail to the back of the body. For the face, embroider simple eyes and a nose using black floss, or attach safety eyes before closing the head completely. Add a small ribbon loop to the top of the head for hanging.
Styling & Care Tips
Once your squirrel is complete, the fun part begins: styling. You can hang it on your Christmas tree using the ribbon loop, or place it on a shelf with a small pinecone or berry sprig for added realism. If you are making a set, try varying the yarn colors to create a family of squirrels. For care, avoid washing your amigurumi unless absolutely necessary, as water can distort the shape. If it gets dusty, simply use a soft brush to remove the dust. If you must wash it, hand wash in cold water with mild soap, reshape it while damp, and let it air dry away from direct heat. With proper care, your Christmas squirrel will remain a cherished decoration for many holiday seasons to come. Happy crocheting!