
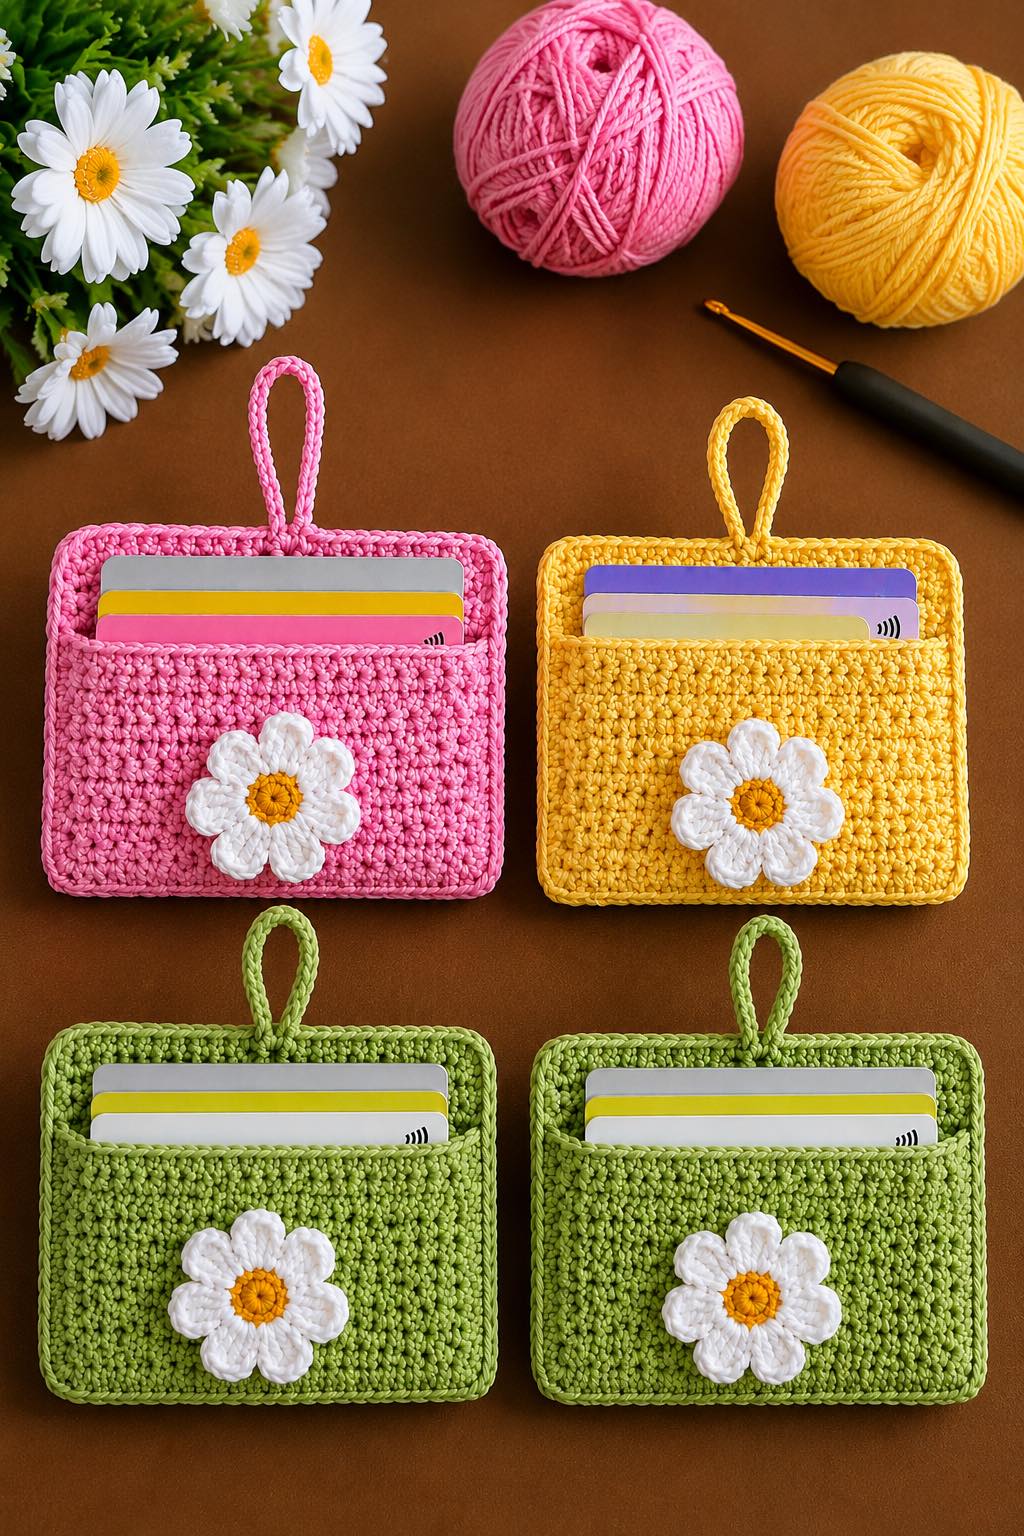
Overview & Design Inspiration
Hello, wonderful makers! Welcome back to our cozy corner of the internet where we celebrate all things handmade. Today, we are diving headfirst into one of the most delightful, practical, and downright addictive little projects to hit the crochet world: the Crochet Card Holder Pattern!
In a fast-paced world of digital wallets and heavy bags, there is something deeply satisfying about carrying a sleek, lightweight, and completely handmade accessory. Not only are these little card sleeves incredibly functional for organizing your IDs and credit cards, but they are also a wonderful canvas for showing off your creative flair, using up scrap yarn, and whipping up a heartfelt gift in just a single afternoon.
Materials & Recommended Supplies
Gathering your supplies for this project is delightfully simple and budget-friendly. Here is everything you need to bring your card holder to life:
- Yarn: Sport weight or DK cotton yarn is ideal. Cotton provides the structure and durability needed for everyday handling.
- Crochet Hook: Size 3.5 mm (US E/4) or a 4.0 mm (US G/6) hook to achieve a tight, secure fabric that keeps cards from slipping.
- Notions: A sharp yarn needle for weaving in ends, and small detail scissors.
- Closures (Optional): A small decorative button, a snap fastener, or a magnetic clasp for added security.
Essential Techniques & Stitch Highlights
The beauty of this project lies in its clever use of simple, foundational techniques. By utilizing sturdy stitches like the single crochet or half double crochet worked tightly, you build a dense, professional-looking fabric that won’t stretch out of shape.
Texture plays a starring role here, too. Many crafters love incorporating ribbed rows, subtle color-blocking, or a neat thermal stitch base to give the card holder extra firmness and a gorgeous, boutique-quality finish without any complicated maneuvering.
Construction & Assembly Highlights
Working on a crochet card holder is wonderfully straightforward and rewarding. The piece typically begins with a neat foundation chain or a small rectangular panel that is cleverly folded to create crisp, pocket-sized compartments.
Once your main body panel is crocheted to size, assembly is a breeze. You simply fold the lower portion up to form your card pockets, seam the clean side edges using an invisible stitch or whip stitch, and finish with a neat border before adding your favorite closure!
Customization & Styling Ideas
One of the absolute best parts of this project is how easy it is to make it your own. You can play with color palettes ranging from earthy neutrals to bright, cheerful stripes that make finding your card holder at the bottom of your tote bag effortless.
Feel free to elevate your piece by sewing on a vintage wooden button, attaching a playful tassel, or embroidering your initials onto the front flap. They make phenomenal, personal gifts for birthdays, holidays, or teacher appreciation days!
Pro Tips for Flawless Results
- Control Your Tension: Keep your stitches nice and even so your card holder has a crisp, professional structure.
- Measure As You Go: Slide an actual credit card into your work midway through to ensure a snug, perfect fit.
- Block Your Finished Piece: A gentle steam block will relax the cotton fibers and give your edges a razor-sharp, polished look.
Frequently Asked Questions
Is this project beginner-friendly?
Absolutely! Because it relies on basic stitches and requires very little yarn, it is a fantastic, low-stress project for confident beginners looking to create something truly useful.
What is the best yarn to use for a card holder?
100% mercerized or standard cotton yarn is the gold standard here. It offers unbeatable durability, crisp stitch definition, and ensures your card holder won’t stretch out over time.
How can I get the full step-by-step instructions?
Be sure to download our comprehensive printable PDF pattern and follow along with the companion video tutorial linked at the top of the page for visual guidance every step of the way!
Watch the Full Step-by-Step Video Tutorial
Prefer visual guidance? Follow along with the complete video tutorial below at your own pace: