
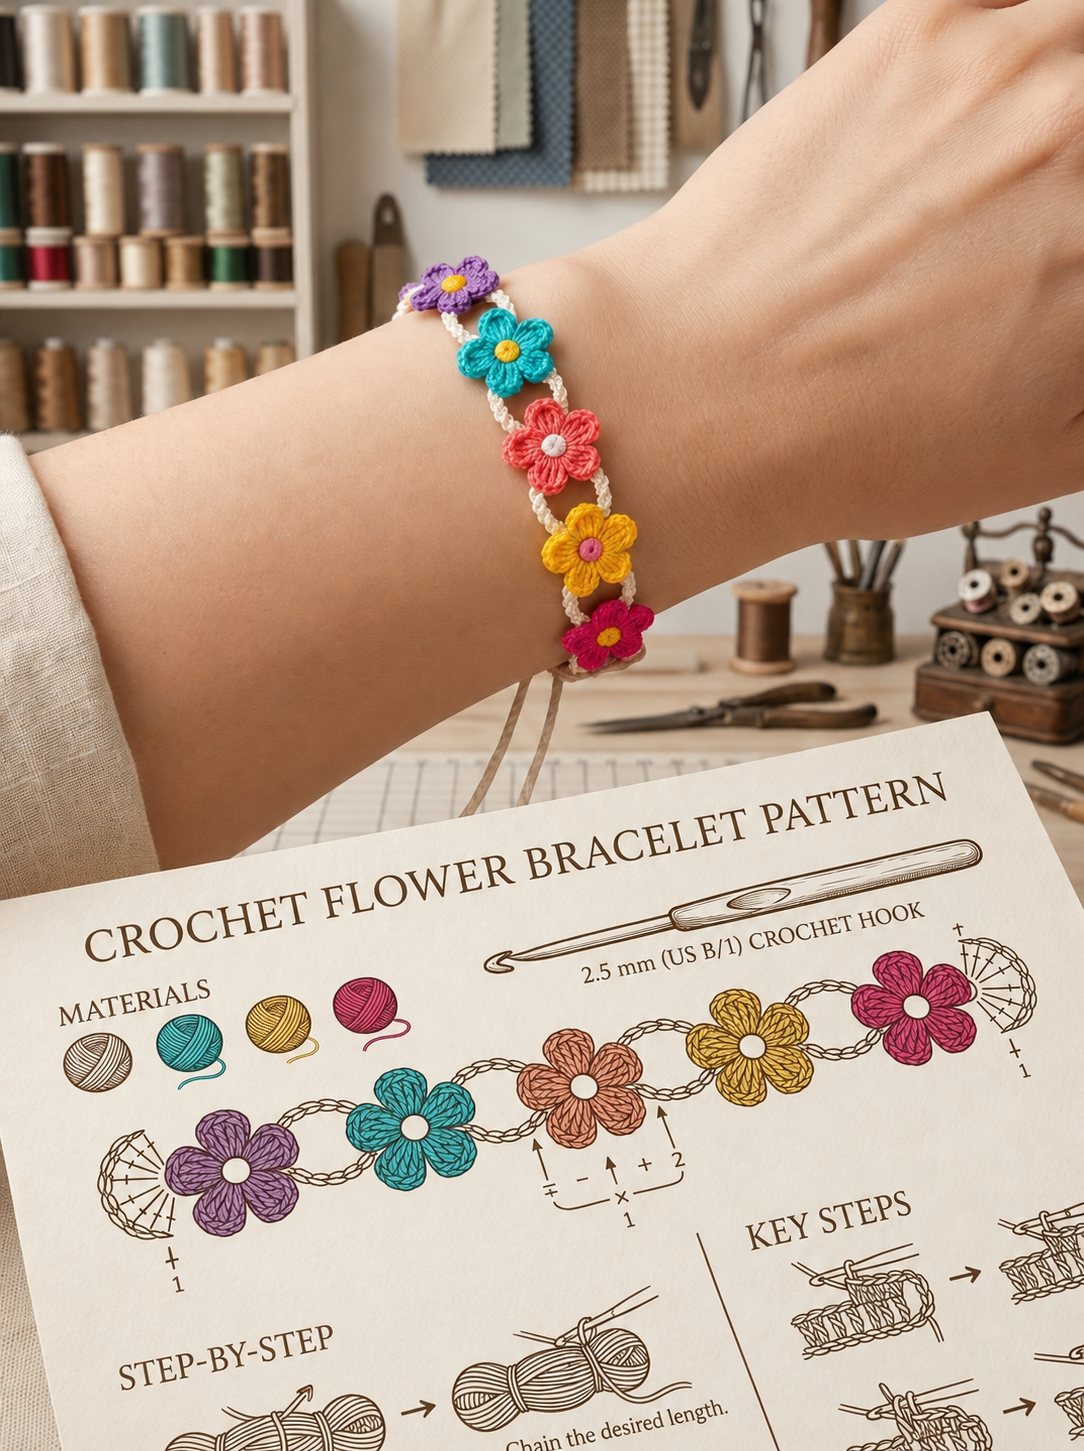
Overview & Design Inspiration
Welcome, my crafty friends! There is something truly magical about turning a simple strand of yarn into a wearable piece of art, and our latest obsession is the charming Crochet Flower Bracelet Pattern. It’s the ultimate project for combining effortless elegance with the soothing rhythm of handmade craftsmanship.
Whether you’re a curious beginner looking for a quick win or an experienced artisan craving a delightful palette cleanser, this sweet floral accessory offers endless room for personalization. Best of all, it transitions seamlessly from a thoughtful, heartfelt gift to a treasured everyday staple in your own wardrobe.
Materials & Recommended Supplies
- Yarn: Lightweight cotton or bamboo blend yarn. These fibers offer incredible stitch definition and breathability for wrist wear.
- Crochet Hook: Smaller hook sizes (such as a 2.5mm or US C/2, and 3.0mm or US D/3) to ensure your flowers hold their crisp shape and crisp definition.
- Notions: Sharp yarn scissors, a tapestry needle for weaving in ends, and stitch markers to keep your motifs organized.
- Closures: Optional buttons, small snaps, or ribbon ties to customize your adjustable bracelet length.
Essential Techniques & Stitch Highlights
Working on delicate accessories is a wonderful way to refine your crochet repertoire without feeling overwhelmed. This project introduces you to the foundational art of working in the round, starting with a classic magic ring to anchor your blossoming petals securely.
You will also practice creating simple base rows using single or half double crochets, which provide a sturdy, comfortable backbone. Mastering these techniques not only guarantees a professional finish but also builds your confidence for tackling grander, lace-heavy garments down the road.
Construction & Assembly Highlights
Bringing this floral wrist candy to life is a deeply satisfying process from start to finish. We begin by measuring the wrist to craft a custom foundation chain, followed by working a stabilizing base strip that ensures your bracelet keeps its structure.
Next comes the most joyful part: crocheting the individual floral motifs in vibrant or pastel hues. Once your blossoms are ready, you will gently sew or crochet them directly onto the base strip, finishing off with a secure closure like a dainty button or a delicate tie.
Customization & Styling Ideas
One of the greatest joys of making handmade accessories is tailoring them to reflect your unique personal style. Try experimenting with mercerized cotton for a subtle, elegant sheen, or mix flower sizes to create a rich, dimensional texture along your wrist.
You can even elevate your design for special occasions by sewing tiny seed beads or faux pearls into the center of each flower. Pair your finished piece with matching floral earrings or a dainty necklace to create a stunning, cohesive handmade set.
Pro Tips for Flawless Results
- Maintain Even Tension: Practice a few practice stitches beforehand to ensure your floral petals and base rows remain uniform and symmetrical.
- Organize Your Workspace: Keep your notions and yarn colors within arm’s reach so you can immerse yourself completely in the therapeutic flow of your crafting session.
- Weave as You Go: Secure your yarn tails immediately after finishing each flower motif to keep your final assembly process clean and stress-free.
Frequently Asked Questions
What is a Crochet Flower Bracelet Pattern?
It is a delightful project guide that shows you how to crochet a supportive base strip and adorn it with charming floral motifs, resulting in a wearable floral accessory.
Is this project suitable for absolute beginners?
Yes, absolutely! It relies on basic, beginner-friendly stitches and offers a wonderful opportunity to practice working in the round and assembling small motifs.
What type of yarn is best to use?
Lightweight cotton or bamboo blends are highly recommended because they are durable, soft against the skin, and offer crisp stitch definition for your flowers.
Watch the Full Step-by-Step Video Tutorial
Prefer visual guidance? Follow along with the complete video tutorial below at your own pace: