
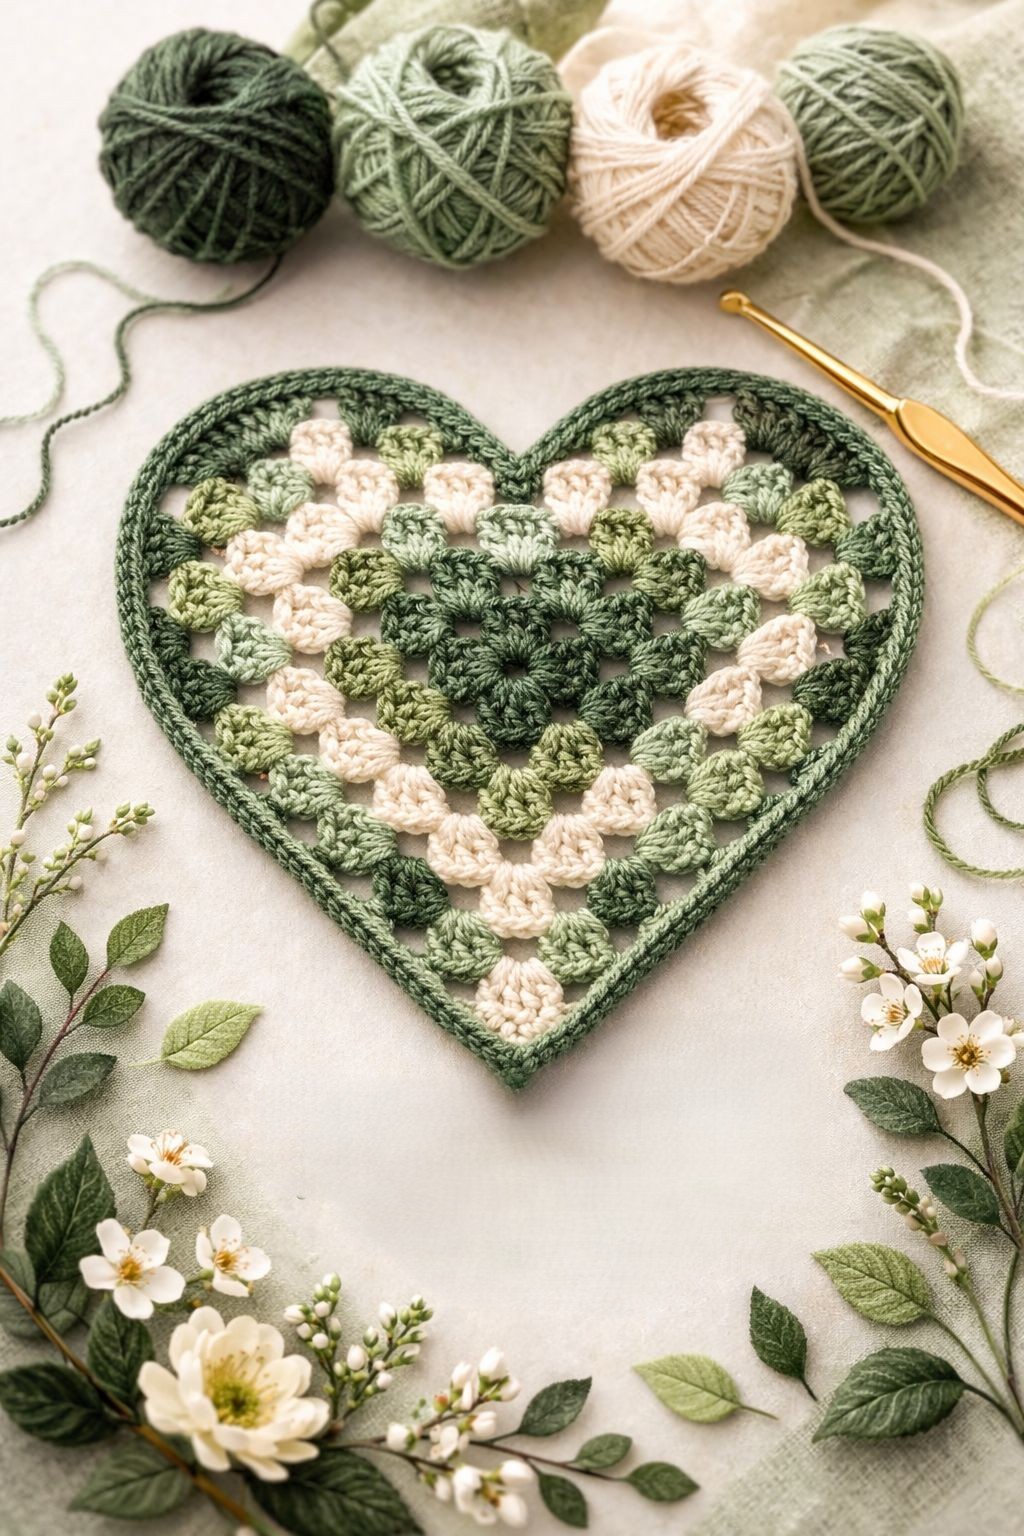
Overview & Inspiration
Welcome to the ultimate guide for making your very own handmade table accents! If you love bringing warmth, charm, and a touch of love into your home decor, you are going to fall head over heels for this project.
Combining the beloved, textured clusters of the classic granny square with a sweet heart silhouette, this project is quick, practical, and deeply satisfying. Whether you are prepping for Valentine’s Day, crafting a thoughtful gift, or simply brightening up your coffee table, let us dive in and turn a simple ball of yarn into something truly special!
Materials & Supplies Needed
- Yarn Weight: Worsted weight (Category 4) or DK weight cotton yarn
- Fiber: 100% Cotton (recommended for absorbency and heat resistance)
- Colors: Main color (MC) for the heart body, contrasting color (CC) for the optional border
- Hook Size: 4.0 mm (US G/6) crochet hook
- Tapestry Needle: For weaving in ends
- Stitch Markers: Optional, for keeping track of your rounds
- Scissors: For clean yarn cutting
- Poly-fill Stuffing: Not needed for a flat coaster, but optional if turning into a mini pillow
Stitches & Abbreviations
- ch – Chain stitch
- sl st – Slip stitch
- sc – Single crochet
- dc – Double crochet
- tr – Treble crochet
- dc-cluster – Double crochet cluster (group of dc worked into the same space)
- st(s) – Stitch(es)
- sp(s) – Space(s)
- MC – Main Color
- CC – Contrasting Color
Step-by-Step Pattern Instructions
Let’s kick off your granny heart coaster by establishing the center and shaping the top curves.
Round 1: The Magic Ring
Start with a magic ring using your MC. Ch 3 (counts as first dc here and throughout), work 2 dc into the ring, ch 2, (3 dc into the ring, ch 2) 3 times. Join with a sl st to the top of the starting ch-3 [12 dc, 4 ch-2 sps].
Round 2: Building the Granny Clusters
Sl st into the next ch-2 space. Ch 3, work (2 dc, ch 2, 3 dc) in the same ch-2 space (first corner made). In the next ch-2 space, work (3 dc, ch 2, 3 dc) to form the second corner. Work 3 dc in the next side space, and work 3 dc in the final side space. Join with a sl st to top of starting ch-3 [24 sts].
Round 3: Shaping the Heart Point
Begin the final shaping round to create the iconic heart silhouette. Ch 1, work a series of sc and dc across the top curves, placing taller tr stitches at the bottom point to elongate the center section. Join with a sl st to the first st [36 sts]. Fasten off MC.
Round 4: The Border
Join your CC in any corner space. Ch 1, work 1 sc in each st around the entire perimeter, working 3 sc in the bottom point to keep it sharp and flat. Join with a sl st to the first sc [40 sc]. Fasten off CC.
Assembly & Finishing Touches
Now that your crochet work is complete, it is time to secure all those loose threads. Use your tapestry needle to weave in all yarn tails securely on the wrong side of the coaster.
To get that crisp, professional finish, lightly block your coaster. Dampen the piece with water, pin it down flat onto a blocking mat into a perfect heart shape using rust-proof pins, and let it dry completely.
Pro Tips for Flawless Results
- Maintain consistent tension when working your double crochet clusters to ensure both sides of the heart are perfectly symmetrical.
- Use 100% cotton yarn so your coaster is durable, washable, and safe for hot mugs.
- Do not skip the blocking step! It instantly sharpens the heart point and keeps the edges from curling.
- Try adding a contrasting border color to make the heart silhouette pop against your main color.
Frequently Asked Questions
What skill level is required for this project?
This project is completely beginner-friendly! If you know how to chain, slip stitch, and double crochet, you have all the essential skills needed.
Why is my coaster curling at the edges?
Curling usually happens if your tension is too tight or if you missed an increase stitch. Loosening your tension slightly and blocking the finished piece will easily solve this.
Can I wash my finished cotton heart coaster?
Yes, absolutely! Because it is made with cotton yarn, you can easily hand wash it and lay it flat to dry to keep it looking fresh.
Watch the Full Step-by-Step Video Tutorial
Prefer visual guidance? Follow along with the complete video tutorial below at your own pace: