
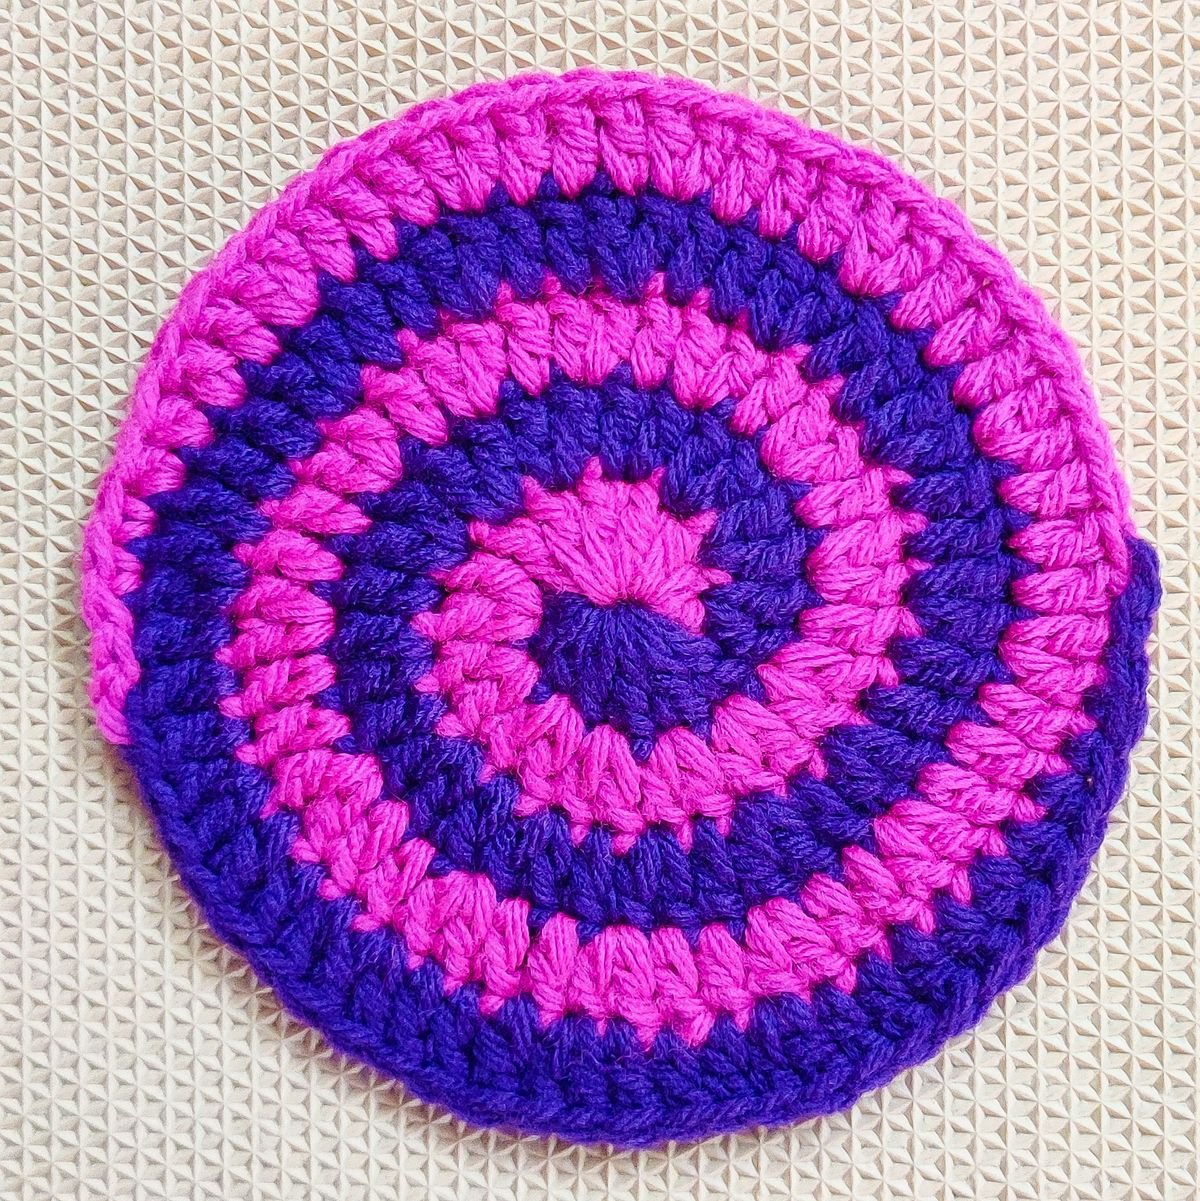
Overview & Inspiration
Welcome to the wonderful world of spiral crochet! If you love working with yarn, mastering a spiral design opens the door to endless creative possibilities, from modern home decor to bold statement pieces.
Spiral crochet can feel a bit confusing at first because it does not follow the traditional joined-round method. Once you understand how continuous rounds work, everything becomes seamless, intuitive, and remarkably fun!
Materials & Supplies Needed
- Medium-weight yarn (Worsted weight / Aran) in your choice of colors
- Fiber content: 100% Cotton or Acrylic blend works wonderfully
- Crochet hook size: 5.0 mm (US H/8)
- Stitch markers (essential for tracking continuous rounds)
- Tapestry needle for weaving in ends
- Sharp scissors
- Fiberfill stuffing (optional, if you turn your spiral into a 3D amigurumi piece)
Stitches & Abbreviations
- ch: chain
- st(s): stitch(es)
- sl st: slip stitch
- sc: single crochet
- hdc: half double crochet
- dc: double crochet
- inc: increase (work 2 single crochets into the same stitch)
- BLO: back loop only
Step-by-Step Pattern Instructions
Begin with a magic ring. Work 6 single crochet (sc) stitches into the ring, then pull the tail tightly to close the center.
- Round 1: Place a stitch marker in the first stitch. Work 2 sc in each st around. [12 sts]
- Round 2: Work 1 sc in the first st, then 2 sc in the next st. Repeat this pattern around. [18 sts]
- Round 3: Work 1 sc in each of the first 2 sts, then 2 sc in the next st. Repeat this sequence around. [24 sts]
- Round 4: Work 1 sc in each of the first 3 sts, then 2 sc in the next st. Repeat this sequence around. [30 sts]
- Round 5: Work 1 sc in each of the first 4 sts, then 2 sc in the next st. Repeat this sequence around. [36 sts]
Assembly & Finishing Touches
Finish your spiral by cutting the yarn, leaving a short tail, and fastening off neatly.
Use an invisible finish technique or weave in your yarn tails securely on the wrong side using a tapestry needle. Lightly steam or block your finished piece to ensure it lays completely flat and highlights your stitches.
Pro Tips for Flawless Results
- Always count your stitches at the end of each round to avoid distorting your spiral’s shape.
- Use a stitch marker faithfully in the first stitch of every round to keep track of your progress.
- Maintain consistent tension so your spiral neither cups inward nor ripples outward.
Frequently Asked Questions
What is the difference between spiral crochet and joined rounds?
Spiral crochet works continuously without joining at the end of each round, creating a seamless look. Joined rounds are closed with a slip stitch, forming visible round lines.
Why does my spiral curl instead of laying flat?
Curling usually happens when there are not enough increases. Make sure you follow the increase pattern carefully and maintain consistent tension.
Do I need a stitch marker for spiral crochet?
Yes, using a stitch marker is highly recommended. It helps track the beginning of each round and prevents counting mistakes.
Watch the Full Step-by-Step Video Tutorial
Prefer visual guidance? Follow along with the complete video tutorial below at your own pace: