
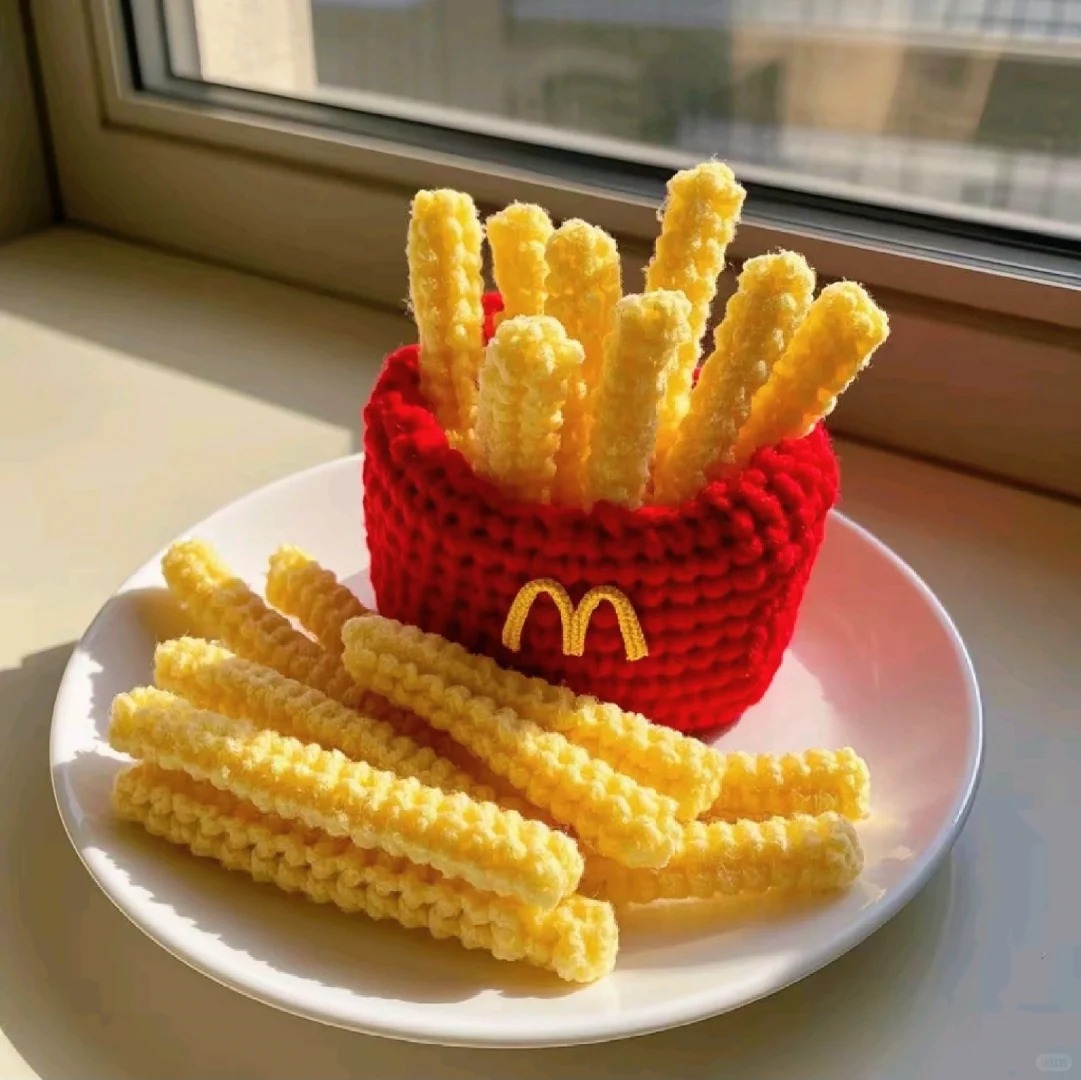
Overview & Inspiration
Welcome, fellow yarn lovers! If you have ever wanted to turn basic yarn into something delightfully whimsical and eye-catching, learning how to crochet a potato chip is going to be your new favorite obsession.
This playful project is fantastic for beginners looking to master shaping techniques, while offering a quick, satisfying win for experienced makers. Whether you want to whip up a quirky keychain, playful food for kids, or a fun party garland, this project brings endless joy to the hook!
Materials & Supplies Needed
- Light yellow or golden yarn (Worsted weight/Category 4)
- Small amounts of brown or orange yarn for seasoning/toasted edges (optional)
- Crochet hook matching your yarn (e.g., US G/6 or 4.0 mm)
- Tapestry needle for weaving in ends
- Stitch markers
- Scissors
Stitches & Abbreviations
- ch = chain
- sl st = slip stitch
- sc = single crochet
- hdc = half double crochet
- dc = double crochet
- inc = increase (work 2 stitches in the same space)
- st(s) = stitch(es)
- rnd = round
Step-by-Step Pattern Instructions
Let’s dive right into crafting your very own crispy creation! Follow these rounds closely to achieve that signature wavy texture.
- Rnd 1: Start with a magic ring. Work 6 sc into the ring, join with a sl st to form a small circle [6 sts].
- Rnd 2: Work an inc in every st around by placing 2 sc into each st [12 sts].
- Rnd 3: Alternate between 1 sc and 1 inc around to maintain a balanced, flat base [18 sts].
- Rnd 4: Switch to hdc. Work 1 hdc in each of the next 2 sts, then add an inc in the 3rd st. Repeat around to begin gentle waves [24 sts].
- Rnd 5: Switch to dc for added height. Increase slightly more frequently by working 1 dc in each of the next 2 sts, then an inc in the next st, producing the signature ruffled look [32 sts].
Assembly & Finishing Touches
Fasten off your yarn, leaving a short tail, and use your tapestry needle to weave in all ends securely. Lightly shape your finished chip with your fingers to emphasize the natural curves.
If you want to take it a step further, add subtle shading using embroidery thread in a slightly darker tone to mimic toasted edges. Allow it to rest in its wave pattern for a lifelike finish!
Pro Tips for Flawless Results
- Maintain consistent tension so your fabric ripples naturally rather than curling too tightly or turning out floppy.
- Count your stitches carefully at the end of each round to ensure your increases are evenly distributed.
- Use stitch markers at the beginning of your continuous rounds to keep track of your shaping progress.
Frequently Asked Questions
What skill level is required for this pattern?
This pattern is completely beginner-friendly! As long as you know basic stitches like single crochet and double crochet, you will do wonderfully.
How long does it take to complete one crochet potato chip?
Most crocheters can easily finish a single piece in 20 to 40 minutes, depending on individual crafting speed.
Why is my crochet chip curling instead of rippling?
Curling usually happens when there are too many increases or your tension is too tight. Try loosening your grip or adjusting your stitch placement.
Watch the Full Step-by-Step Video Tutorial
Prefer visual guidance? Follow along with the complete video tutorial below at your own pace: