
Overview & Inspiration
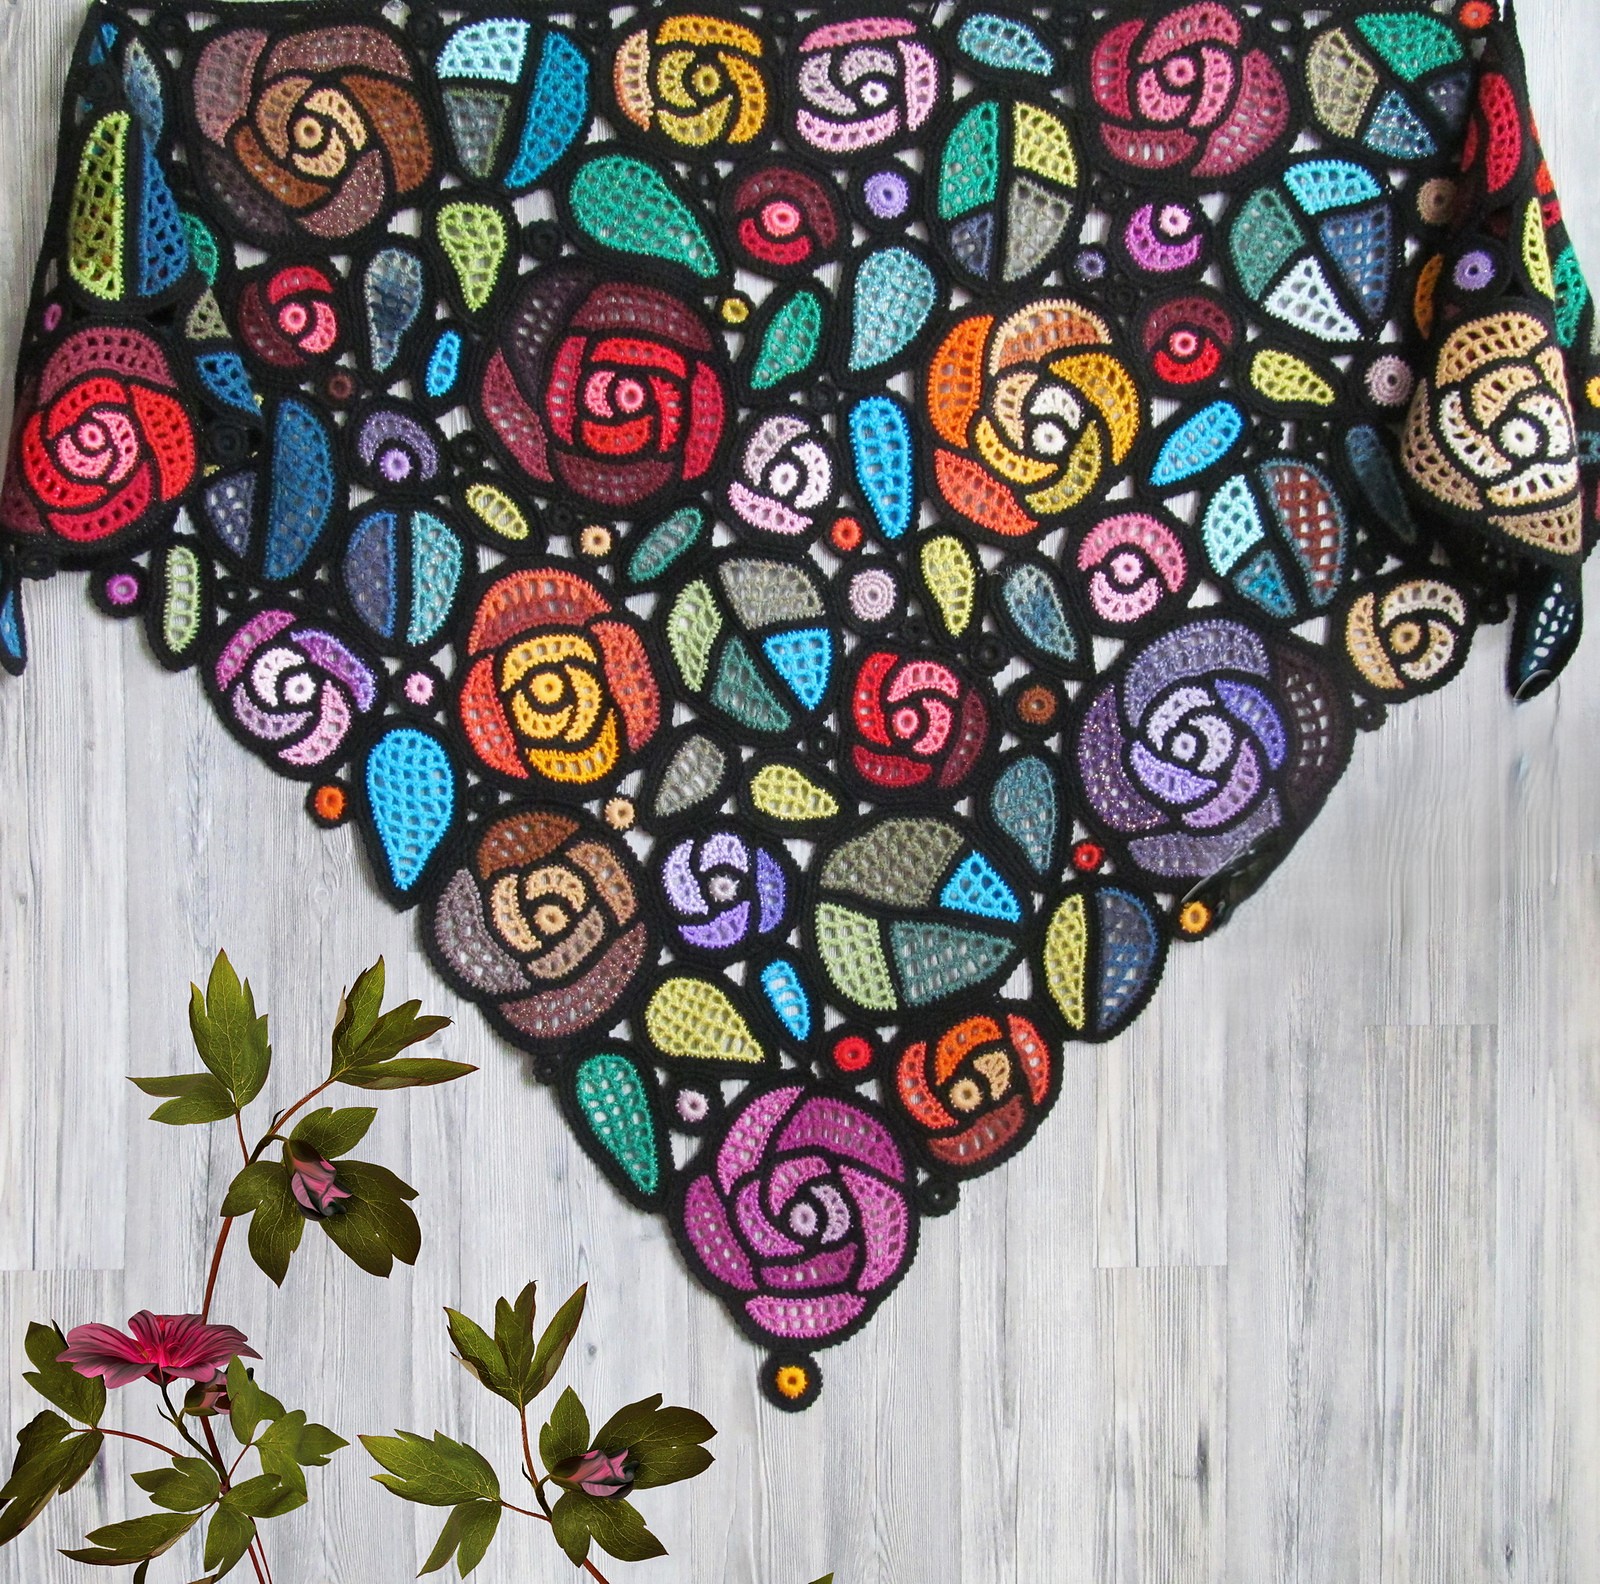
Welcome, fellow yarn lovers! If you have been searching for a project that feels truly artistic, timeless, and deeply satisfying, you are going to fall completely in love with the Stained Glass Crochet Roses Pattern.
This design combines the delicate, romantic beauty of layered crochet flowers with the dramatic, graphic punch of stained glass framing. By pairing vibrant floral centers with bold, dark outlines, you get a stunning cathedral-window effect that looks endlessly complex yet breaks down into wonderfully manageable steps.
Materials & Supplies Needed
- Medium-weight yarn (Worsted weight / Category 4) for optimal structure and definition
- Fibers: Cotton yarn for crisp stitch definition, or smooth acrylic for warmth and durability
- Colors: Assorted vibrant shades for the rose motifs (jewel tones recommended) and a dark contrasting color (black or dark brown) for the stained glass outlines
- Crochet hook: 5.0 mm (US H/8) or size needed to obtain gauge
- Tapestry needle for weaving in ends and seaming
- Stitch markers to keep track of your rounds and corners
- Sharp scissors
- Optional fiberfill stuffing if adding a dimensional backing
Stitches & Abbreviations
- ch – chain
- sl st – slip stitch
- sc – single crochet
- hdc – half double crochet
- dc – double crochet
- tr – treble crochet
- st(s) – stitch(es)
- rnd(s) – round(s)
- rep – repeat
- RS – right side
Step-by-Step Pattern Instructions
We begin by crafting the gorgeous central rose motif before squaring it off with our geometric framing stitches.
- Round 1 (Rose Center): Using your magic ring or a 4 ch loop foundation, work [1 sc, ch 2] 6 times into the ring, join with a sl st to the first sc [18 sts including ch spaces].
- Round 2 (Base Petals): Working into each ch-2 space around, work (1 sc, 1 hdc, 1 dc, 1 hdc, 1 sc), sl st between the petal spaces to secure [30 sts].
- Round 3 (Layered Petals): Working behind the previous round into the skipped sts of Rnd 1, ch 3, work 1 dc around the post of the previous sc, working the next petals with increased height for fullness [42 sts]. Fasten off rose color.
- Round 4 (The Square Frame): Join your dark outline yarn in any petal tip, ch 3 (counts as first dc here and throughout), work (2 dc, ch 2, 3 dc) in the same corner space to square off the circle [54 sts].
- Round 5 (Expanding the Panel): Work 1 dc in each st across the sides, working (2 dc, ch 2, 2 dc) in each corner ch-2 space to complete the geometric tile shape [70 sts]. Fasten off.
Assembly & Finishing Touches
Lay out your completed squares on a flat surface to plan your color mosaic. Alternate your rose shades or group them strategically for maximum visual impact.
Block each individual square gently using steam or wet blocking before joining. This ensures your stained glass outlines remain sharp and geometric.
Seam the panels together from the wrong side using a whip stitch or flat slip stitch join. Use your dark outline yarn to keep the authentic lead-line illusion cohesive across the entire piece.
Weave in all remaining yarn tails securely with your tapestry needle. Add an optional wide dark border around the perimeter of the finished project to complete the cathedral window look.
Pro Tips for Flawless Results
- Maintain a consistent, even tension throughout your outlining rounds to prevent the square panels from warping or cupping.
- Practice a small gauge swatch of the squaring round before diving into a massive blanket project.
- Choose mercerized cotton if you want maximum stitch definition and a vibrant, jewel-toned color payoff.
Frequently Asked Questions
What skill level is required for this pattern?
This pattern is best suited for intermediate crocheters because it combines layered floral motifs with structured framing techniques. However, confident beginners who are comfortable with basic stitches and following instructions can easily succeed with a little patience.
What type of yarn works best for achieving the stained glass effect?
Yarn with crisp stitch definition, such as 100% cotton or a smooth acrylic blend, works best. The secret is ensuring a strong color contrast between your bright rose colors and your dark outlining yarn.
Can I adjust this pattern to make different project sizes?
Absolutely! You can easily adapt the number of squares to create anything from a small cushion cover or table runner to a full-sized throw blanket, wall hanging, or wearable shawl.
Watch the Full Step-by-Step Video Tutorial
Prefer visual guidance? Follow along with the complete video tutorial below at your own pace: