
Overview & Inspiration
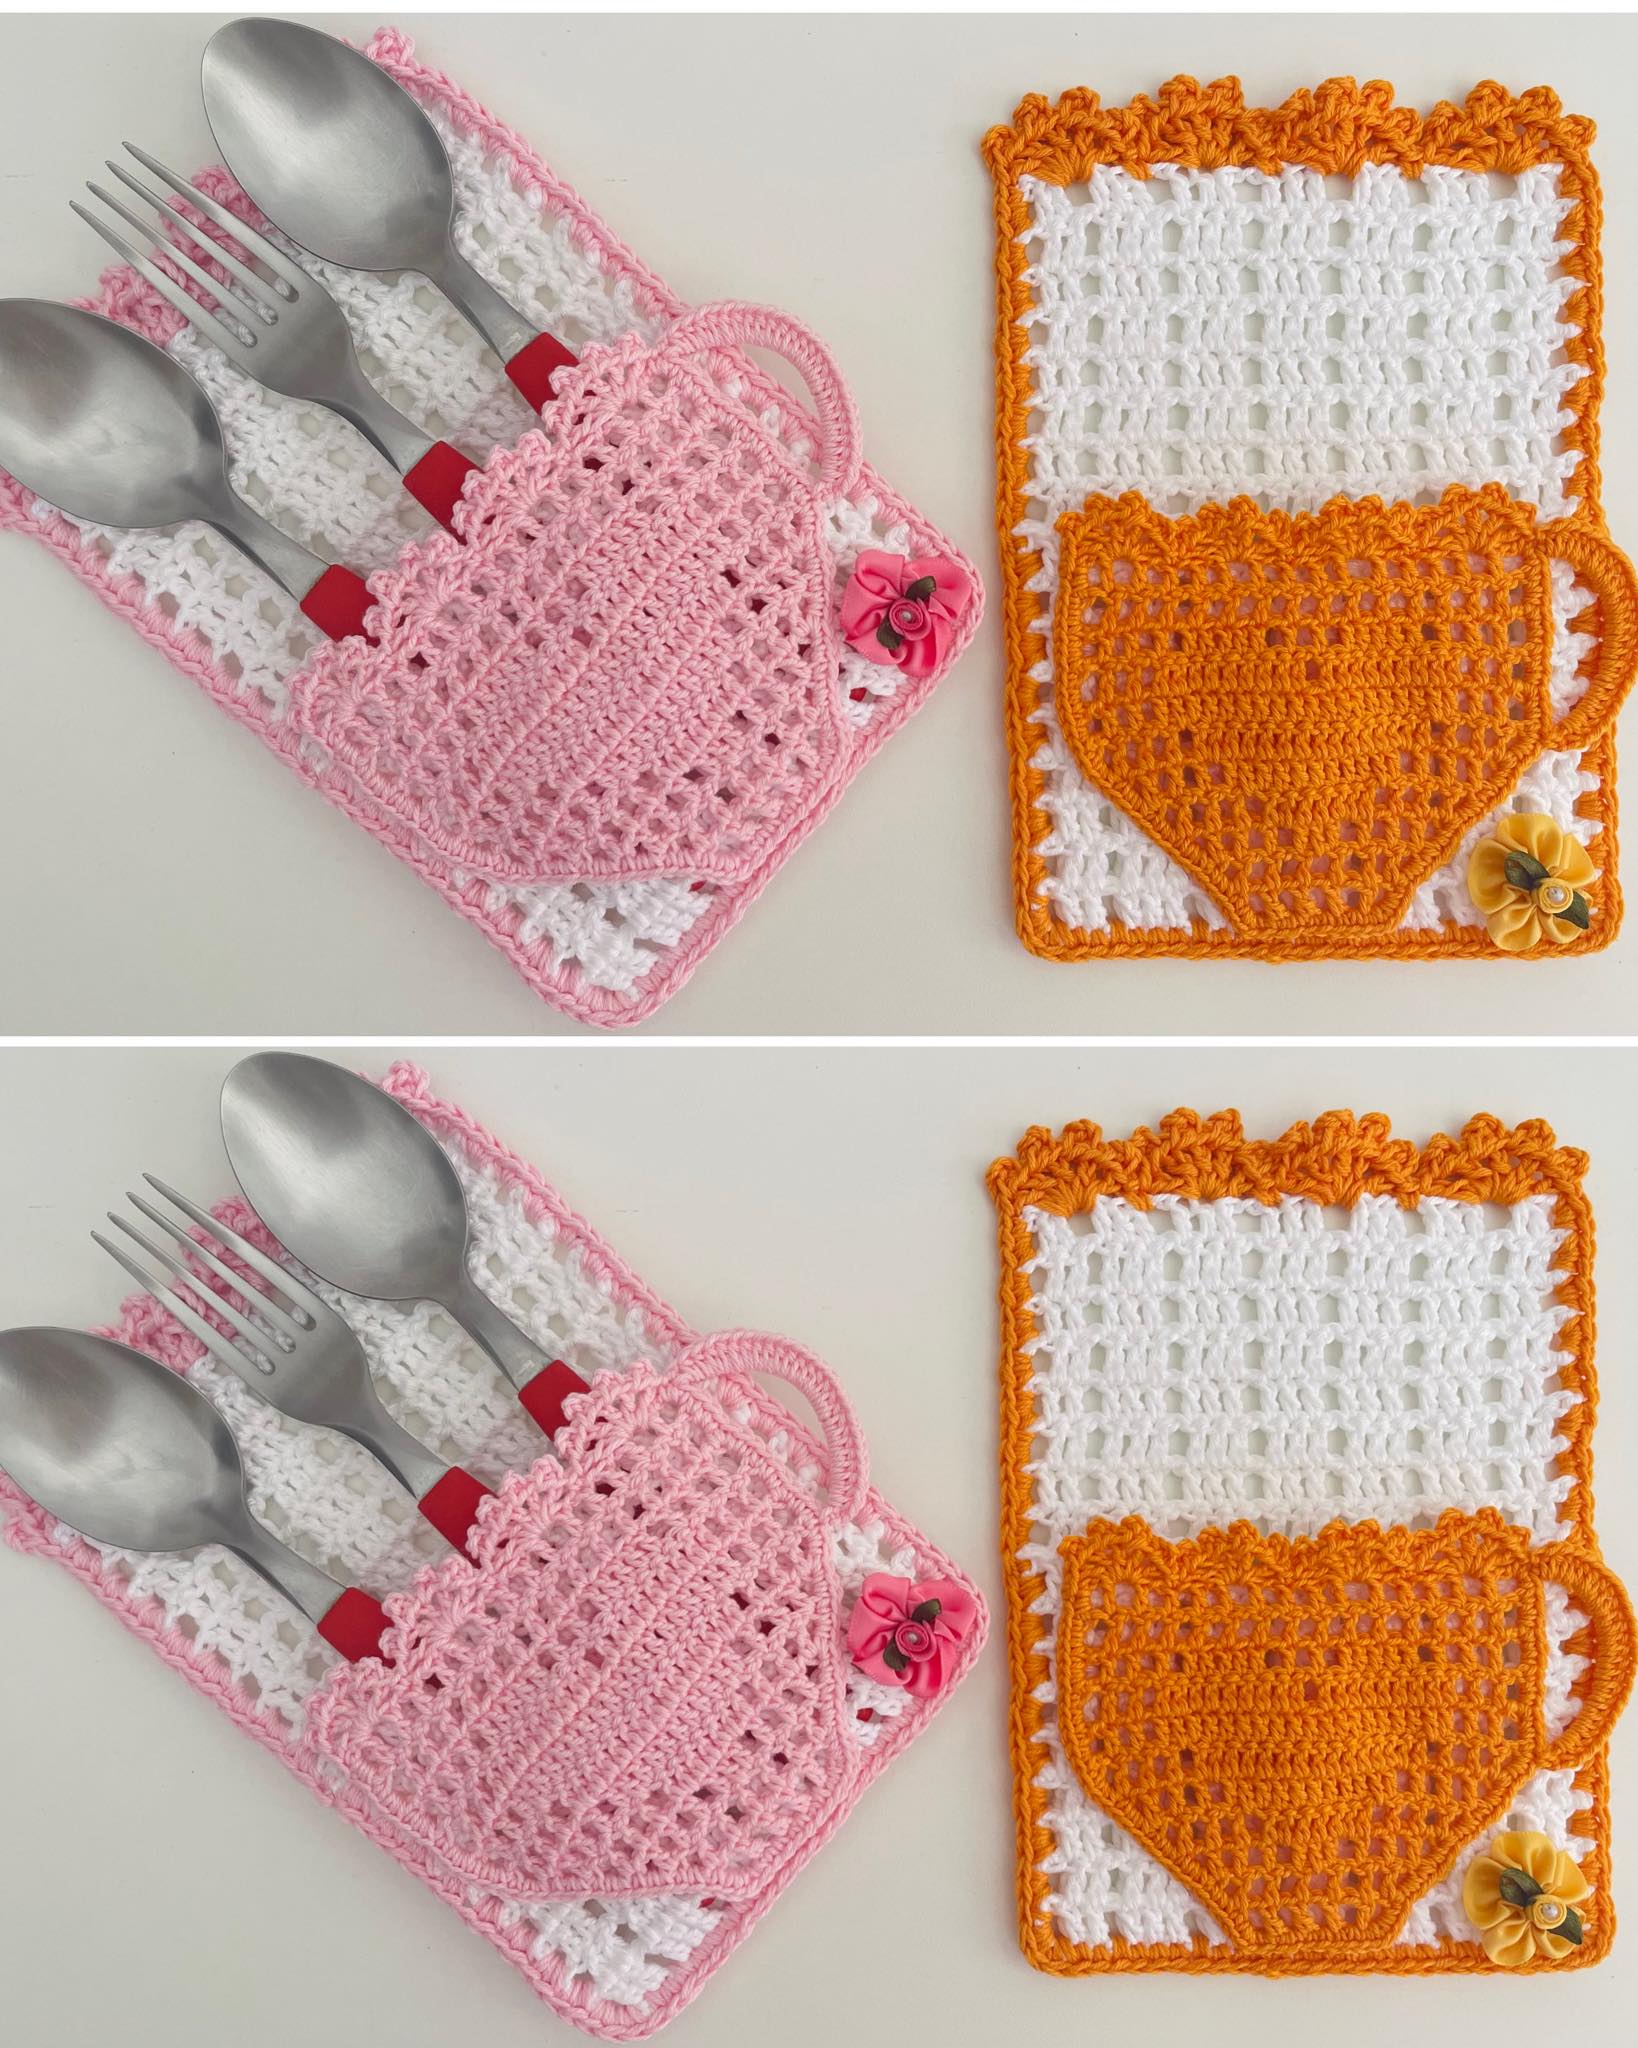
Hello, my wonderful maker friends! Welcome back to the studio, where today we are diving into a charming, practical, and utterly delightful project: the Crochet Cutlery Holder in the Shape of Cups Pattern. If you love adding handmade warmth to your dining table, this project is an absolute must-make.
Whether you are setting up a cozy family dinner, hosting a festive holiday feast, or planning a themed party, these adorable cup-shaped holders keep your forks, knives, and spoons organized in style. It is a quick, deeply satisfying make that blends functionality with pure creative joy!
Materials & Supplies Needed
- Yarn: Medium-weight (Worsted / #4) cotton yarn. Cotton is durable, washable, and holds a sturdy shape.
- Colors: Main color for the cup body, and accent colors for rims or handles if desired.
- Crochet Hook: 4.0 mm (US G/6) hook to ensure a nice, firm tension that helps the cup stand upright.
- Notions: Tapestry needle for weaving in ends, stitch markers to keep track of your rounds, and sharp scissors.
- Optional: A small amount of scrap yarn if you want to experiment with color blocking.
Stitches & Abbreviations
- Ch: Chain
- Sl st: Slip stitch
- Sc: Single crochet
- Inc: Increase (work 2 sc in the same stitch)
- BLO: Back loop only
- St(s): Stitch(es)
- Rnd: Round
Step-by-Step Pattern Instructions
We will build this adorable cutlery cup from the bottom up, working in continuous spirals without joining rounds unless specified. Grab your hook and let’s get started!
- Rnd 1: Start with a magic ring, work 6 sc into the ring. Pull tight to close. [6 sts]
- Rnd 2: Work 2 sc in each st around. [12 sts]
- Rnd 3: (1 sc in next st, inc in next st) repeat around. [18 sts]
- Rnd 4: (1 sc in each of next 2 sts, inc in next st) repeat around. [24 sts]
- Rnd 5: Work 1 sc in the BLO of each st around. This creates a crisp, flat base edge! [24 sts]
- Rnds 6–14: Work 1 sc in both loops of each st around. This builds the tall walls of your cup. [24 sts per rnd]
- Rnd 15 (Optional Rim): Switch to your contrasting color and work 1 sl st in each st around for a clean, decorative edge. Fasten off.
Assembly & Finishing Touches
Now that your crochet cup is formed, it is time to give it a professional finish. Take your tapestry needle and carefully weave in all remaining yarn tails along the inside base of the cup.
To help the cup stand proudly upright, gently stretch and shape the walls with your hands. If needed, a light steam block or misting with water followed by air drying in the cup shape will lock in that crisp structure.
Pro Tips for Flawless Results
- Maintain Firm Tension: Keep your stitches nice and snug so your cutlery holder stands upright on its own without slouching.
- Use Cotton Yarn: Stick to 100% cotton fibers; acrylic can stretch out too easily and lacks the rigid structure needed for holding utensils.
- Mark Your First Stitch: Always use a stitch marker at the start of your rounds to avoid losing your count while working in a spiral.
- Play with Colors: Experiment with stripes or seasonal color palettes to match different holidays and celebrations throughout the year.
Frequently Asked Questions
What skill level is required for this pattern?
This pattern is fantastic for ambitious beginners who understand basic stitches like single crochet and working in the round, while offering fun customization options for seasoned makers.
Can I resize the crochet cutlery holder?
Yes, absolutely! You can make the base wider by adding more increase rounds, or make the cup taller simply by working a few extra straight rounds before finishing.
Is this pattern safe for use around food?
When made with clean, washable cotton yarn and kept laundered, these holders are entirely safe for organizing and presenting clean cutlery at the dining table.
Watch the Full Step-by-Step Video Tutorial
Prefer visual guidance? Follow along with the complete video tutorial below at your own pace: