
Overview & Inspiration
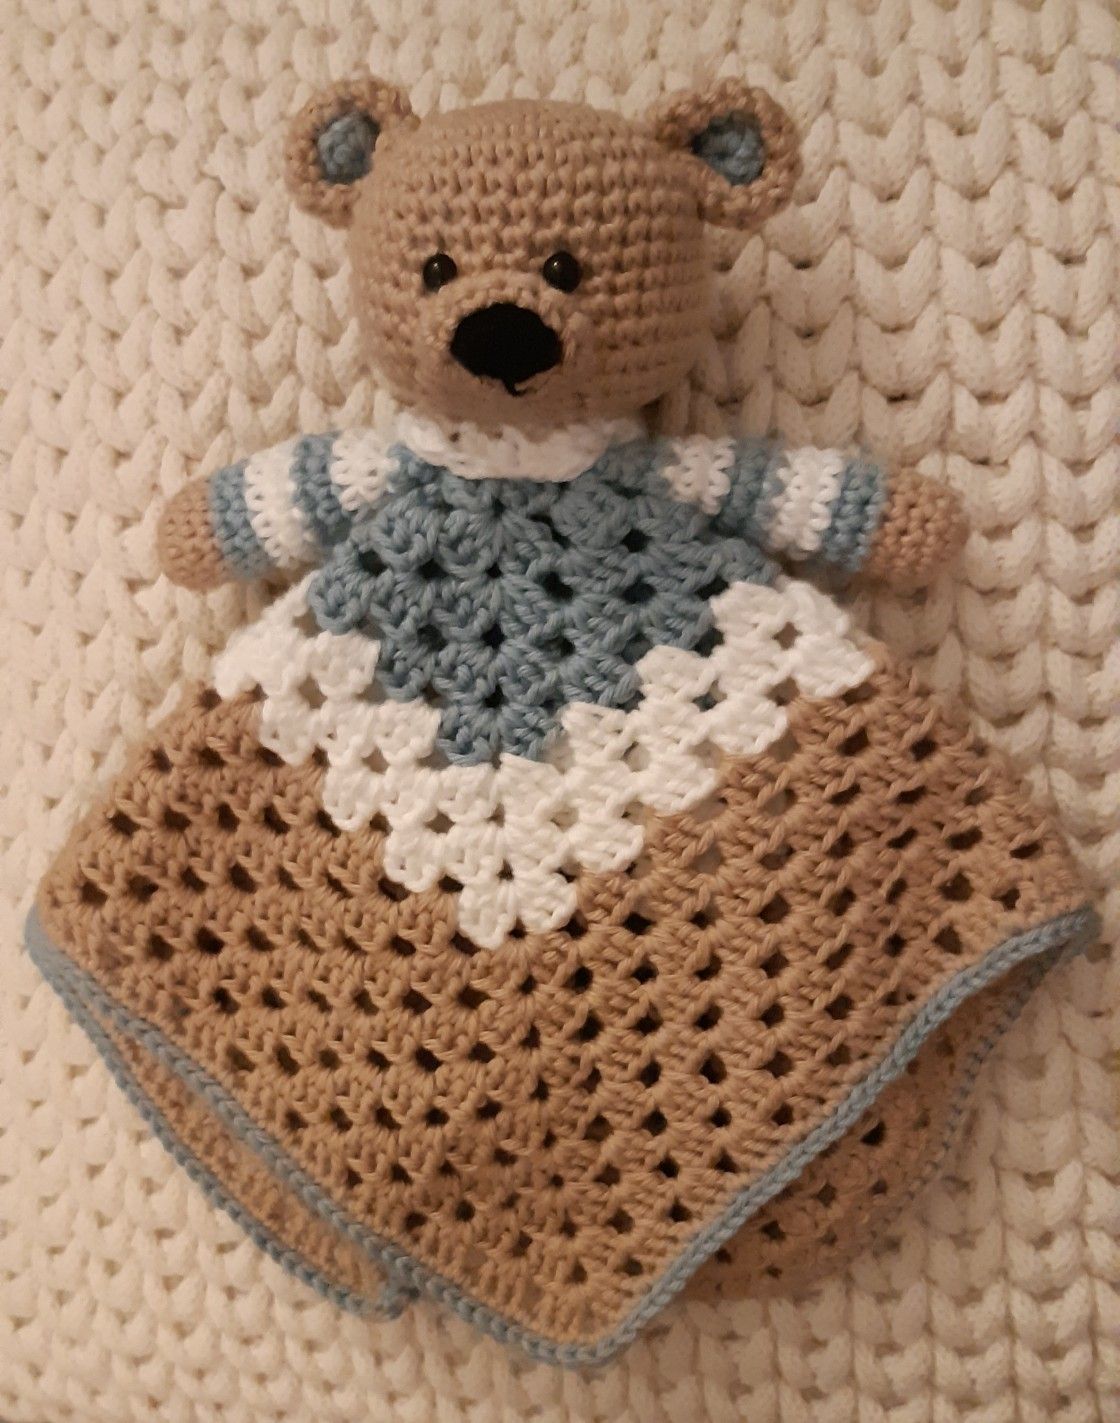
Welcome, my crafty friends! There is truly nothing quite like the magic of creating a handmade lovey, and today we are diving heart-first into the charming world of the Crochet Bear Lovey Pattern.
This sweet project beautifully blends the comfort of a classic blankie with the irresistible cuteness of an amigurumi bear. Whether you are stitching up a treasured baby shower gift or a keepsake for your own little one, this portable, huggable companion is guaranteed to bring warmth and joy.
Materials & Supplies Needed
- Yarn: Lightweight or medium-weight yarn (DK or Worsted Weight, approx. 150-200 yards total in main bear color and blanket contrast colors)
- Fibers: Soft cotton or acrylic blends that are gentle on sensitive skin and machine washable
- Crochet Hook: 3.5 mm (US E/4) for the bear head and arms to ensure tight, neat stitches
- Crochet Hook: 4.0 mm (US G/6) or 4.5 mm (US 7) for the blanket base
- Tapestry Needle for weaving in ends and secure seaming
- Stitch Markers to keep track of your rounds
- Sharp Scissors
- Polyfill Stuffing for the bear head
- Embroidery floss (black or dark brown) for safe, adorable facial features
Stitches & Abbreviations
- MR: Magic Ring
- ch: Chain
- sc: Single Crochet
- hdc: Half Double Crochet
- dc: Double Crochet
- sl st: Slip Stitch
- inc: Increase (work 2 sc in the same stitch)
- inv-dec: Invisible Decrease
- st(s): Stitch(es)
- FO: Fasten Off
Step-by-Step Pattern Instructions
Part 1: The Bear Head (Worked in the Round)
Using your 3.5 mm hook and main bear yarn color, begin with a Magic Ring.
- Round 1: Work 6 sc in MR. [6 sts]
- Round 2: Work inc in each st around. [12 sts]
- Round 3: (Sc in next st, inc in next st) repeat around. [18 sts]
- Round 4: (Sc in next 2 sts, inc in next st) repeat around. [24 sts]
- Rounds 5 to 9: Sc in each st around. [24 sts]
- Round 10: (Sc in next 2 sts, inv-dec) repeat around. [18 sts]
- Stuff the bear head firmly with polyfill.
- Round 11: (Sc in next st, inv-dec) repeat around. [12 sts]
- Round 12: Work inv-dec 6 times. [6 sts]
- FO, leaving a long tail for sewing, and close the remaining gap securely.
Part 2: The Bear Ears (Make 2)
Using your 3.5 mm hook and main bear yarn color, start with a Magic Ring.
- Round 1: Work 6 sc in MR. [6 sts]
- Round 2: Work inc in each st around. [12 sts]
- Rounds 3 to 4: Sc in each st around. [12 sts]
- FO, leaving a long tail for attaching to the head. Do not stuff the ears.
Part 3: The Blanket Base
Using your larger blanket hook and your chosen blanket yarn, start with a Magic Ring or ch 4 and join with a sl st to form a ring.
- Round 1: Ch 3 (counts as first dc here and throughout), work 2 dc, ch 2, (3 dc, ch 2) 3 times into the ring. Join with sl st to top of starting ch-3.
- Round 2: Sl st into the next 2 sts and into the ch-2 corner space. Ch 3, work (2 dc, ch 2, 3 dc) in the same corner space. *Work [3 dc, ch 2, 3 dc] in the next ch-2 corner space*; repeat from * around. Join with sl st.
- Rounds 3 to 10: Continue working in the classic granny square or textured hdc/dc blanket pattern, increasing at each corner (3 dc, ch 2, 3 dc) on every round until your blanket measures approximately 12 by 12 inches. FO and weave in ends.
Assembly & Finishing Touches
Embroider the sleepy eyes and cute nose onto the bear head using your embroidery floss before final attachment to ensure a baby-safe design.
Sew the ears firmly onto the top sides of the stuffed bear head, curving them slightly if desired.
Center the finished bear head securely onto the middle of your completed blanket base, using the long yarn tail and whip stitch to attach it tightly through multiple secure points.
Pro Tips for Flawless Results
- Maintain consistent tension, especially on the bear head, to prevent the polyfill stuffing from peeking through your stitches.
- Always opt for embroidered facial features instead of plastic safety eyes to keep your lovey completely safe for newborns and babies.
- Block your blanket base lightly if needed to ensure the square lays completely flat and crisp before attaching the head.
Frequently Asked Questions
What is a Crochet Bear Lovey Pattern used for?
A Crochet Bear Lovey Pattern is used to create a small comfort blanket attached to a soft bear head, designed specifically as a soothing, portable companion for babies and toddlers.
Is the Crochet Bear Lovey Pattern suitable for beginners?
Yes! While it combines amigurumi shaping for the head with blanket stitching, the individual components use simple, fundamental stitches that adventurous beginners can easily master.
What type of yarn works best for a Crochet Bear Lovey Pattern?
Soft, durable, and washable yarns such as 100% cotton or premium acrylic blends are highly recommended so the lovey is gentle on baby skin and easy to clean.
Watch the Full Step-by-Step Video Tutorial
Prefer visual guidance? Follow along with the complete video tutorial below at your own pace: