
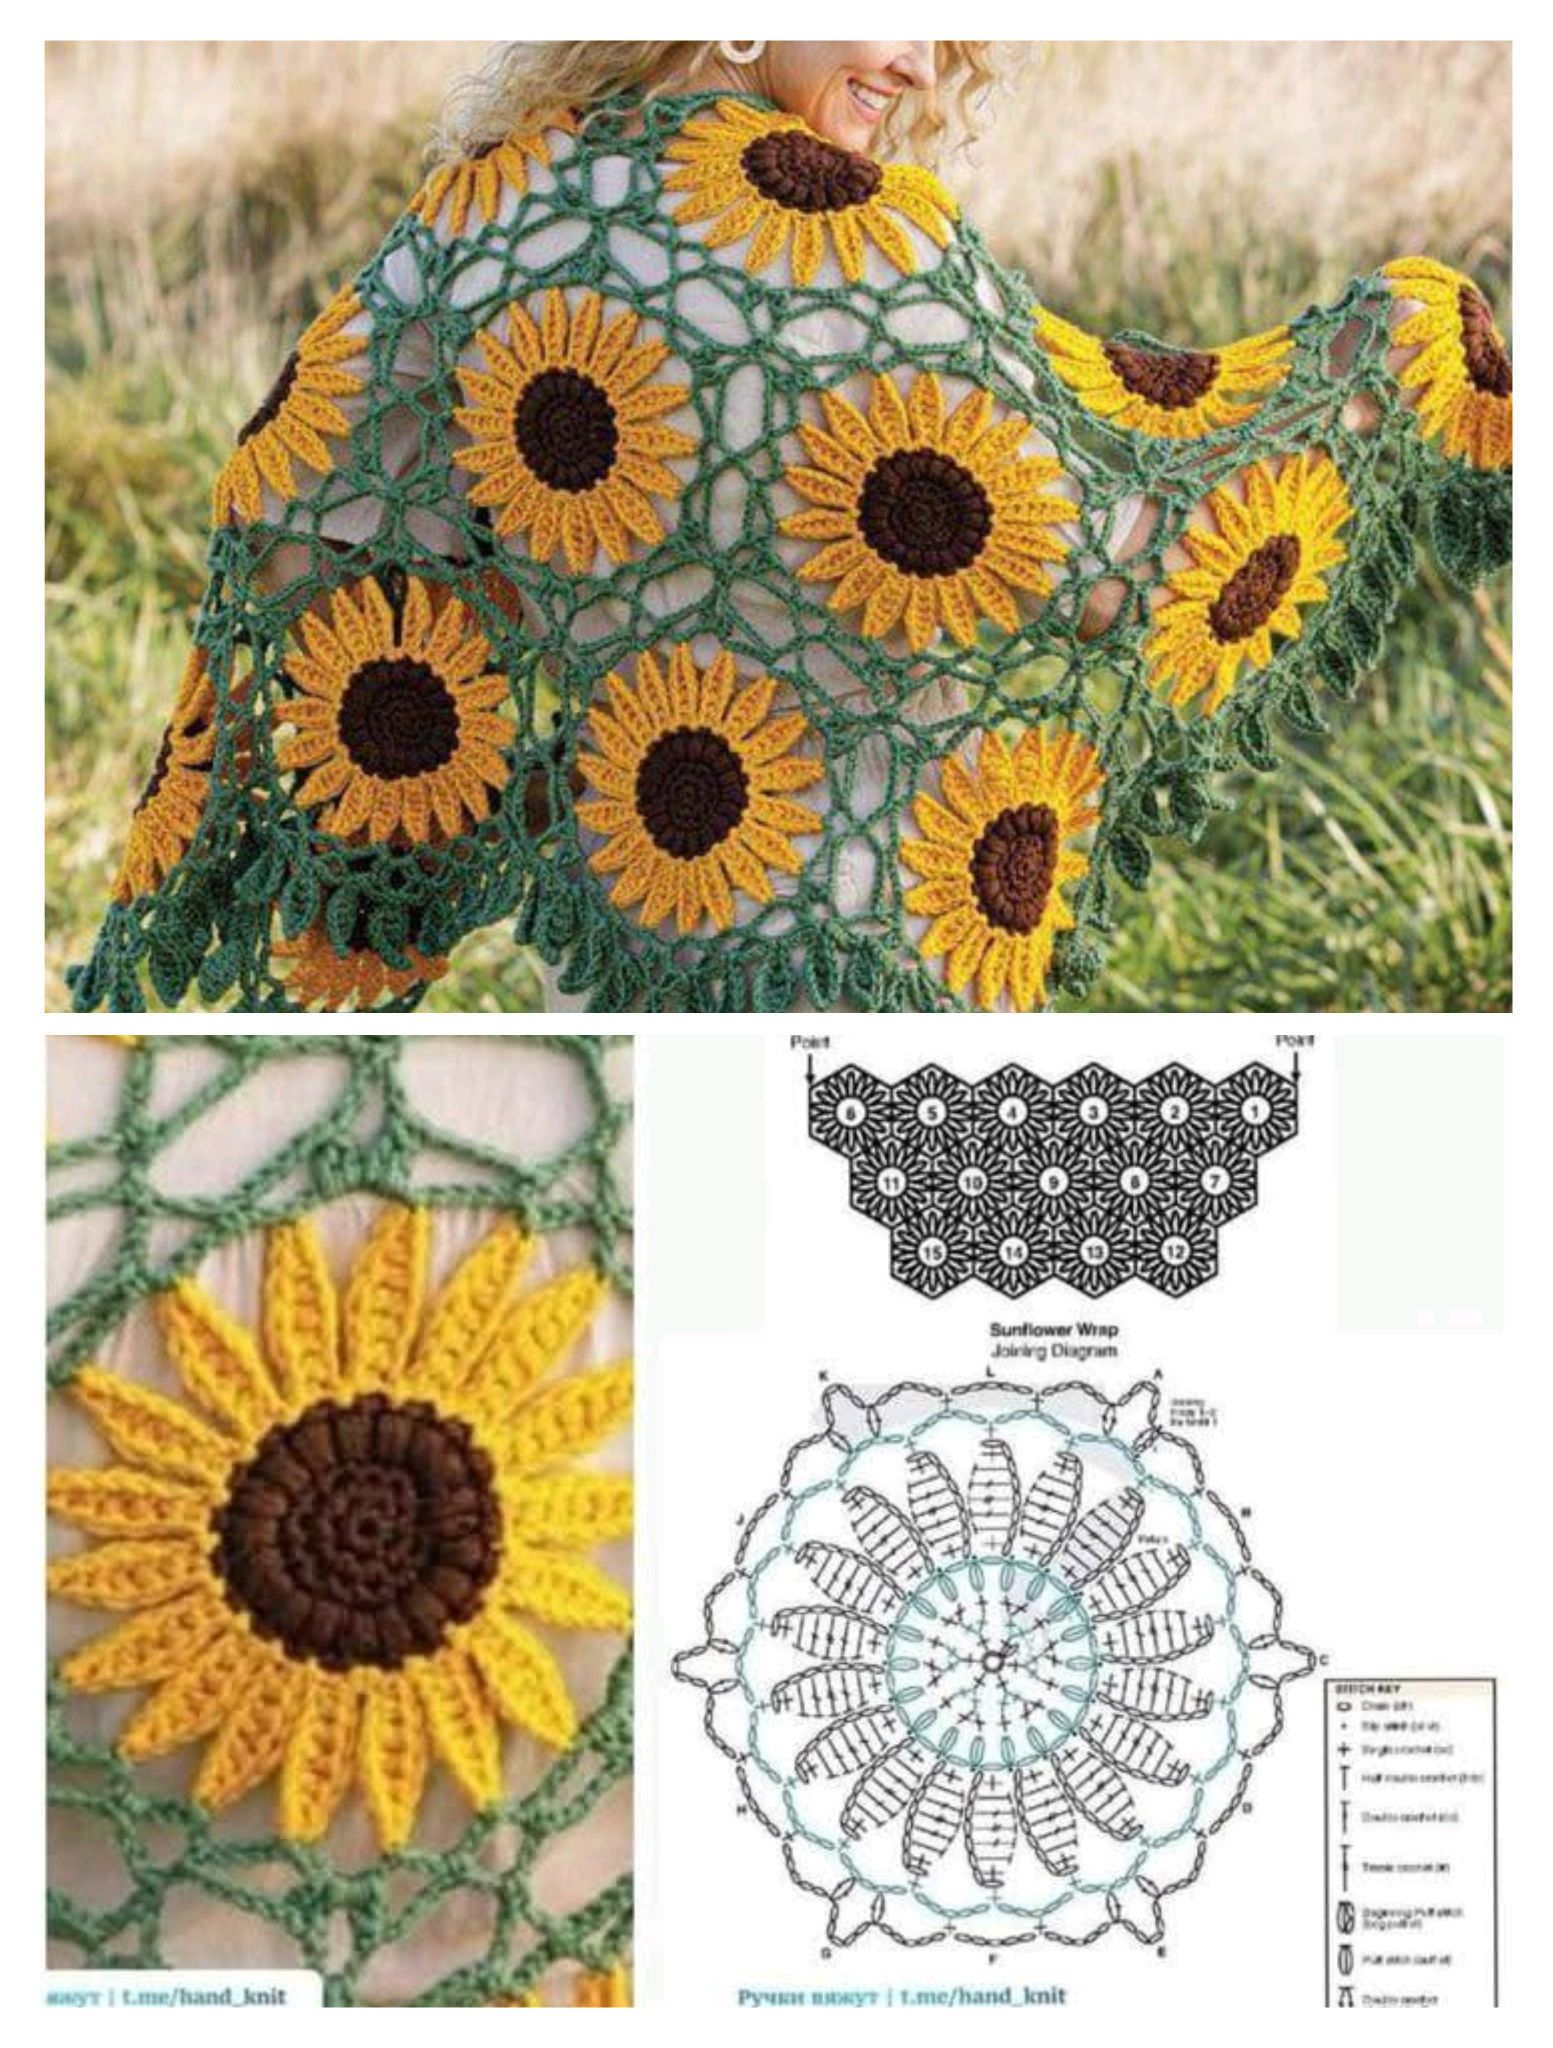
Overview & Inspiration
Hello, wonderful yarn friends! Welcome back to the studio, where today we are diving into a project that brings sunshine straight to your crochet hook: the Sunflower Shawl. From the very first stitch, this pattern invites crafters of all skill levels to explore a design that is visually striking yet completely approachable.
Inspired by the natural beauty and warmth of sunflowers, this pattern balances simplicity with a distinctive texture that instantly stands out. Because it relies on easy-to-memorize repetitive stitches, you get to create an intricate-looking statement piece without ever feeling overwhelmed by complicated instructions.
Materials & Supplies Needed
- Yarn: Sport weight, DK, or Worsted weight yarn (approx. 800-1000 yards depending on desired finished size)
- Fiber: Wool, acrylic, or cotton-blend for beautiful drape
- Colors: Traditional sunflower tones (golds, yellows, earthy browns) or your favorite modern color palette
- Crochet Hook: 4.0 mm (US G/6) or 5.0 mm (US H/8) depending on your yarn weight and personal tension
- Tapestry Needle for weaving in ends
- Stitch Markers to keep your rows and motif repeats organized
- Sharp Scissors
Stitches & Abbreviations
- Ch: Chain
- St(s): Stitch(es)
- Sl st: Slip stitch
- Sc: Single crochet
- Dc: Double crochet
- Tr: Treble crochet
- Yo: Yarn over
- Sp(s): Space(s)
Step-by-Step Pattern Instructions
We will begin our sunflower journey at the center top edge, gradually expanding outward in a classic triangular shawl shape.
- Foundation Row: Ch 4, join with a sl st to form a ring. Alternatively, work a magic ring. [4 sts]
- Row 1: Ch 3 (counts as first dc here and throughout), work 3 dc into the ring, ch 2, work 4 dc into the ring. Turn. [8 dc, 1 ch-2 sp]
- Row 2: Ch 3, 1 dc in first st, 1 dc in each of the next 3 dc, (2 dc, ch 2, 2 dc) in the ch-2 corner space, 1 dc in each of the next 3 dc, 2 dc in the top of turning ch. Turn. [18 dc, 1 ch-2 sp]
- Row 3 (Establishing Sunflower Petals): Ch 3, 1 dc in first st, *ch 1, skip 1 st, 1 dc in next st; repeat from * across to center ch-2 space, (2 dc, ch 2, 2 dc) in ch-2 space, **1 dc in next st, ch 1, skip 1 st; repeat from ** to last st, 2 dc in top of turning ch. Turn. [24 sts and ch-sps]
- Row 4: Ch 3, 1 dc in first st, work dc into every dc and ch-1 space across to the center ch-2 space, (2 dc, ch 2, 2 dc) in center ch-2 space, work dc into every ch-1 space and dc across to last st, 2 dc in top of turning ch. Turn. [42 sts]
- Rows 5+: Continue repeating Rows 3 and 4, expanding the petal-like texture outward until your shawl reaches your desired wingspan and depth.
Assembly & Finishing Touches
Once you reach your preferred shawl size, fasten off your yarn, leaving a generous tail of about 6 inches.
Thread your tapestry needle and carefully weave in all yarn tails along the wrong side of the fabric to secure your work securely and invisibly.
To truly make those sunflower-inspired textures pop, wet or steam block your shawl. Pin the triangular edges flat to open up the stitches and showcase your gorgeous handmade drape.
Pro Tips for Flawless Results
- Maintain a consistent yarn tension so that your petal-like stitches remain uniform and neat from start to finish.
- Use stitch markers in your center corner ch-2 spaces to save time and prevent missed increases.
- Don’t be afraid to customize your yarn weight; lightweight yarns give an airy drape, while worsted weights create a wonderfully cozy wrap.
Frequently Asked Questions
What skill level is required for this pattern?
This pattern is completely suitable for confident beginners with basic crochet knowledge, as well as intermediate makers who enjoy relaxing, repetitive projects.
Can I adjust the size of the shawl?
Yes, absolutely! The pattern is highly adaptable. You can easily stop crocheting rows at your preferred size to make anything from a lightweight kerchief to an oversized wrap.
Is blocking necessary after finishing the shawl?
While optional, blocking is highly recommended because it enhances stitch definition, straightens out the edges, and helps the sunflower texture lay perfectly flat.
Watch the Full Step-by-Step Video Tutorial
Prefer visual guidance? Follow along with the complete video tutorial below at your own pace: