
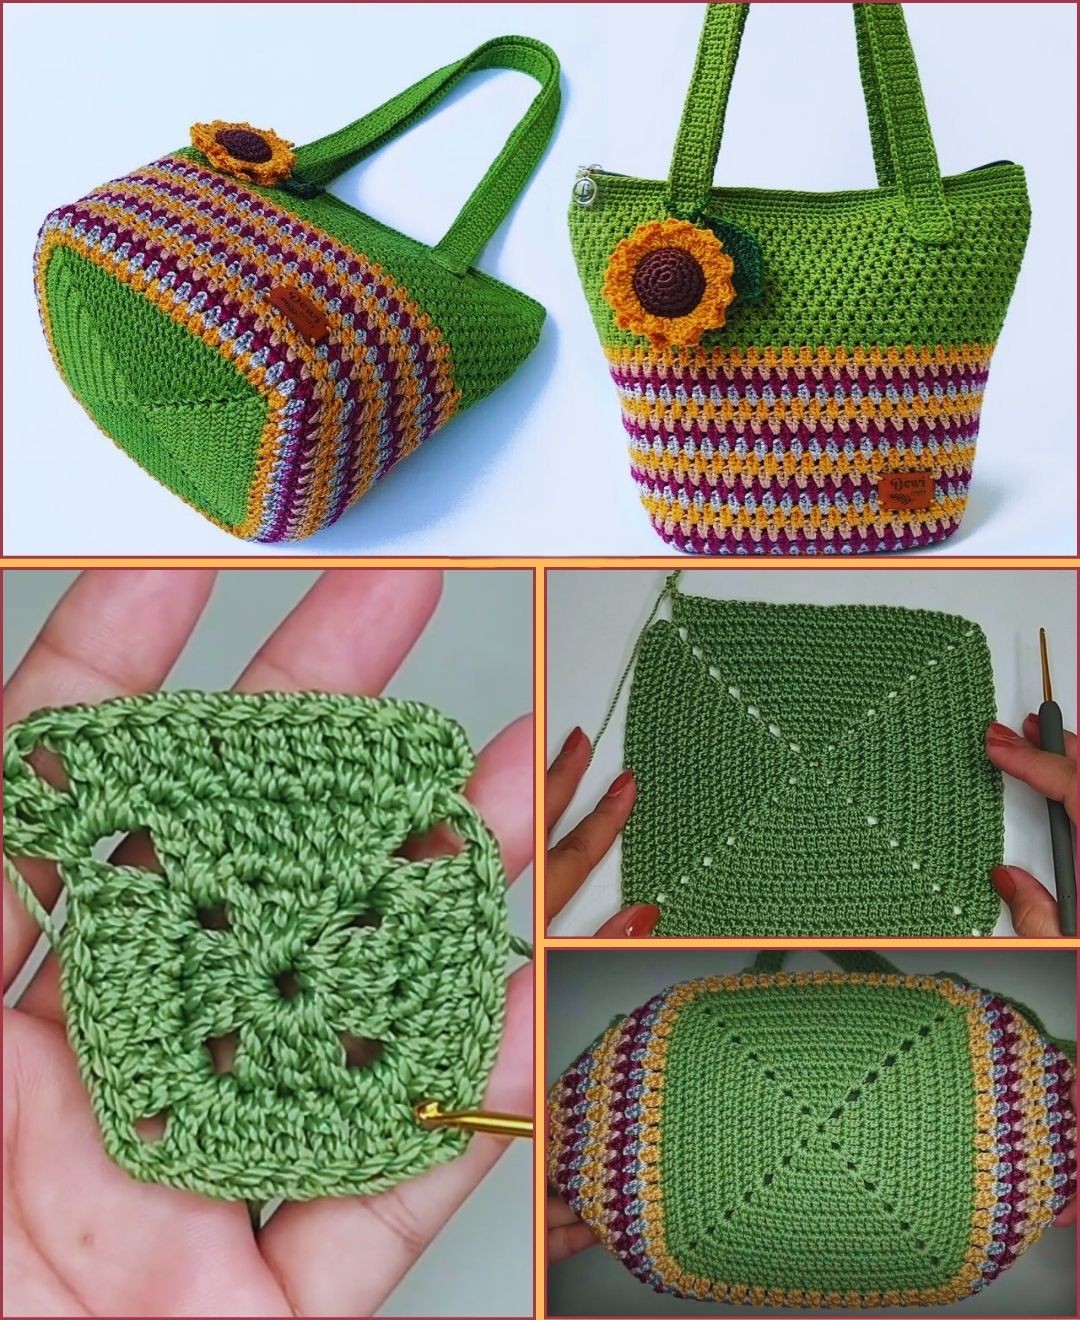
Overview & Inspiration
Welcome, fiber friends! There is nothing quite like the rush of pride you feel when someone asks, “Where did you get that fabulous bag?” and you get to smile and say, “I made it myself!”
This beginner-friendly bag project takes all the intimidation out of handmade accessories. By focusing on simple repeats and sturdy construction, you will build essential muscle memory while crafting a piece you will actually use every single day.
Materials & Supplies Needed
- Yarn: Medium-weight (Worsted Weight / Category 4) cotton yarn for durability and structure.
- Crochet Hook: 5.0 mm (US Size H/8) crochet hook.
- Tapestry Needle: For weaving in loose ends securely.
- Stitch Markers: Essential for keeping track of your rounds and stitch counts.
- Scissors: Sharp crafting scissors for clean snips.
Stitches & Abbreviations
- ch: Chain
- sl st: Slip stitch
- sc: Single crochet
- hdc: Half double crochet
- st(s): Stitch(es)
- rep: Repeat
Step-by-Step Pattern Instructions
We will begin by creating the solid foundation base of your bag, working in joined rounds to ensure a neat and even structure.
Round 1: Ch 26, working in the back bumps of the foundation chain, work 1 sc in the second ch from the hook and in each ch across, turn to work along the opposite side of the chain, work 1 sc in each st across. Join with a sl st to the first sc [50 sts].
Round 2: Ch 1 (does not count as a st here and throughout), work 1 hdc in each st around. Join with a sl st to the first hdc [50 sts].
Rounds 3 to 20: Rep Round 2 to build the body of the bag. This continuous repetition helps you master consistent tension and rhythm [50 sts per round].
Round 21 (Handles): Work 1 sc in each of the next 10 sts, ch 30, skip 10 sts, work 1 sc in each of the next 15 sts, ch 30, skip 10 sts, work 1 sc in each of the remaining 5 sts. Join with a sl st [70 sts including chains].
Round 22: Work 1 sc in each sc and 30 sc along each ch space to reinforce the handles. Join with a sl st [70 sts]. Fasten off.
Assembly & Finishing Touches
Check your bag over for any stray yarn strands. Use your tapestry needle to weave all yarn tails securely into the interior stitches.
Give your finished bag a gentle steam or block it lightly if using pure cotton, ensuring the base sits flat and the handles stretch evenly.
Pro Tips for Flawless Results
- Keep your hand relaxed; do not pull your stitches too tightly, as this makes working the next round difficult.
- Always use stitch markers at the start of your rounds to prevent accidental increases or decreases.
- Embrace mistakes by practicing “frogging” (undoing stitches)—it is simply part of the creative journey!
Frequently Asked Questions
What is a Crochet Bag Tutorial for Beginners Pattern?
It is a step-by-step guide designed to help new crocheters create a functional bag using basic stitches, clear instructions, and simple construction techniques.
Is a crochet bag suitable for absolute beginners?
Yes, absolutely! Crochet bags are forgiving projects that allow you to practice tension and stitch consistency without the complex shaping required for garments.
What yarn is best for beginner crochet bags?
Most guides recommend medium-weight cotton yarn because it provides fantastic durability, structure, and clear stitch definition.
Watch the Full Step-by-Step Video Tutorial
Prefer visual guidance? Follow along with the complete video tutorial below at your own pace: