
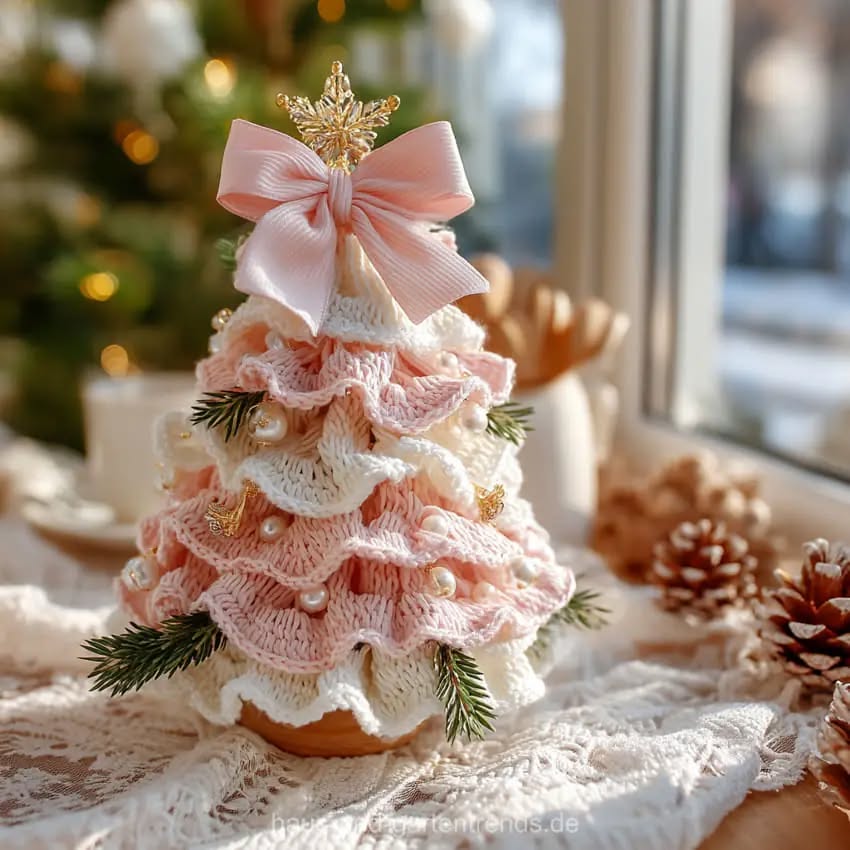
Overview & Inspiration
Creating a Crochet Rose Tree with Ruffles is a magical, relaxing experience for anyone who adores handmade home décor. This charming project combines the timeless elegance of blooming roses with the soft, playful texture of crochet ruffles.
Whether you are a beginner exploring new floral patterns or an experienced maker looking for a creative centerpiece, this guide has you covered. Let’s gather our hooks and yarn to bring this enchanting botanical creation to life!
Materials & Supplies Needed
- Yarn: Soft cotton or acrylic yarn in red, pink, white, or pastels for the roses; green for the leaves; brown or neutral for the stem/base.
- Crochet Hook: 2.5 mm or 3 mm hook (or size matching your chosen yarn weight).
- Tapestry Needle: For weaving in ends and assembling floral pieces.
- Stitch Markers: To easily track your foundation and shaping rows.
- Scissors: For clean yarn cutting.
- Floral Wire: To provide internal structure and support for the roses and leaves.
- Green Floral Tape: For wrapping stems and securing wire.
- Foam Base or Small Pot: To hold your finished crochet rose tree upright securely.
Stitches & Abbreviations
- ch: Chain
- st/sts: Stitch/Stitches
- sl st: Slip Stitch
- sc: Single Crochet
- hdc: Half Double Crochet
- dc: Double Crochet
- rep: Repeat
Step-by-Step Pattern Instructions
Phase 1: Crocheting the Roses
Start by making a foundation chain of 45 ch stitches. This forms the sturdy base of your floral strip [45 sts].
In the next row, work dc across, increasing slightly in every few stitches to create a gentle, wavy ruffle effect. This increase gives your rose its iconic blooming shape [approx. 55 sts].
For the final two rows, crochet alternating hdc and dc stitches across to give your petals the perfect balance of firmness and softness [55 sts].
Fasten off, leaving a long tail of yarn for sewing. Roll the crocheted strip from one end into a spiral flower, then use your tapestry needle to stitch the base securely together.
Phase 2: Crocheting the Leaves
Begin each leaf with a chain of 10 ch stitches [10 sts].
Work sc up one side, increasing to dc toward the center, then decrease back down to sc on the other side to form a pointed leaf shape [18 sts].
Finish each leaf with a sl st and leave a long tail for sewing. Repeat this process until you have a lush collection of leaves.
Phase 3: Making the Ruffled Strips
Chain 80 to 100 ch stitches depending on your desired fullness [80-100 sts].
Work three dc stitches into each chain stitch across the row. This triple increase creates a wonderfully wavy, ruffled ribbon [240-300 sts].
Fasten off and set aside to use as decorative trim around your tree base or between flower clusters.
Assembly & Finishing Touches
Attach a small piece of floral wire to each leaf using green floral tape so you can bend and position them naturally. Insert thicker floral wires into your foam base or small pot to act as stems, wrapping them with brown or green yarn to create a realistic trunk.
Carefully attach each rose to the wire structure using your long yarn tails, spacing them out organically. Fill any gaps with your wire-backed leaves and drape the ruffled ribbon strips around the base of the flower clusters.
Gently fluff the petals and arrange every element to achieve a balanced, whimsical look. Place your finished Crochet Rose Tree on a shelf or table as a stunning handmade centerpiece.
Pro Tips for Flawless Results
- Maintain consistent hook tension so your petals roll evenly without awkward gaps.
- Experiment with blending two complementary yarn shades within a single rose for a realistic color gradient.
- Roll your rose strips more loosely if you prefer larger, more open, and dramatic blooms.
- Avoid flattening your ruffles during stitching; let the natural waves cascade gracefully.
Frequently Asked Questions
Is this project suitable for beginners?
Yes! As long as you are comfortable with basic stitches like chain, single crochet, and double crochet, you will easily master this pattern.
What type of yarn works best for this pattern?
Soft cotton or acrylic yarn works best because they provide clear stitch definition while remaining flexible enough to shape petals naturally.
How long does it take to make a crochet rose tree?
Depending on your experience level and how many roses you decide to make, this project typically takes anywhere from 6 to 12 hours of relaxing crafting time.