
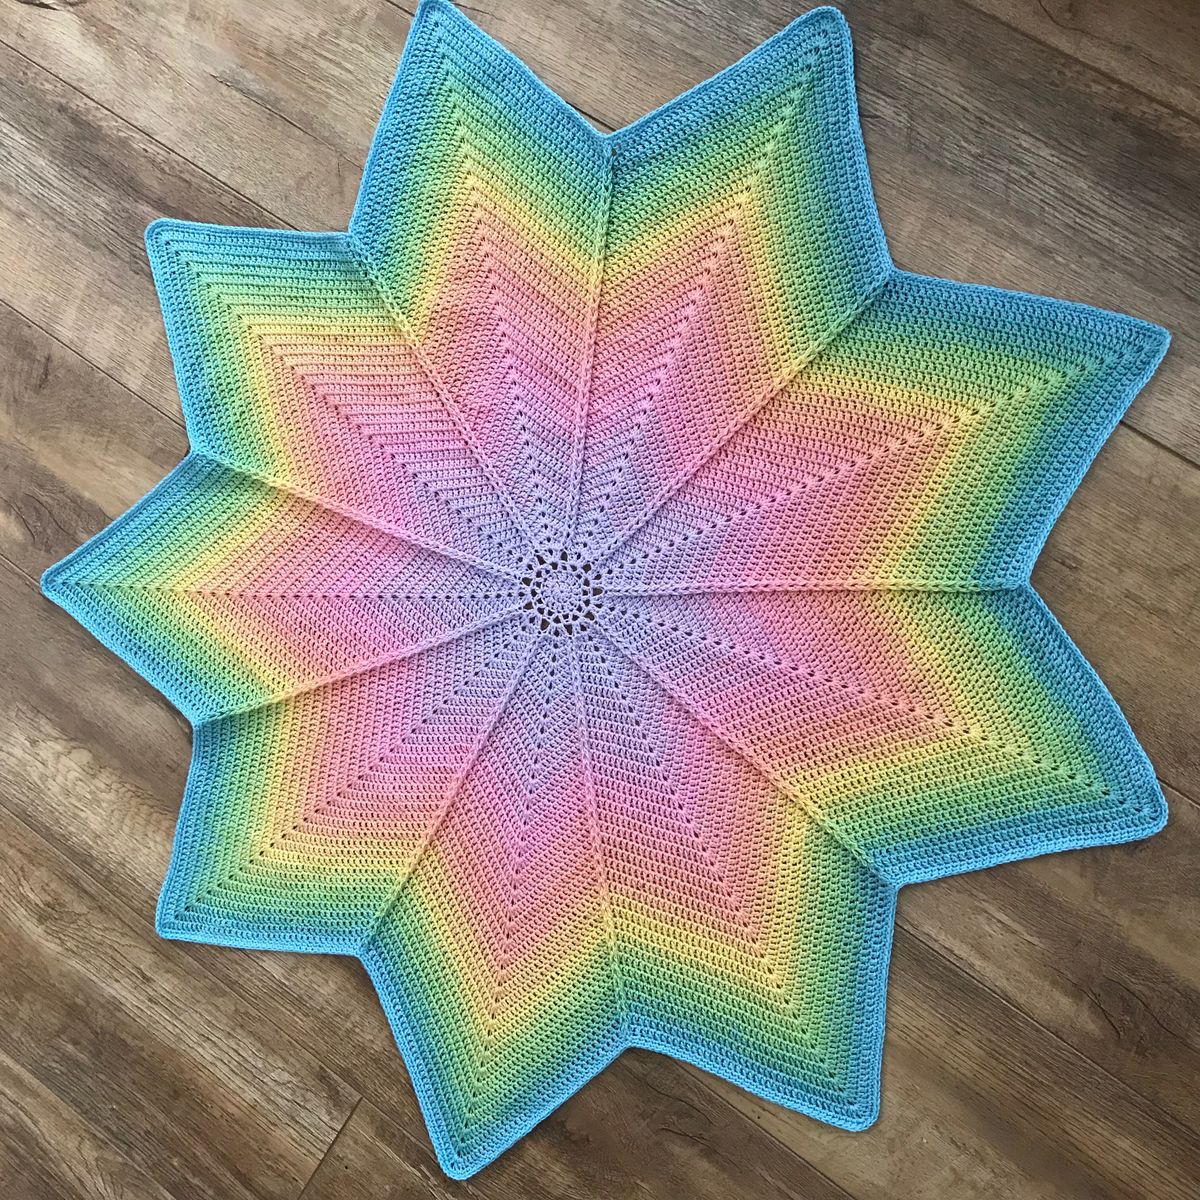
Overview & Inspiration
Welcome, my wonderful crafty friends! There is nothing quite like the joyful rhythm of stitching a handmade baby blanket, and the Rainbow Ripple design is truly one of the most charming projects you can make.
With its soft, flowing waves of color, this pattern combines visual beauty with cozy warmth. It is wonderfully rhythmic, making it an absolute joy for both beginners and seasoned pros to create!
Materials & Supplies Needed
- Yarn: Lightweight DK or worsted-weight “baby soft” yarn (hypoallergenic acrylic or cotton blends)
- Colors: Multiple solid colors for a custom rainbow sequence or a self-striping gradient yarn
- Crochet Hook: 4.5 mm (US size 7) or size needed to obtain gauge
- Tapestry Needle for weaving in ends
- Stitch Markers to mark peaks and valleys
- Sharp Scissors
Stitches & Abbreviations
- Ch: Chain
- St(s): Stitch(es)
- Sc: Single Crochet
- Dc: Double Crochet
- Dc2tog: Double Crochet 2 Together (decrease)
- Rep: Repeat
- RS: Right Side
Step-by-Step Pattern Instructions
Foundation Chain & Row 1
To begin, chain a multiple of 14 plus 3 for the turning chain (e.g., ch 73 for a standard baby blanket width). [73 sts]
Working in the 4th ch from the hook (counts as first dc), work 1 dc in each of the next 2 ch. Work [dc2tog] twice, (1 dc in each of the next 3 ch, 2 dc in next ch) twice, 1 dc in each of the next 3 ch, [dc2tog] twice. Repeat this sequence across to the last 3 ch, working 3 dc in the final ch. Turn. [73 sts]
Row 2 and Beyond
Ch 3 (counts as first dc), 1 dc in the first st. Work 1 dc in each of the next 2 sts, [dc2tog] twice, (1 dc in each of the next 3 sts, 2 dc in next st) twice, 1 dc in each of the next 3 sts, [dc2tog] twice. Repeat across, ending with 2 dc in the top of the turning chain. Turn. [73 sts]
Continue repeating Row 2 until your blanket reaches your desired length, changing colors every 2 rows to build your gorgeous rainbow sequence.
Assembly & Finishing Touches
Fasten off your final yarn strand, leaving a 6-inch tail. Use your tapestry needle to weave in all yarn tails securely along the edges of the ripples.
To make the wave pattern pop, block your finished blanket by laying it flat on a clean towel, spraying it lightly with water, and shaping the ripples gently. Let it dry completely before gifting!
Pro Tips for Flawless Results
- Use stitch markers in your peaks and valleys during the first few rows to keep your wave alignment spot-on.
- Maintain a consistent yarn tension so your gorgeous ripples stay smooth and even from edge to edge.
- Buy extra yarn than estimated, as ripple blankets consume slightly more yardage due to the peaks and valleys.
Frequently Asked Questions
Is the Rainbow Ripple Baby Blanket Pattern beginner-friendly?
Yes, absolutely! If you know how to chain and double crochet, you can easily master this design by keeping track of your increases and decreases.
What is the standard size for a baby ripple blanket?
Most handmade baby blankets measure approximately 30 x 35 inches. You can easily adjust this by adding or removing pattern repeats in multiples of 14.
How should I wash and care for the finished blanket?
Check your yarn label first, but most baby-safe acrylics can be machine washed on a gentle cycle with cold water. Always dry flat to preserve the beautiful ripple shape!
Watch the Full Step-by-Step Video Tutorial
Prefer visual guidance? Follow along with the complete video tutorial below at your own pace: