
Overview & Design Inspiration
There is nothing quite like the magic of hanging handmade ornaments on the Christmas tree. These charming crochet Christmas balls add instant warmth, nostalgic beauty, and custom personality to your seasonal decor.
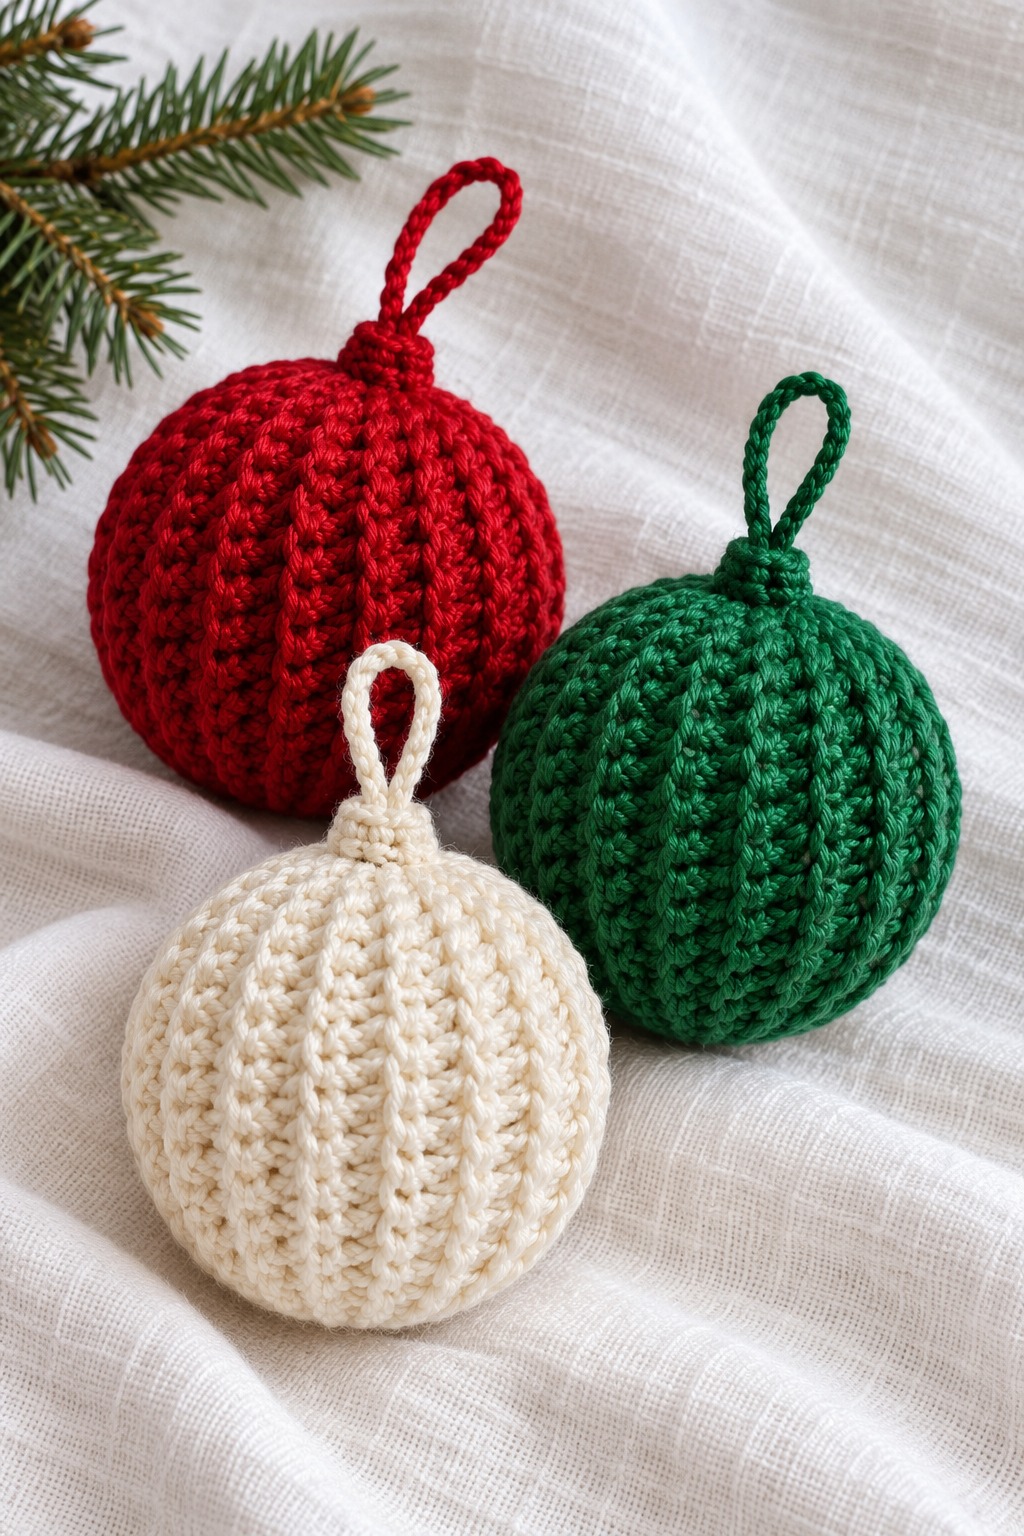
Unlike smooth, plain crocheted spheres, this design features a stunning ribbed texture with raised vertical lines. The cozy, tactile ridges catch the glow of holiday lights beautifully, giving your tree a high-end boutique feel crafted entirely by your own hands.
Materials & Recommended Supplies
- Yarn: Medium-weight (Category 4 / Worsted) cotton or acrylic yarn (approx. 25–40 yards per ornament). Classic cotton gives crisp ridge definition, while soft acrylic offers a cozy finish.
- Crochet Hook: 3.5 mm (US E-4) or 4.0 mm (US G-6) hook to achieve a tight, firm stitch tension.
- Stuffing: High-quality polyester fiberfill to give your bauble a light, plush, rounded shape.
- Notions: Yarn needle with a blunt tip, sharp scissors, and stitch markers.
Essential Techniques & Stitch Highlights
The standout texture of this ornament is created using back-loop-only (BLO) single crochet. By inserting your hook into just the back loop of each stitch, you leave the front loops exposed to form gorgeous vertical ridges across your fabric.
Working this project sideways in flat rows turns simple foundation stitches into a flexible, dimensional fabric. It is an approachable technique for motivated beginners and a relaxing, quick rhythm for seasoned makers.
Construction & Assembly Highlights
This project begins as a simple ribbed rectangular panel worked back and forth in back-loop single crochet. Once your panel reaches the desired length to form a circumference, the two short edges are seamed together to create a textured cylinder.
Next, a tail of matching yarn is threaded through the edge stitches at the bottom and pulled tightly like a drawstring to close the base securely. The ornament is then stuffed evenly with fiberfill until it takes on a plush, rounded shape.
To finish, the top opening is gathered close in the same manner. A small crocheted cap and a matching hanging loop are attached to the top, creating a polished, professional ornament ready for display.
Customization & Styling Ideas
Celebrate tradition by making a set in classic forest green, holiday red, and soft ivory. For a modern, boho vibe, try working in muted eucalyptus, taupe, and terracotta tone palettes.
Want to add extra sparkle? Carry a thin strand of metallic gold or silver thread along with your main yarn, or sew tiny glass seed beads onto the ribbed ridges for subtle holiday shimmer.
Pro Tips for Flawless Results
- Maintain Firm Tension: Keep your stitches tight so that the polyfill stuffing will not peek through the crocheted ridges.
- Stuff Gradually: Add small tufts of fiberfill bit by bit, rolling the ball gently between your hands as you go to form a perfectly smooth sphere without lumps.
- Align Your Ridges: When seaming the side edges into a tube, carefully match the back-loop ridges so your seam blends invisibly with the rest of the ornament.
- Downsize Your Hook: If your crochet stitches look a bit loose or open, drop down half a hook size for a denser fabric.
Frequently Asked Questions
Can I use acrylic yarn instead of cotton for these ornaments?
Yes, absolutely! Cotton provides crisp stitch definition and structured ridges, but medium-weight acrylic yarn works wonderfully and is a fantastic option for using up yarn scraps from your stash.
How do I prevent the fiberfill from showing through my stitches?
Using a hook size slightly smaller than recommended on the yarn label creates a dense fabric. Additionally, choosing a fiberfill color that matches your yarn shade (or wrapping your stuffing in a piece of matching tulle) keeps stuffing completely hidden.
How can I make different sizes of Christmas balls?
You can easily adjust the size by changing your initial chain length and the total number of rows worked. A shorter starting chain creates smaller mini-ornaments, while a longer chain produces larger focal baubles for your tree.
Watch the Full Step-by-Step Video Tutorial
Prefer visual guidance? Follow along with the complete video tutorial below at your own pace: