
Overview & Design Inspiration
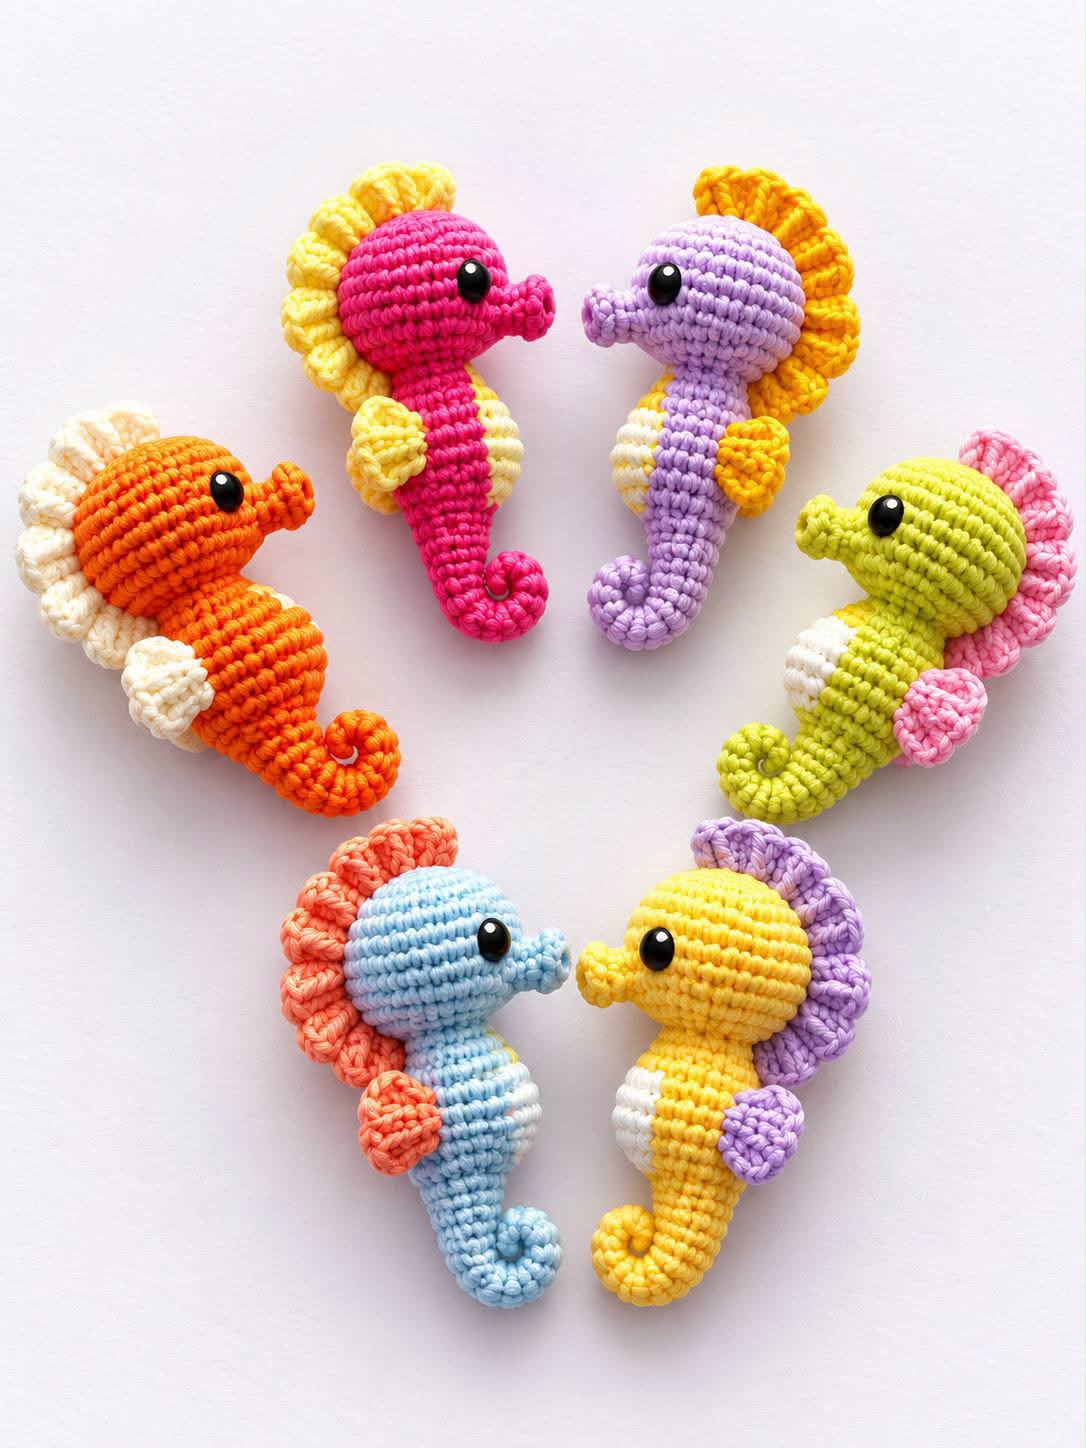
Bring the enchanting magic of the deep blue sea right onto your crochet hook with this irresistible seahorse amigurumi! With its graceful curled tail, playful little fins, and signature ocean charm, this delightful project is bound to capture your heart instantly.
Whether you are building a whimsical marine nursery mobile or simply looking for a satisfying stash-busting project, this design offers pure creative joy. You can follow along with our comprehensive step-by-step video tutorial and grab the handy downloadable PDF pattern to craft your very own sea creature today!
Materials & Recommended Supplies
- Yarn: Lightweight (Sport/Category 2) or DK weight yarn in cotton or acrylic. You will need a primary body color, a contrasting shade for the fins, and a touch of cream for the belly.
- Crochet Hook: 2.5 mm (US C-2) crochet hook, or a size appropriate to keep your stitches tight and firm.
- Stuffing: High-quality polyester fiberfill for smooth, even shaping.
- Notions: 6 mm safety eyes (or black embroidery floss), a tapestry needle, stitch markers, and sharp yarn scissors.
Essential Techniques & Stitch Highlights
Creating this three-dimensional marine beauty relies on classic amigurumi fundamentals worked in continuous spiral rounds. Master techniques like the magic ring, basic single crochet, increases, and smooth invisible decreases to give your seahorse its sculpted form.
Working in continuous rounds eliminates harsh seams, giving the head and body a sleek, polished finish. Maintaining tight, even tension is key here, as it ensures your stuffing remains completely hidden between the stitches.
Construction & Assembly Highlights
Your seahorse comes to life starting at the top of its rounded head, tapering down smoothly into a slender neck before expanding into a shapely belly. As you work downward, strategic shaping forms the signature tail, which naturally curls inward without needing stiff wires.
Next, you will crochet small decorative accents like the delicate side fins, a wavy back dorsal fin, and a neat belly panel. These contrasting pieces add incredible visual dimension and highlight the classic seahorse silhouette.
Finishing is as simple as stitching the decorative fins in place and securing your safety eyes. A quick touch of stuffing in the main body keeps the creature plump and soft while letting the tail remain wonderfully flexible.
Customization & Styling Ideas
One of the best parts of this project is playing with vibrant color palettes. Try pairing bright tropical orange with cream fins, soft lavender with sunny yellow accents, or mint green with soft coral for an ultra-sweet look.
These lightweight ocean critters make marvelous bag charms, desk companions, or festive summer garland accents. You can even hook up a whole pod of colorful seahorses to pair with crocheted starfish and seashells for an immersive aquatic display!
Pro Tips for Flawless Results
- Use Invisible Decreases: Work decreases through the front loops only to avoid gaps and keep the stitches looking uniform across curved areas.
- Stuff Lightly in the Tail: Keep stuffing minimal near the tip of the tail so it maintains its natural, flexible curl without bulging.
- Always Mark Your First Stitch: Because this pattern is worked in continuous rounds, a stitch marker will keep your shaping right on track every time.
- Keep Yarns Uniform: Ensure your accent yarn and body yarn are the exact same weight so the fins stitch onto the body seamlessly.
Frequently Asked Questions
Is this seahorse pattern suitable for adventurous beginners?
Absolutly! If you know how to single crochet, work in the round, and control your tension, you will find this project approachable and wonderfully rewarding.
What type of yarn works best for amigurumi details?
Mercerized cotton yarn is fantastic because it provides crisp stitch definition and prevents fuzziness, helping tiny elements like fins really pop.
How do I make the tail stay curled without using wire?
The natural curve is created through clever stitch placement directly in the design! Leaving the lower tail lightly stuffed allows the fabric to curl naturally on its own.
Watch the Full Step-by-Step Video Tutorial
Prefer visual guidance? Follow along with the complete video tutorial below at your own pace: