
Overview & Design Inspiration
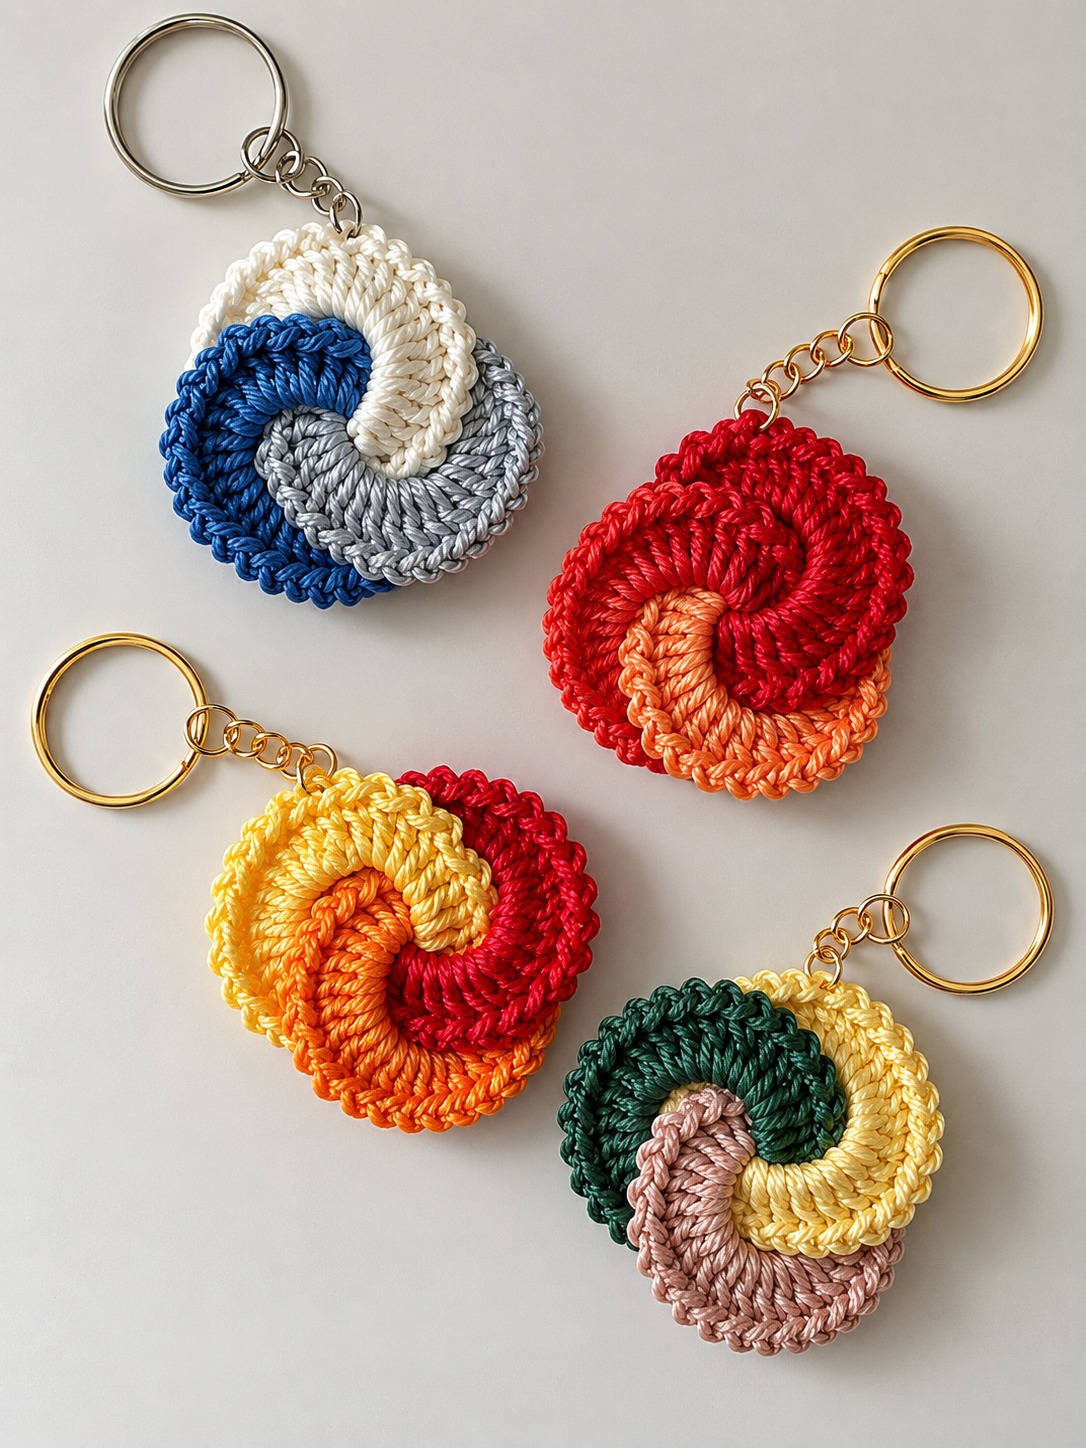
Welcome back, fiber friends! If you are looking for a delightful, quick-stitching project that adds an instant pop of handmade charm to your daily routine, you are going to fall completely in love with the Crochet Knot Keychain Pattern. This charming little accessory transforms simple yarn scraps into a stunning, three-dimensional decorative piece that feels like a mini sculpture for your keys.
Whether you want to burn through your stash, practice your tension on small rounds, or whip up thoughtful handmade gifts for your entire circle of friends, this project hits every single mark. The interwoven loops create a gorgeous, tactile texture that looks intricate and high-end, yet it remains wonderfully approachable for crocheters of all skill levels.
Materials & Recommended Supplies
- Yarn: Approximately 15–25 yards of smooth, lightweight cotton yarn or thin cotton cord. Mercerized cotton gives a gorgeous, glossy finish, while solid cotton holds its structured shape beautifully.
- Crochet Hook: 2.5 mm to 3.5 mm crochet hook (US C/2 or E/4), depending on your personal tension and how firm you want your stitches to be.
- Hardware: A sturdy metal keychain ring, plus optional small jump rings or a short metal chain for easy assembly.
- Notions: A yarn needle for weaving in ends, sharp scissors, and optional stitch markers to keep track of continuous rounds.
Essential Techniques & Stitch Highlights
This project relies on working in continuous spirals rather than joined rounds, which keeps your tubular loops seamless and sleek. By utilizing basic stitches like the chain and single crochet, you build a compact, sturdy fabric that has just enough flexibility to be bent and shaped without losing its form.
The real magic happens through color play and clever construction. Because you will be crafting distinct tubular sections—often in two or three coordinating or contrasting shades—you can explore striking color palettes like navy with cream and gray, or vibrant red, orange, and yellow combinations that mimic a glowing sunset.
Construction & Assembly Highlights
Rather than working from a complicated, single flat pattern, this keychain comes to life through modular creation and assembly. You begin by crocheting narrow, flexible tubular loops that give the final knot its wonderfully rounded, padded appearance.
Once your individual loops are completed, the true fun begins as you interlock and thread them through one another in a precise decorative arrangement. Secure the ends neatly, attach your keychain hardware securely to a stable anchor point, and watch your stylish everyday accessory spring to life.
Customization & Styling Ideas
One of the absolute best parts of this project is its incredible versatility. You can easily swap out colorways to match the changing seasons, opting for rich forest greens and soft pinks for spring, or warm mustard and rust tones for crisp autumn days.
Beyond traditional keys, these charming little knots make fantastic bag charms, zipper pulls for backpacks, or festive holiday ornaments. They are also lightweight and flat enough to slide into greeting cards, making them the ultimate handmade tokens of appreciation for birthdays, teacher gifts, or craft fairs.
Pro Tips for Flawless Results
- Maintain Even Tension: Keep your stitches nice and consistent so your tubular loops remain uniform and easy to weave together.
- Choose the Right Fiber: Stick to non-stretchy cotton yarns to ensure your keychain holds its shape and structure over months of daily use in your purse or pocket.
- Secure Your Hardware: Ensure your jump rings and keychain attachments are tightly closed so your hard work stays safely fastened to your keys.
Frequently Asked Questions
Is this project beginner-friendly?
Absolutely! While the finished knot looks wonderfully intricate, it relies on basic crochet stitches worked in simple rounds. As long as you are comfortable making a small tubular shape and following an assembly guide, you will do wonderfully.
Can I use acrylic yarn instead of cotton?
While you can use acrylic yarn in a pinch, cotton or cotton blends are strongly recommended because they provide superior stitch definition, resist fuzzing, and hold their three-dimensional shape much better against daily friction.
Where can I get the full step-by-step pattern and assembly diagram?
You can access our complete printable PDF pattern, alongside a full-length video tutorial walking you through every twist and turn of the assembly process, by using the download links provided at the bottom of this page!
Watch the Full Step-by-Step Video Tutorial
Prefer visual guidance? Follow along with the complete video tutorial below at your own pace: