
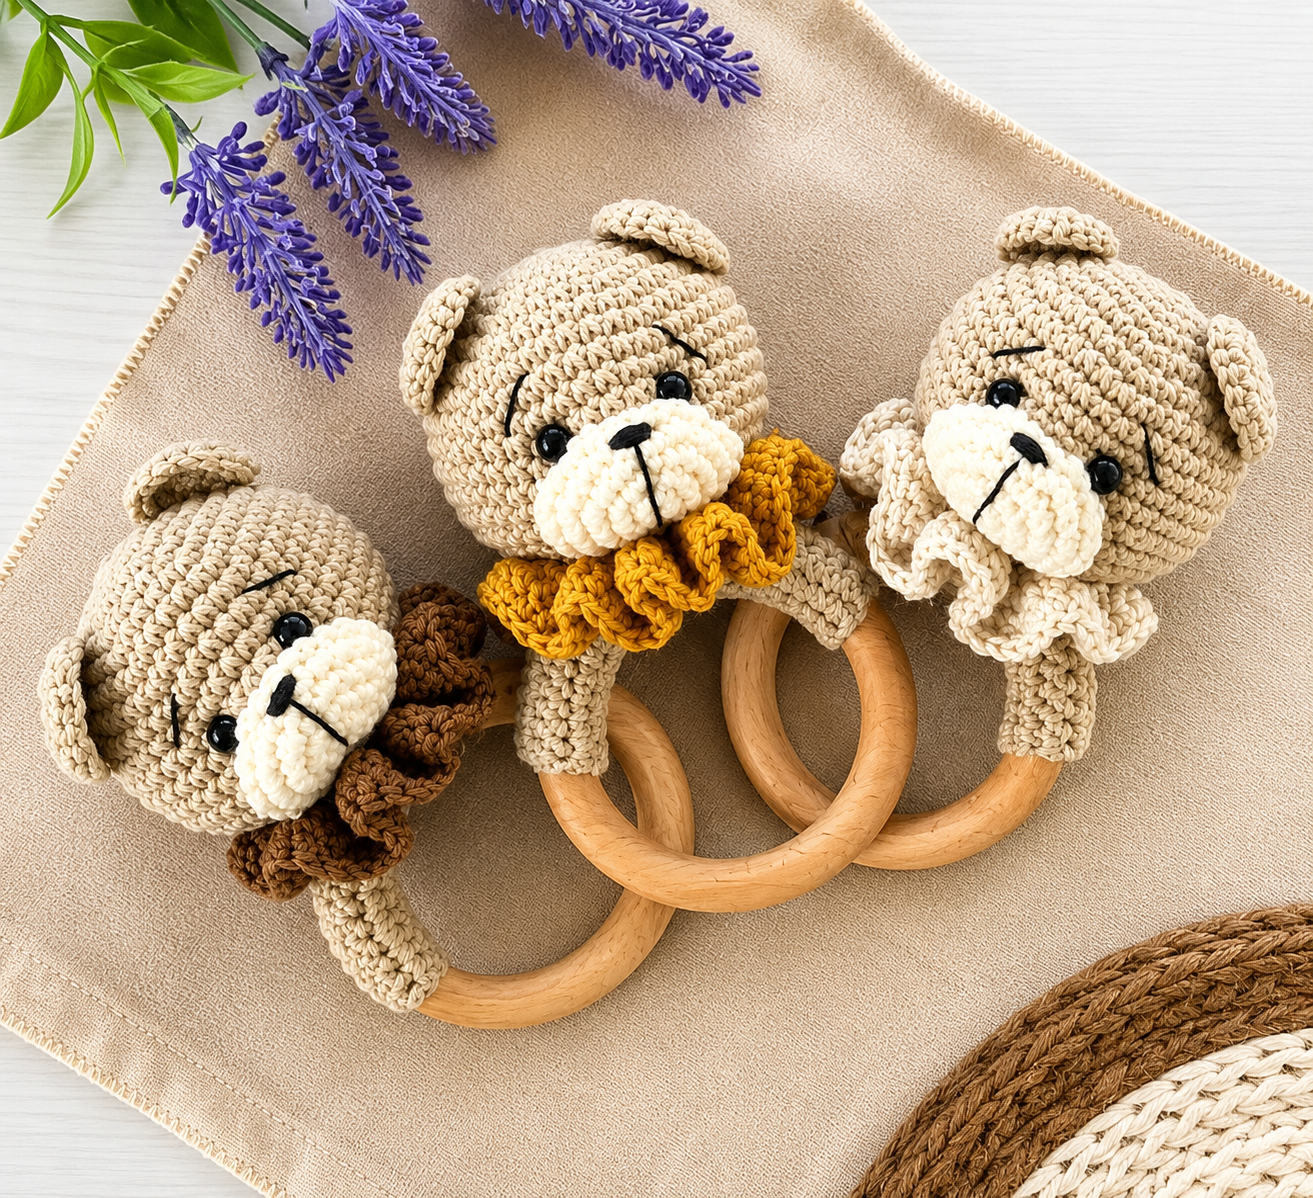
Overview & Design Inspiration
Welcome, fellow yarn lovers! There is nothing quite like the pure joy of crafting a handmade toy that will become a cherished, well-loved companion for a little one.
The Crochet Bear Rattle Pattern combines classic amigurumi charm with everyday practicality, pairing a soft teddy bear head with a smooth, baby-safe wooden ring. It is a deeply meaningful project that lets you pour your love and creativity into every single stitch.
Materials & Recommended Supplies
To ensure your rattle is durable, safe, and professional-looking, gathering the right supplies before you cast on is key. Here is everything you will need to bring your sweet teddy bear to life:
- 100% Cotton DK or Sport Weight Yarn (known for durability and excellent stitch definition)
- 2.5 mm crochet hook (US C/2)
- Wooden baby-safe ring (approximately 6–7 cm diameter)
- Polyester fiberfill or organic cotton stuffing
- Yarn needle, stitch markers, and scissors
- Black embroidery floss for newborn-friendly facial features
- Small rattle insert (optional, for that delightful sound babies adore)
Essential Techniques & Stitch Highlights
This charming project relies on foundational amigurumi techniques that build both your confidence and your skills. Working in a continuous spiral from a magic ring creates a seamless, polished look for the bear’s head, muzzle, and ears.
Mastering invisible decreases is a game-changer for this pattern, as they eliminate unsightly gaps and keep your stuffing completely hidden. Combined with simple single crochet stitches and neat embroidery, these techniques ensure your finished rattle is both structurally sound and irresistibly sweet.
Construction & Assembly Highlights
Bringing this rattle together is a wonderfully satisfying puzzle where all the individual pieces finally unite. You will start by crocheting and shaping the bear’s head—slipping in that playful rattle insert and stuffing it firmly just before closing.
Next comes crafting the delicate muzzle, ears, and arms, which are carefully positioned and stitched into place. The final magic happens at the neck, where you crochet a secure tube directly around the wooden ring before attaching the head with reinforced, sturdy stitches.
Customization & Styling Ideas
One of the greatest joys of crafting this rattle is the endless room for personalization! You can easily match any nursery theme by switching up your yarn colors—think soft creams, warm caramels, dusty pinks, or earthy sage greens.
For an extra touch of vintage charm, consider adding a delicate, ruffled collar around the neck using double crochet stitches. You can also embroider tiny pink blush cheeks or sleepy eyelashes to give your little bear a completely unique personality.
Pro Tips for Flawless Results
- Always use a stitch marker at the beginning of each round to keep your counts accurate and your shaping symmetrical.
- Maintain a consistent, snug tension with your 2.5 mm hook so that your stuffing never peeks through the fabric stitches.
- Embroider all facial features using black embroidery floss instead of plastic safety eyes to keep the toy completely newborn-friendly.
- Give all limbs, ears, and the head a gentle firm tug before gifting to ensure every single seam is securely fastened.
Frequently Asked Questions
Can beginners make this crochet bear rattle?
Yes, absolutely! If you are familiar with the magic ring, single crochet, increases, and invisible decreases, you can easily complete this project by working slowly and counting your stitches.
What type of yarn is best for baby rattles?
100% mercerized or organic cotton yarn is highly recommended because it is durable, washable, less prone to pilling, and offers fantastic stitch definition.
How should I clean the finished rattle?
Gently hand wash the toy using a mild detergent, squeeze out any excess water without twisting, reshape the bear while damp, and allow it to air dry completely.
Watch the Full Step-by-Step Video Tutorial
Prefer visual guidance? Follow along with the complete video tutorial below at your own pace: