
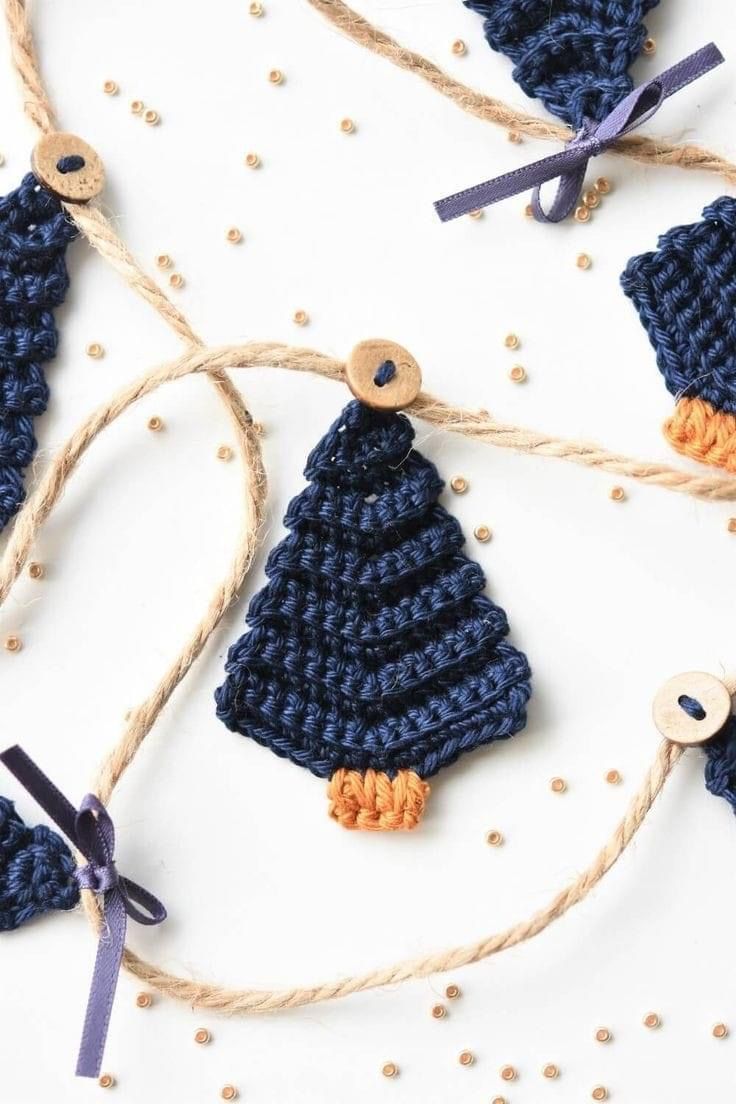
The holiday season sparkles with magic, doesn’t it? For us craft lovers, it’s the perfect time to infuse our homes with handmade charm and spread a little extra joy.
Imagine a forest of tiny, twinkling Christmas trees, each one crafted with love by your own hands. That’s exactly what we’re diving into today!
This sweet crochet Christmas tree pattern is a delightful journey into festive creativity. It’s perfect for adding a personal touch to your holiday decor or gifting to someone special.
Whether you’re a seasoned hook wizard or just picking up your first crochet hook, this guide is designed for you. Get ready to create something truly magical!
Materials & Yarn Suggestions
Before we sprinkle some crochet magic, let’s gather our treasures! You’ll be amazed at how simple your supply list is for this adorable project.
Here’s everything you’ll need to get started on your festive tree:
- Yarn: Green for the tree, brown for the trunk. Feel free to use lightweight or medium worsted weight. Don’t forget some sparkly or colorful scraps for decorations!
- Crochet Hook: A 4mm or 5mm hook is generally perfect, but always match it to your chosen yarn’s weight for the best results.
- Stitch Markers: Your best friend for keeping track of your rounds and staying on course.
- Optional Decorations: Think tiny beads, dazzling sequins, mini pom-poms, or even a little star to crown your tree! Embroidery thread works wonderfully for delicate garlands.
- Finishing Tools: Grab your trusty scissors, a tapestry needle for weaving in ends, and perhaps a hot glue gun for securely attaching any embellishments.
Technique Breakdown & Step-by-Step Guide
Now for the fun part – watching your festive tree come to life, stitch by stitch! Remember, we’re building a charming little cone shape, then adding a sturdy trunk. No complicated stitch charts here, just joyful crocheting!
Building the Tree’s Base
We’ll begin by creating a firm, flat base for our tree. Start with a magic ring for a beautifully tight center.
Into this ring, work a small number of single crochet stitches. In the next couple of rounds, gently expand this circle by evenly increasing your single crochet stitches.
This forms the broad foundation that will transition into the tree’s layers.
Shaping the Festive Layers
With your base established, it’s time to define those wonderful tree layers. For the next round, work into the back loops only (BLO) of your stitches.
This clever technique creates a subtle ridge, making your tree pop with delightful texture and defining the first ‘layer’.
Now, form the tree’s iconic conical shape. Continue working single crochet stitches, but every few stitches, decrease two stitches together.
Repeat this gradual decrease over several rounds to taper your tree beautifully upwards. Adjust decreasing rounds to achieve your desired height and pointiness!
As you approach the top, decrease more frequently until the opening is small enough to close with a few final stitches. Fasten off and weave in your ends neatly.
Crafting the Trunk
Every good tree needs a strong trunk! Attach your brown yarn to the very center of your tree’s base.
Work a small number of single crochet stitches evenly spaced around this central point. Continue in rounds without increases, building up a sturdy little cylinder.
This creates the perfect stand for your tiny tree. Once happy with the height, fasten off and weave in those ends.
Finishing, Assembly & Styling Ideas
Your little tree is almost ready for its holiday debut! Now for the magic touches that make it truly yours.
First, ensure all loose ends are securely woven in using your tapestry needle for a clean, professional finish.
If you crafted a separate trunk, carefully stitch or hot glue it to the bottom of your tree for stability.
Now for the fun part: decorating! Adorn your tree with tiny beads, sparkling sequins, or fluffy mini pom-poms using a hot glue gun.
A tiny crochet star or embellishment can be stitched or glued to the top. You can even embroider delicate garlands with contrasting yarn or thread.
These charming trees are perfect as ornaments on your big tree, delightful table centerpieces, unique gift toppers, or even attached to a keychain!
Pro Crafter Tips
Want to elevate your crochet Christmas tree game? Here are a few insider tips!
Consistent Tension: Even tension ensures uniform stitches and a tree that stands tall and proud.
Yarn Choices: Experiment with different textures! Chenille yarn creates a fuzzy tree, while cotton offers crisp stitch definition. Variegated yarns add instant visual interest.
Color Palettes: Beyond classic green, imagine snowy white, sparkly gold, or whimsical pastels! Match your decor or let creativity flow.
Size Matters: To make different sizes, adjust your hook and yarn weight. A larger hook with bulkier yarn yields a bigger tree; adjust increase/decrease rounds accordingly.
Frequently Asked Questions
Can I make these trees in different sizes?
Absolutely! Adjusting your yarn weight and hook size will change the overall size. For a bigger tree, simply add more increase rounds at the base and more single crochet rounds between your decrease rounds for added height.
What kind of yarn is best for beginners?
Worsted weight acrylic yarn is fantastic for beginners! It’s readily available, affordable, easy to work with, and forgiving of mistakes. Plus, it comes in every color imaginable!
Watch the Full Step-by-Step Video Tutorial
Prefer visual guidance? Follow along with the complete video tutorial below at your own pace: