
Introduction & Holiday Inspiration
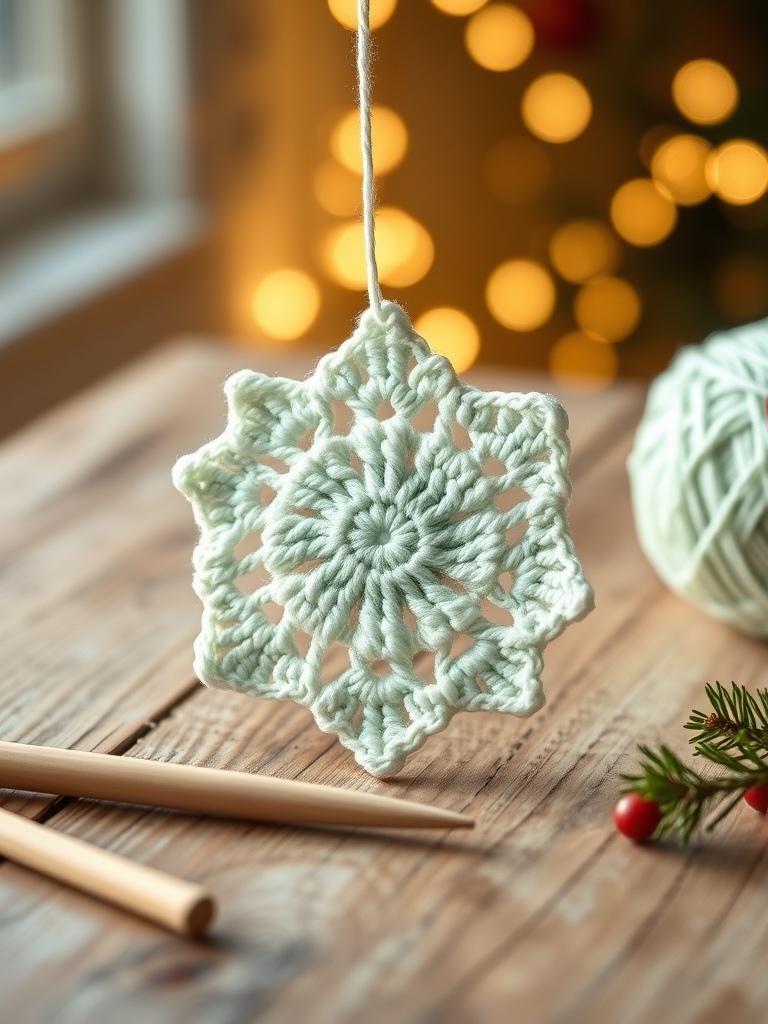
When the first snow falls, I love turning that quiet sparkle into something I can hang on my tree. This crochet snowflake pattern, inspired by ABoC Studio’s Pinterest‑style tutorial, brings a fresh mint‑green pop to classic white lace.
The finished piece is a lightweight, lace‑like ornament that catches light like a real crystal, perfect for wreaths, garlands, or as a single standout charm.
Materials & Yarn Recommendations
- Yarn: 100% cotton or a soft acrylic in Light Mint Green (fingering weight, 2‑ply, ~50 g) and Crisp White (same weight). I love Lion Brand 100% Cotton in “Minty Fresh” and “Snow White”.
- Hook: 2.5 mm (US B‑1) for a tight, airy fabric.
- Stitch markers, tapestry needle, and a small pair of scissors.
- Optional: a tiny metal loop or jump ring for hanging.
Technique Breakdown & Step‑by‑Step Overview
ABoC’s tutorial starts with a simple magic ring, then builds a series of concentric rounds that form the snowflake’s points. Below is the narrative version of those rounds.
Round 1 – Center: Make a magic ring, 6 single crochets (sc), pull tight, and join with a slip stitch. This tiny hub anchors the whole design.
Round 2 – Expansion: 2 sc in each stitch (12 sc total). This doubles the diameter and creates a smooth base for the lace work.
Round 3 – First Lace Band (White): *[*1 sc, *[**] 2 dc, 1 sc*] repeat around. You’ll see a subtle “V” shape that begins the crystal look.
Round 4 – Switch to Mint Green: Change to mint yarn. Work *[2 dc, 1 sc, 2 dc]* around. The alternating double crochets create airy gaps that mimic frost.
Round 5 – Point Formation: *[*1 sc, 3 dc, 1 sc*] repeat 6 times.* This builds the first set of six points.
Round 6 – Sharpen the Points: For each point, work *[1 sc, 4 dc, 1 sc]*. The extra double crochet lengthens the arms, giving that sharp crystal tip.
Round 7 – Final Detailing (White): Return to white yarn. Work a single crochet around the entire edge, then slip stitch into the first sc to close. This neat border frames the snowflake and adds extra durability.
Fasten off, weave in ends, and you have a finished ornament ready for hanging.
Finishing, Assembly & Holiday Styling Ideas
Slide a tiny jump ring through the center hole, or simply thread a piece of thin ribbon before closing the final round. This makes hanging a breeze.
Arrange a cluster of three sizes (small, medium, large) on a pine branch for a frosted look, or string several together on a clear thread to drape across a mantle.
If you love sparkle, gently dust the white points with a light dusting of glitter glue—just enough to catch the tree lights without feeling sticky.
Pro Crafter Tips
- Keep tension consistent; a tighter stitch will preserve the delicate lace shape, while a loose stitch can make the points floppy.
- Use a stitch marker at the beginning of each round; it saves you from counting stitches and keeps the pattern symmetrical.
- When switching colors, carry the unused yarn along the back of the work for a clean look and to avoid unsightly holes.
Frequently Asked Questions
Q: Can I use a different yarn weight without changing the hook size?
A: Yes, but the snowflake will become bulkier and lose some of its airy feel. If you switch to sport weight, increase the hook to 3.0 mm and add an extra round of single crochets at the center for stability.
Q: How do I make the snowflake larger for a wreath?
A: Double the stitch count in the first two rounds (12 sc instead of 6, then 24 sc) and add an extra lace band round before starting the point rounds. The overall shape stays the same, just scaled up.
Watch the Full Step-by-Step Video Tutorial
Prefer visual guidance? Follow along with the complete video tutorial below at your own pace: