
Introduction & Holiday Inspiration
When the first snowflakes start to fall, I love adding a handmade touch to my holiday décor. This crochet Christmas wreath ornament is a tiny, merry masterpiece that brings the spirit of a winter garden to any mantel or tree.
Inspired by the charming tutorial from Crochet My Hobby, the wreath combines a crisp white base, lush emerald leaves, and a pop‑color red bow—perfect for gifting or personalizing your own festive space.
Materials & Yarn Recommendations
- Yarn:
- Emerald Green worsted‑weight (or DK) yarn for the leaf clusters.
- Crisp Snow White worsted‑weight yarn for the ring base.
- Candy Cane Crimson worsted‑weight yarn for the bow.
- Hook: 4.0 mm (G/6) crochet hook for a snug, even stitch.
- Stuffing: Small amount of polyester fiberfill for the leaf “puffs”.
- Beads: Tiny white seed beads (optional) to accent the bow.
- Scissors, yarn needle, and a stitch marker.
Technique Breakdown & Step‑by‑Step Overview
1. Ring Foundation – Begin with a magic ring, work 12 single crochets (sc) in white, then pull tight. This creates a neat, invisible center.
2. Expand the Ring – Round 2: 2 sc in each stitch (24 sc total). Round 3: *1 sc, 2 sc in next stitch* repeat around (36 sc). This builds a sturdy circular base.
3. Red Accent Stitches – Switch to crimson yarn and work a single round of single crochets spaced evenly (every 6 stitches). These tiny red pops mimic holly berries and add festive sparkle.
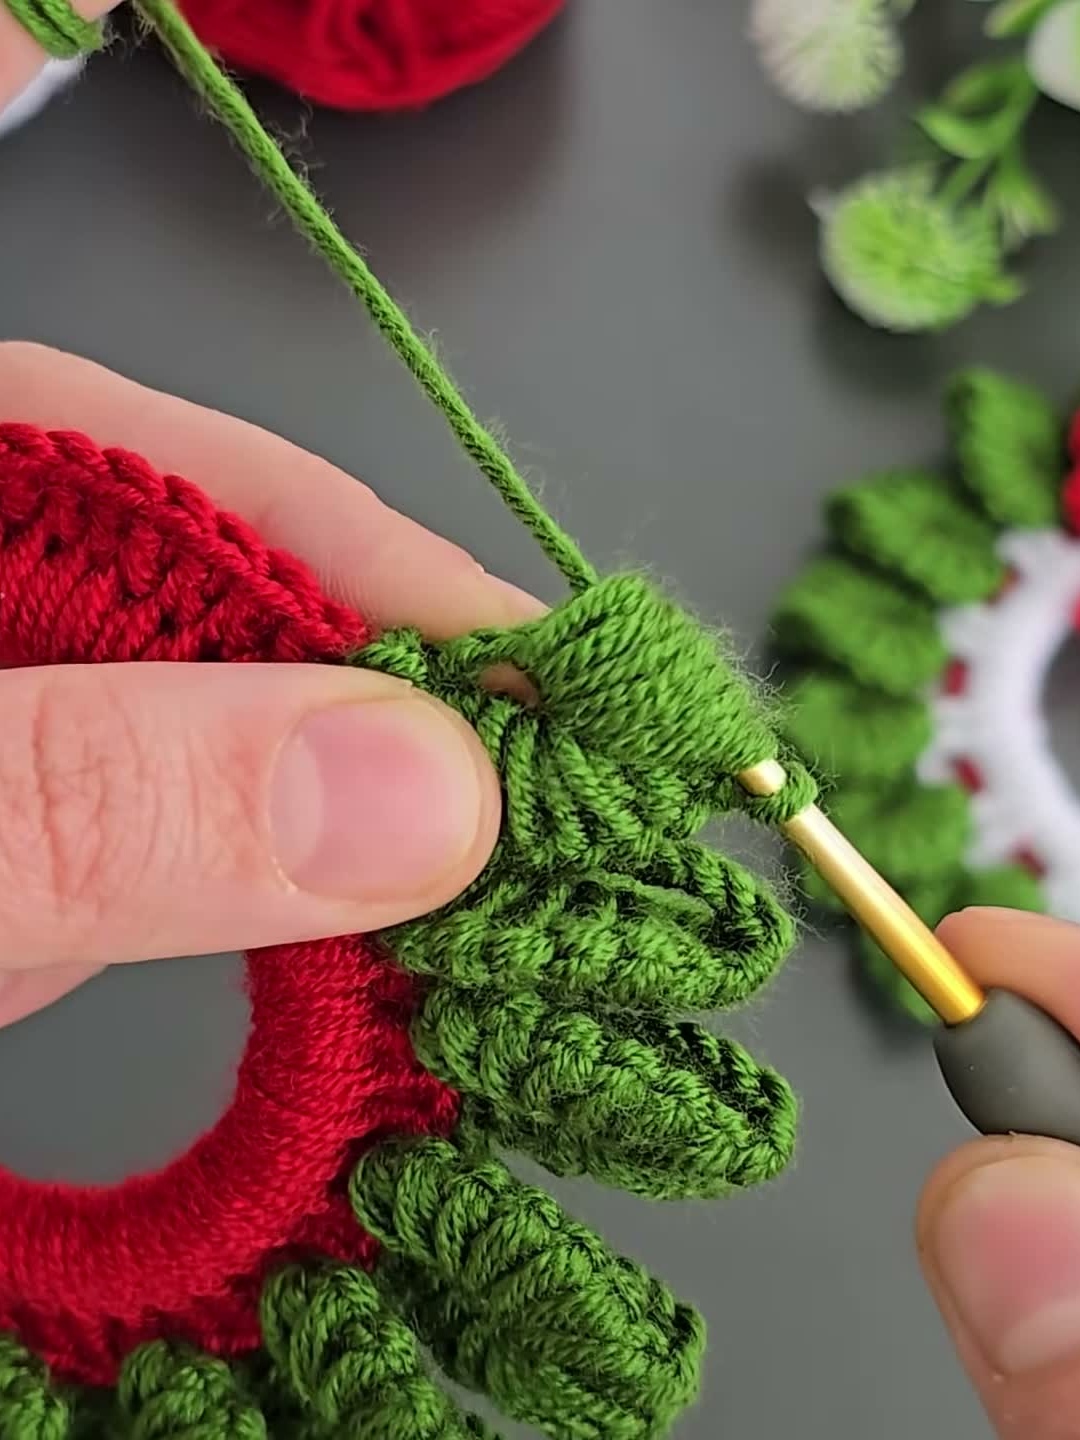
4. Leaf Clusters – Switch to emerald green. Make a leaf by chaining 6, then work 4 sc back down the chain, pull the tail through the first sc, and slip stitch into the base. Repeat 12 times, attaching each leaf to the white ring using a slip stitch.
5. Bow Construction – Using crimson yarn, chain 12, then work single crochets back to the start, forming a flat loop. Fold the loop in half, slip stitch the middle together, and pull the ends through to create a bow shape. Add a few white seed beads before closing for a subtle shimmer.
6. Final Assembly – Slip stitch the bow to the top of the wreath, ensuring it sits centered. Tuck any loose ends with a yarn needle.
Finishing, Assembly & Holiday Styling Ideas
Once the ornament is assembled, gently fluff the leaf clusters for a fuller look. You can hang the wreath from a small hook, attach it to a larger wreath as a focal point, or use it as a decorative tag on gift bags.
For a cozy touch, spray a light mist of fabric-safe glitter on the white ring for a frosted effect, or drape a tiny string of battery‑operated fairy lights around the leaves for extra sparkle.
Pro Crafter Tips
- Keep tension consistent on the ring base; a tighter ring prevents wobbling when you add the bow.
- When attaching leaves, use a stitch marker to keep spacing even—this gives the wreath a balanced, garden‑like appearance.
- If you prefer a larger ornament, simply increase the initial ring rounds (e.g., start with 18 sc) and scale the leaf and bow sizes proportionally.
Frequently Asked Questions
Q: Can I use cotton yarn instead of acrylic?
A: Absolutely! Cotton works well for a softer drape, but be aware it may stretch slightly more than acrylic, so keep your tension a bit tighter on the ring.
Q: How do I prevent the bow from unraveling over time?
A: After sewing the bow, weave the tail ends through several stitches of the wreath and secure with a tight knot. Adding a dab of fabric glue on the knot gives extra durability for years of holiday displays.
Watch the Full Step-by-Step Video Tutorial
Prefer visual guidance? Follow along with the complete video tutorial below at your own pace: