
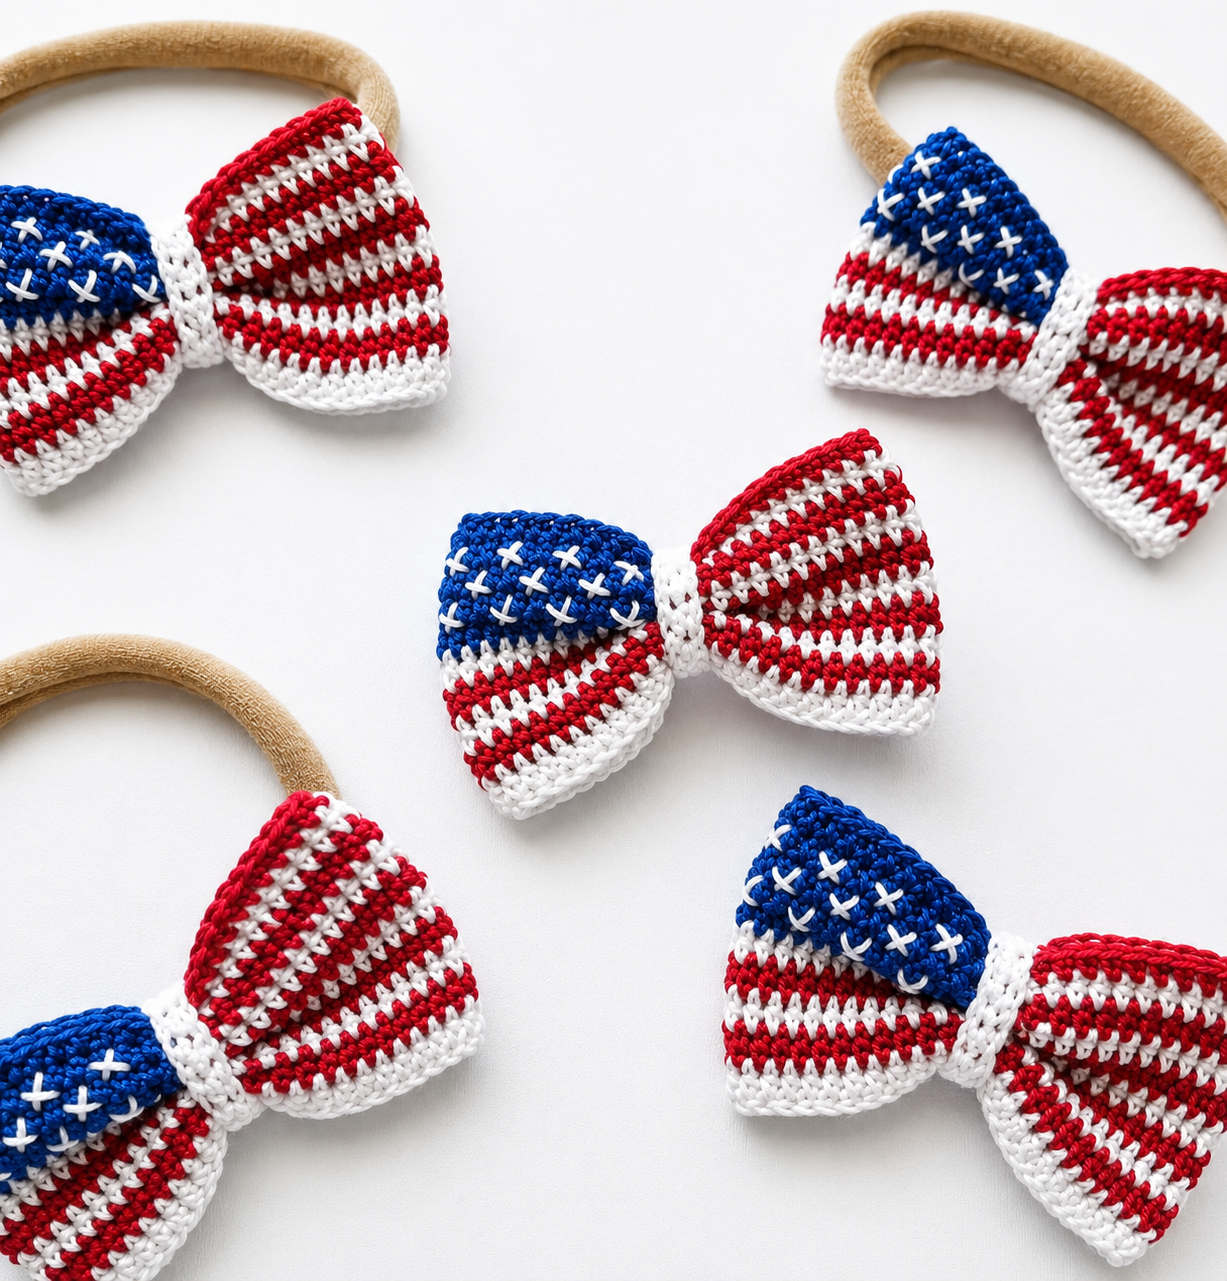
Overview & Design Inspiration
Hello, wonderful makers! There is something truly magical about combining the cozy comfort of handmade crochet with a vibrant splash of national pride. Whether you are prepping your home for the Fourth of July, honoring heroes on Memorial Day, or simply looking for a charming accessory, crafting a patriotic bow is a joyful way to express your creativity.
Crochet enthusiasts adore this design because it strikes that elusive balance between effortless and stunning. It offers a wonderful creative outlet where your hook transforms simple strands of yarn into a festive, eye-catching statement piece that you will proudly display or wear year after year.
Materials & Recommended Supplies
- Yarn: Smooth cotton or cotton-blend yarn in classic red, white, and blue. Cotton provides incredible stitch definition and holds its shape beautifully.
- Crochet Hook: 3.5 mm (US size E/4) or 4.0 mm (US size G/6) depending on your desired tension and yarn weight.
- Notions: A sharp pair of embroidery scissors and a yarn needle for weaving in ends.
- Optional Embellishments: Alligator clips, headbands, star buttons, or decorative ribbon centers to customize your finished piece.
Essential Techniques & Stitch Highlights
This charming project relies on foundational stitches like single crochet, half double crochet, and double crochet, making it remarkably approachable for ambitious beginners. Because the design plays with vibrant red, white, and blue, clean color transitions and consistent stitch heights are the secret to keeping your stripes looking sharp and intentional.
Working with basic shaping techniques allows you to create the signature pinched bow silhouette without complicated assembly. The combination of sturdy cotton yarn and tight, even tension ensures that your loops maintain their lovely structure without flopping over.
Construction & Assembly Highlights
The construction journey typically begins by working the main body of the bow in flat, rectangular sections or shaped panels that mimic festive stripes. Once your primary piece is complete, you will expertly cinch or wrap the center to create those iconic, voluminous bow loops.
Assembly is delightfully straightforward, often requiring just a few secure wraps of yarn around the center to lock the shape in place. Finishing touches involve weaving in your ends seamlessly and securing your chosen backing, whether that is a sturdy hair clip, a pin, or a rustic twine loop for hanging.
Customization & Styling Ideas
The true beauty of this pattern lies in its endless versatility! Swap out standard worsted weight yarn for a fine lace-weight thread to create a delicate, miniature hair bow, or size up to bulky yarn for a dramatic wreath accent.
Transform your finished bows into wearable art by hot-gluing them to headbands, or attach them to jute twine to string together a stunning holiday garland. They also make unforgettable gift toppers that double as an extra keepsake for the recipient!
Pro Tips for Flawless Results
- Maintain Even Tension: Keep your stitches uniform so that your red, white, and blue sections look balanced and symmetrical.
- Embrace Light Blocking: A gentle steam or spray blocking session will crisp up your edges and give your bow a polished, professional finish.
- Secure Your Ends: Weave in all color-change tails meticulously to ensure your bow withstands regular wear and seasonal storage.
Frequently Asked Questions
Is this project suitable for absolute beginners?
Yes, absolutely! Because the project relies on basic stitches and straightforward construction, confident beginners can easily stitch one up in under an hour.
What is the best yarn choice for a crisp finish?
Mercerized cotton yarn is widely considered the gold standard for this type of project because it offers crisp stitch definition, vibrant color saturation, and fantastic durability.
Can I sell items made from this pattern?
In most cases, yes! Just be sure to check the specific designer’s guidelines regarding handmade sales if you are using a purchased or downloaded pattern.
Watch the Full Step-by-Step Video Tutorial
Prefer visual guidance? Follow along with the complete video tutorial below at your own pace: