
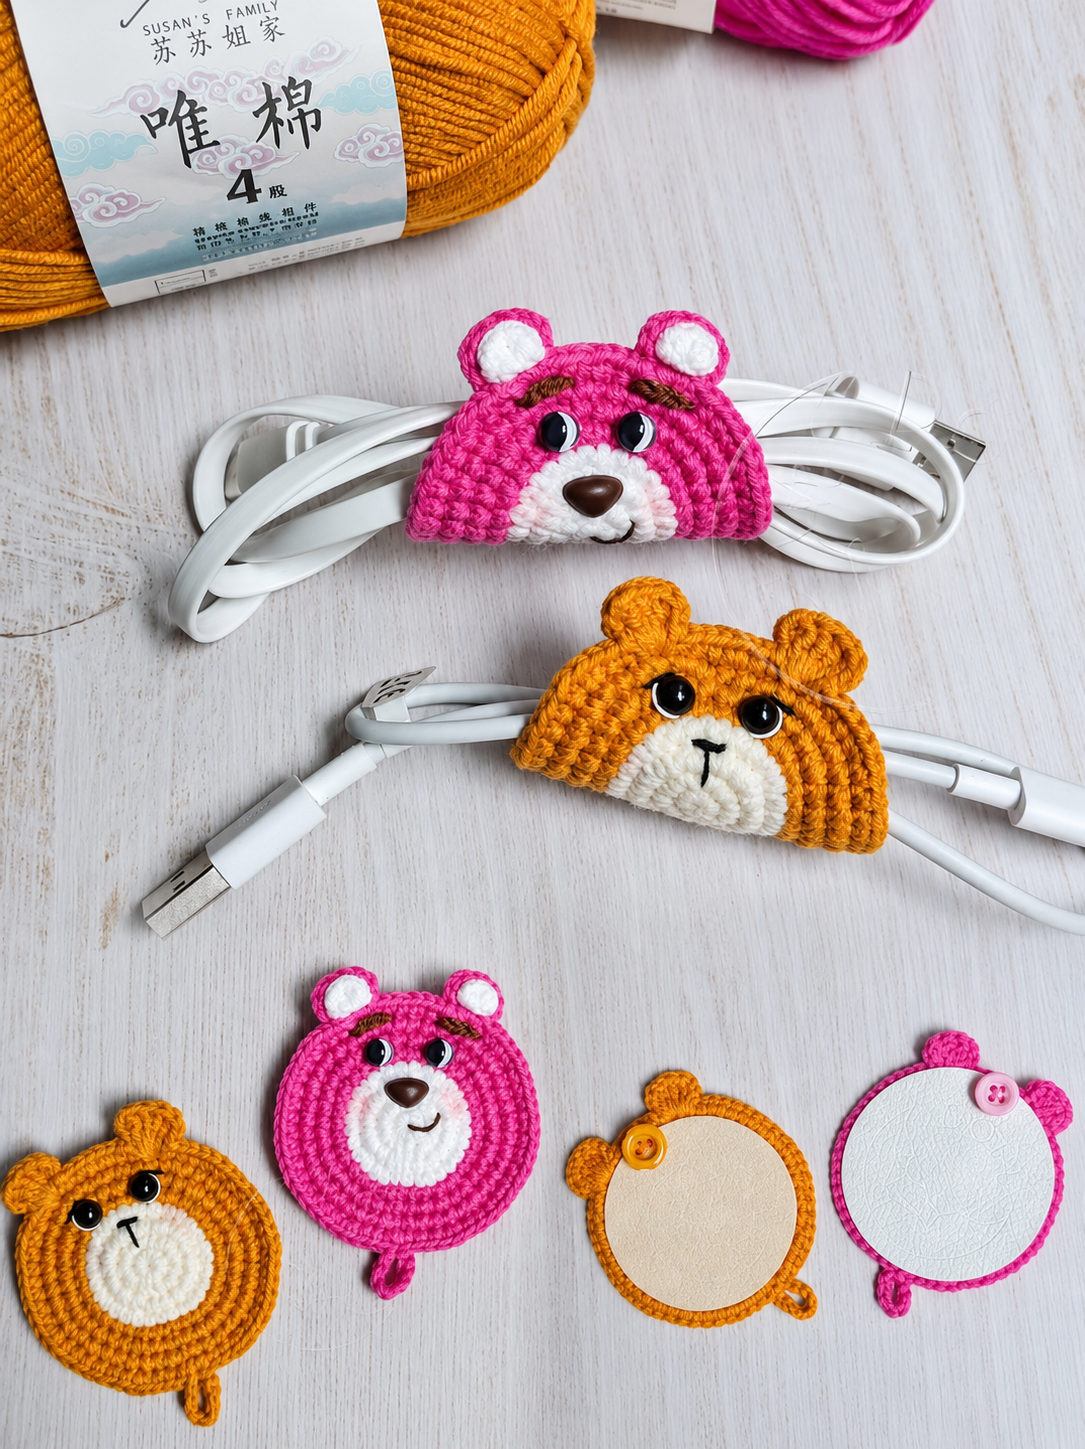
Overview & Design Inspiration
Welcome back to the studio, fellow yarn lovers! If your desk drawer or travel bag looks anything like a tangled spaghetti bowl of charging cords, earphones, and USB cables, we have the ultimate instant-gratification project for you. Say hello to the Crochet Bear Cable Organizer Pattern, a brilliant mix of adorable design and everyday practicality that will instantly melt your heart.
There is something undeniably magical about turning a few yards of leftover yarn into a functional little companion. This charming bear motif not only brings a smile to your face every time you reach for your charger, but it also provides a soft, flexible alternative to bulky plastic cable ties that won’t scratch your delicate tech accessories.
Materials & Recommended Supplies
- Yarn: Sport weight or DK cotton yarn (cotton is ideal for its durability, structure, and stitch definition).
- Crochet Hook: 3.0 mm (US size D/3) hook to achieve a wonderfully dense, sturdy fabric.
- Notions: Yarn needle for weaving in ends, locking stitch markers, and scissors.
- Facial Details: Black embroidery floss for a safe, handmade face, or 6mm safety eyes.
- Fastening: A small button, snap, or Velcro dot to secure the wrap around your cables.
Essential Techniques & Stitch Highlights
This delightful project relies on basic, approachable crochet techniques that make it wonderfully accessible while keeping intermediate makers fully engaged. Working primarily in single crochet creates the dense, firm fabric needed to grip your cords securely without stretching out over time.
You will practice simple shaping methods such as increases and decreases to craft the bear’s signature round head and tiny ears. Because the stitch count is small and manageable, it is a fantastic playground for practicing your tension and mastering clean, invisible joins.
Construction & Assembly Highlights
The construction journey begins at the center of the bear’s head, working outward in the round to build a sturdy base. From there, you will shape the cute little ears and secure them neatly into place before diving into the fun finishing touches.
Assembly is where your bear truly comes to life with personality! Embroidering a sweet little nose and smiling mouth transforms a simple crochet circle into a friendly character, while attaching a clever fastening mechanism ensures your organizer does its job brilliantly.
Customization & Styling Ideas
One of the best things about this pattern is how effortlessly you can make it your own. Try traditional teddy bear browns for a classic look, or experiment with dreamy pastel pinks, lavenders, and mint greens for a modern aesthetic.
You can easily scale the size up or down depending on whether you are wrapping skinny earbuds or thick laptop charging cords. Add a tiny crocheted bow, a mini scarf, or personalized embroidered initials to make a batch of unforgettable handmade gifts for friends, coworkers, and students.
Pro Tips for Flawless Results
- Drop Down a Hook Size: Use a crochet hook slightly smaller than what is recommended for your yarn weight to create a tight, professional fabric that holds its shape.
- Embroider for Safety: If you are gifting your organizer to children or frequent travelers who toss it into backpacks, embroidered facial features are completely flat and ultra-durable.
- Stash-Busting Magic: Because this project requires very little yardage, dig through your scrap basket to mix and match colors for the ears and muzzle.
Frequently Asked Questions
Is this project beginner-friendly?
Yes, absolutely! The pattern utilizes fundamental stitches like single crochet and basic shaping in the round, making it a wonderful weekend project for confident beginners.
What yarn is best to use?
100% cotton yarn is our top recommendation because it resists stretching, maintains crisp stitch definition, and provides the sturdy structure a cable wrap requires.
How long does it take to make one?
Most makers can easily whip up a complete bear cable organizer in just an hour or two, making them ideal for last-minute gifts or craft fair stock!
Watch the Full Step-by-Step Video Tutorial
Prefer visual guidance? Follow along with the complete video tutorial below at your own pace: