
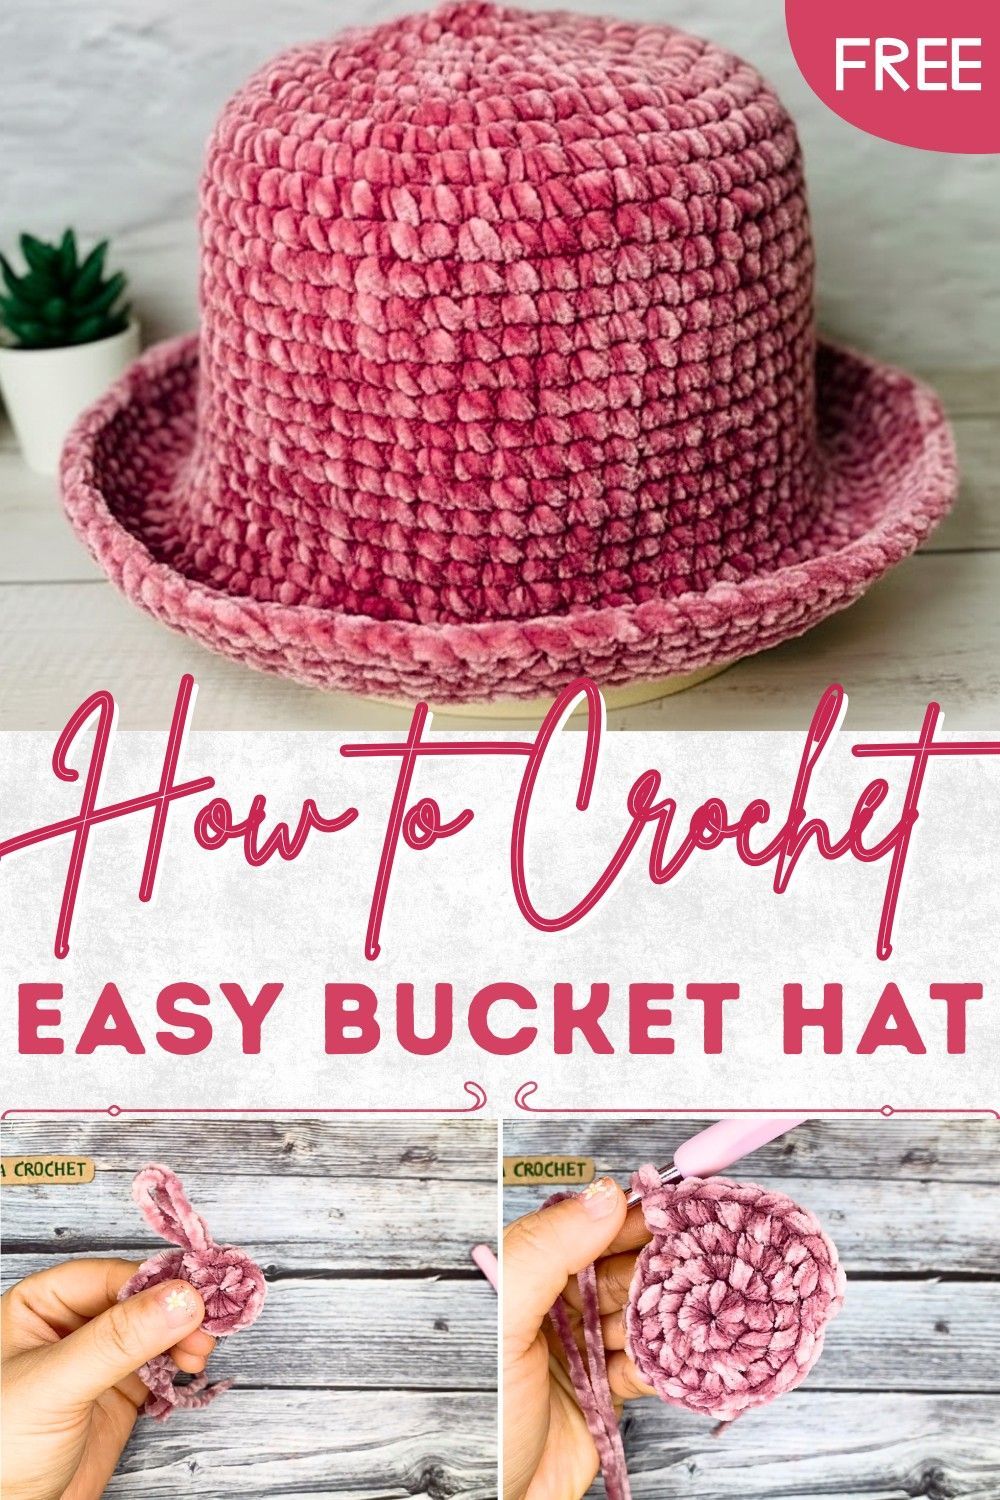
Overview & Design Inspiration
Welcome, fellow yarn lovers! If you have been scrolling through your favorite maker feeds lately, you have undoubtedly noticed that the crochet bucket hat trend is having a massive moment. This fabulous accessory effortlessly blends retro 90s charm with modern streetwear chic, making it an absolute must-have for any handmade wardrobe.
Whether you are crafting a sun-kissed cotton companion for upcoming beach days or a cozy textured piece for crisp autumn strolls, this project is endlessly rewarding. Not only is it wonderfully portable and quick to finish, but it also gives you complete creative freedom to play with colors, textures, and styles!
Materials & Recommended Supplies
Gathering your supplies is half the fun! To help you achieve that crisp, professional-looking structure, here is everything you will need to bring your hat to life:
- Yarn: 100% cotton worsted-weight yarn is the gold standard for breathability and shape retention, though acrylic or cotton-blend yarns work beautifully too.
- Crochet Hook: 4.0 mm (US G/6) or 4.5 mm (US 7) hook, depending on your personal tension and how stiff you want the fabric to be.
- Stitch Markers: Essential for tracking your rounds since bucket hats are typically worked in a continuous spiral.
- Notions: A sharp yarn needle for weaving in ends and a pair of small, precise craft scissors.
- Measuring Tape: To check your head circumference and ensure a custom, comfortable fit.
Essential Techniques & Stitch Highlights
The beauty of this project lies in its accessibility, relying on foundational techniques that both beginners and seasoned pros adore. You will kick things off with a magic ring or a secure chain circle to ensure a completely seamless, hole-free top at the crown of your hat.
Most of the hat is worked using sturdy, reliable stitches like the single crochet or half double crochet to create a dense, supportive fabric that holds its shape. By mastering simple, evenly spaced increases and working in continuous rounds, you will effortlessly transition from the flat top down to the structured body and flared brim.
Construction & Assembly Highlights
Understanding how a bucket hat comes together makes the crafting process an absolute breeze! The architecture of the design is wonderfully intuitive, broken down into three main, flowing phases: the crown, the body, and the brim.
Your journey begins at the very top with the crown, where you will gradually increase stitches in each round to expand the circle flat against your head. Once you reach the correct diameter, you will stop increasing and work even rounds downward to form the body—this is where you can try the hat on to test the depth!
Finally, you will reintroduce strategic increases to flare the fabric outward, forming that iconic, stylish brim. Because the entire piece is worked seamlessly in the round, there is zero messy sewing or assembly required at the end!
Customization & Styling Ideas
One of the greatest joys of handmade fashion is putting your own unique spin on a classic design. You can easily experiment with bold color blocking by switching yarn shades for the crown, body, and brim to create a playful, vintage-inspired statement piece.
Sizing is also entirely adjustable simply by altering the number of increase rounds in the crown, making it a breeze to whip up matching sets for the whole family. Pair your finished masterpiece with casual denim, a breezy summer dress, or your favorite streetwear ensemble for an instantly elevated look.
Pro Tips for Flawless Results
- Maintain Consistent Tension: Because bucket hats rely heavily on their structural integrity, keeping your stitches even prevents the hat from warping or leaning to one side.
- Use Your Stitch Markers: Working in spiral rounds can make the start of a round tricky to spot, so always secure a marker in your first stitch of the round.
- Embrace Light Steam Blocking: A quick pass with a garment steamer or a damp cloth pressed under a warm iron will relax your cotton fibers and give your brim a crisp, polished edge.
Frequently Asked Questions
What skill level is required for this project?
This project is wonderfully beginner-friendly! As long as you are comfortable with basic stitches like single crochet and understand how to work in the round, you will have no trouble mastering this pattern.
Can I wash my finished crochet bucket hat?
Yes, absolutely! If you use 100% cotton yarn as recommended, your hat can generally be hand-washed or machine-washed on a gentle cycle. Just reshape it gently while damp and let it air dry flat.
How do I know what size to make?
The best method is to measure the intended wearer’s head circumference with a soft tape measure and compare it to the diameter of your flat crown before you transition to working the straight body rounds.
Watch the Full Step-by-Step Video Tutorial
Prefer visual guidance? Follow along with the complete video tutorial below at your own pace: