
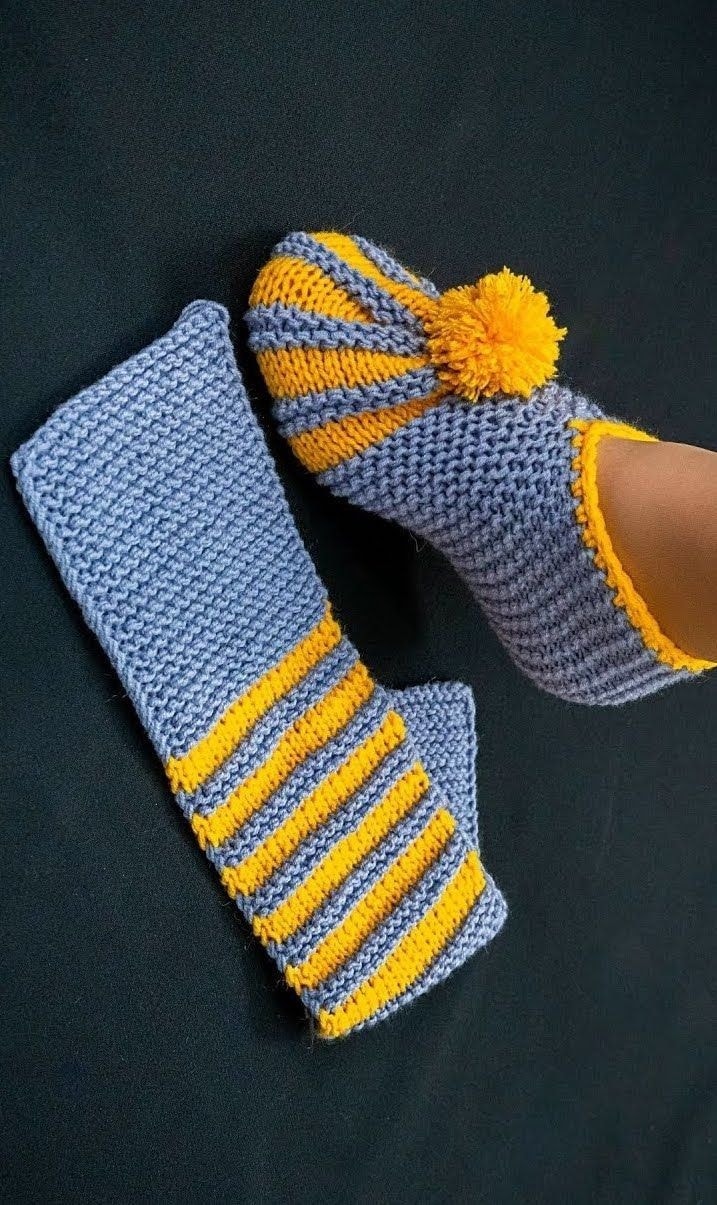
Overview & Inspiration
Welcome, fellow yarn lovers! There is truly nothing quite like sinking your tired feet into a pair of handmade crochet sock slippers after a long, busy day.
Whether you are curling up with a good book on a chilly morning or searching for the ultimate thoughtful gift, this cozy project brings instant comfort, creativity, and joy to your daily routine.
Materials & Supplies Needed
- Yarn: Worsted weight (Category 4) acrylic or wool-blend yarn (approx. 150-200 yards)
- Hook: US G/6 (4.0 mm) or US H/8 (5.0 mm) crochet hook (choose a slightly smaller hook to create a denser, more durable fabric)
- Notions: Tapestry needle for weaving in ends, stitch markers, and sharp scissors
- Optional: Suede patches or non-slip fabric paint for a safer, non-skid sole
Stitches & Abbreviations
- ch = chain
- sl st = slip stitch
- sc = single crochet
- hdc = half double crochet
- dc = double crochet
- inc = increase (work 2 sts in the same st)
- dec = decrease (work 2 sts together)
- FPdc = front post double crochet
- BPdc = back post double crochet
- st(s) = stitch(es)
Step-by-Step Pattern Instructions
We will work this classic slipper pattern from the toe upward, beginning with a simple oval sole to build a secure foundation for the foot.
Round 1 (Toe & Sole)
Begin by chaining 12 loosely. Working around the foundation chain, work 1 hdc in the 2nd ch from hook, hdc in each of the next 9 chs, and 5 hdc in the final ch. Working along the opposite side of the foundation chain, hdc in each of the next 10 chs. Join with a sl st to the first hdc. [26 sts]
Round 2 (Expanding the Footbed)
Ch 1 (does not count as a st here and throughout). Work 2 hdc in the first st, hdc in each of the next 10 sts, 2 hdc in each of the next 3 sts, hdc in each of the next 10 sts, and 2 hdc in the final 2 sts. Join with a sl st to the first hdc. [32 sts]
Rounds 3 to 8 (Building the Body)
Ch 1, hdc in each st all the way around without increasing. Join with a sl st to the first hdc. Repeat this round for a total of 6 working rounds to build the height of the slipper foot. [32 sts]
Round 9 (Heel Shaping & Contouring)
Ch 1, hdc in each of the first 12 sts, work a series of 4 hdc dec across the instep to shape the toe contour, then hdc in the remaining 12 sts to the back of the heel. Join with a sl st to the first hdc. [28 sts]
Rounds 10 to 12 (Ankle Cuff)
Ch 2 (counts as first dc here). Work a ribbing pattern by alternating FPdc and BPdc around each st to create a stretchy, snug ankle cuff. Join with a sl st to the top of the starting ch-2. [28 sts]
Assembly & Finishing Touches
Once your final cuff round is complete, fasten off your yarn, leaving a generous 10-inch tail for securing.
Thread your tapestry needle and carefully weave in all remaining yarn tails along the inside of the slipper for a clean, professional look.
If you prefer extra traction, attach suede patches to the bottom of the soles or apply dots of non-slip fabric paint across the bottom.
Pro Tips for Flawless Results
- Maintain a consistent, slightly firm tension throughout your project to prevent the slippers from stretching out over time.
- Always double-check your foot measurements against the sole length before moving up to the body rounds to ensure a perfect fit.
- Use locking stitch markers to keep track of your rounds and decrease placements during the toe-shaping phase.
Frequently Asked Questions
What skill level is required for this pattern?
This design is beginner-friendly and primarily uses basic stitches like single crochet and half double crochet, making it a quick and rewarding project for makers of all skill levels.
How long does it take to complete a pair of slippers?
Most makers can comfortably finish a pair of these cozy sock slippers in just a few hours, depending on their individual crochet speed and familiarity with basic stitches.
Can I easily adjust the size of the slippers?
Yes, you can easily customize the size for children, men, or women by adding or subtracting initial chain stitches and adjusting the number of body rounds to fit your exact foot length.
Watch the Full Step-by-Step Video Tutorial
Prefer visual guidance? Follow along with the complete video tutorial below at your own pace: