
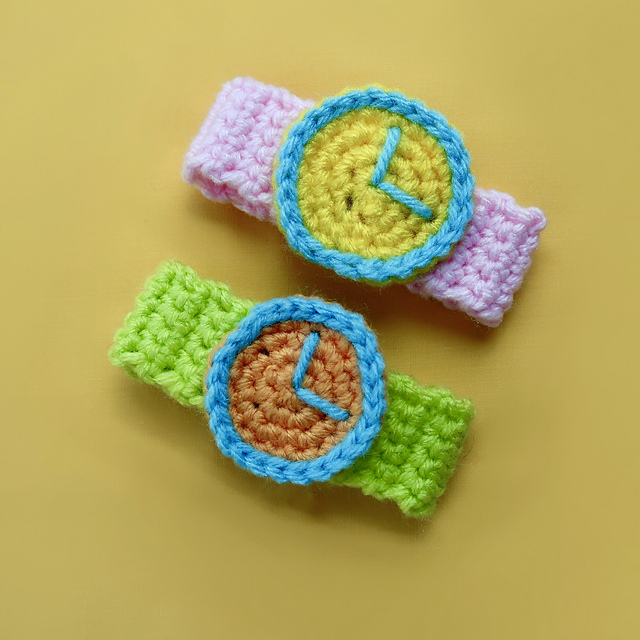
Overview & Inspiration
Welcome, fellow yarn lovers, to a wonderfully playful and educational project that brings handmade charm straight into the playroom! If you are looking for a creative way to help little ones learn how to tell time, this soft-stitched timekeeper is an absolute joy to craft.
Far more than just nursery decor, this interactive learning tool transforms abstract numbers into a tangible, sensory experience. Whether you choose bright rainbow shades or cozy pastels, your finished piece will spark curiosity, encourage early math skills, and become a cherished keepsake.
Materials & Supplies Needed
- Medium worsted weight yarn (cotton or acrylic in bright, child-friendly colors for high contrast)
- Crochet hook: 4.0 mm to 5.0 mm (US size G/6 to H/8)
- Tapestry needle for embroidery and weaving in ends
- Stitch markers to maintain round symmetry
- Sharp scissors
- Polyfill stuffing (optional, if you want a plush, padded clock face)
- Large button or secure fastener for the center hands
Stitches & Abbreviations
- ch – Chain
- sl st – Slip stitch
- sc – Single crochet
- hdc – Half double crochet
- inc – Increase (work 2 sc in the same stitch)
- st(s) – Stitch(es)
- Rnd – Round
Step-by-Step Pattern Instructions
The base of the clock starts with a magic ring or adjustable loop, working in continuous rounds to form a flat, smooth circle. Use your stitch marker to keep track of the start of each round.
Clock Face Base
- Rnd 1: Make a magic ring, work 6 sc into the ring, pull tight to close. [6 sts]
- Rnd 2: Work 2 sc in each st around. [12 sts]
- Rnd 3: (1 sc in next st, inc in next st) repeat around. [18 sts]
- Rnd 4: (1 sc in each of next 2 sts, inc in next st) repeat around. [24 sts]
- Rnd 5: (1 sc in each of next 3 sts, inc in next st) repeat around. [30 sts]
- Rnd 6: (1 sc in each of next 4 sts, inc in next st) repeat around. [36 sts]
- Rnd 7: (1 sc in each of next 5 sts, inc in next st) repeat around. [42 sts]
- Rnd 8: (1 sc in each of next 6 sts, inc in next st) repeat around. [48 sts]
- Rnd 9: (1 sc in each of next 7 sts, inc in next st) repeat around. [54 sts]
- Rnd 10: (1 sc in each of next 8 sts, inc in next st) repeat around. [60 sts]
- Rnd 11: (1 sc in each of next 9 sts, inc in next st) repeat around. [66 sts]
- Rnd 12: (1 sc in each of next 10 sts, inc in next st) repeat around. [72 sts]
- Fasten off, leaving a long tail for assembly.
Clock Hands (Make 2: One Hour Hand, One Minute Hand)
- Ch 11 (for minute hand) or ch 7 (for hour hand).
- Starting in the second ch from hook, work sc in each ch across to the end.
- Fasten off, leaving a long tail to secure to the center of the clock face.
Assembly & Finishing Touches
Begin by weaving in any loose yarn tails on the back of your clock face to ensure a clean, tidy finish. If you prefer a firmer structure, you can lightly steam block your finished circle.
Next, embroider the numbers 1 through 12 evenly around the outer edge using contrasting yarn and a tapestry needle. Alternatively, you can crochet separate small circles for numbers and sew them securely in place.
Layer the hour hand and minute hand over the center point of the clock face. Secure them firmly using a large, tightly sewn button so that little hands can freely rotate them during playtime.
Pro Tips for Flawless Results
- Maintain consistent tension throughout your circular rounds to prevent the clock face from ruffling or cupping.
- Use high-contrast yarn colors for the numbers so early learners can easily distinguish each hour.
- For toddlers, embroider flat numbers rather than using buttons to ensure complete safety and prevent choking hazards.
Frequently Asked Questions
What skill level is required for this pattern?
This project is ideal for adventurous beginners to intermediate crocheters. As long as you know basic stitches like single crochet and increasing, you will breeze right through it.
Is this clock safe for toddlers?
Yes, absolutely! Just ensure all yarn tails are securely woven in and embroider your numbers directly onto the face rather than attaching small plastic pieces.
How big will the finished clock be?
Using worsted weight yarn and a 4.5 mm hook, your finished clock face will measure approximately 8 to 10 inches in diameter, making it the perfect size for little hands to explore.
Watch the Full Step-by-Step Video Tutorial
Prefer visual guidance? Follow along with the complete video tutorial below at your own pace: