
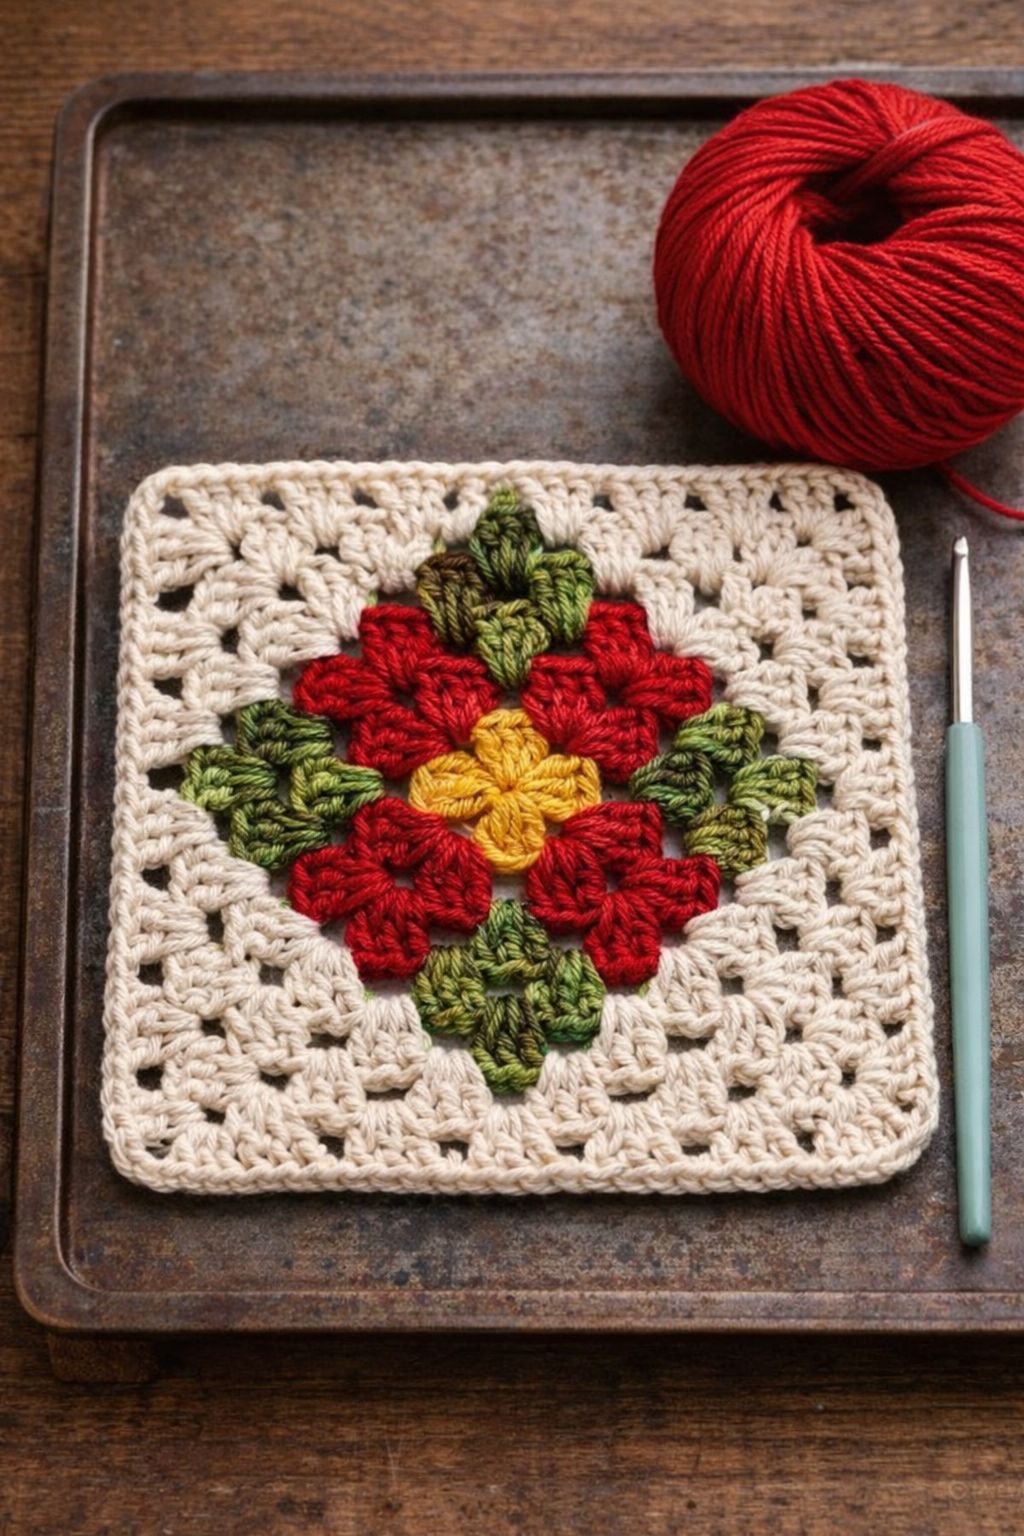
Overview & Inspiration
Welcome, fellow yarn lovers! There is nothing quite like the magic of blending floral beauty with geometric structure, and the Crochet Poinsettia Square Pattern does just that. It captures the warm, celebratory charm of the classic holiday bloom while giving you a versatile, modular block to play with.
Whether you are crafting a cozy heirloom afghan or looking for a stunning centerpiece for your holiday table, this design strikes the ultimate balance between simplicity and sophistication. Grab your favorite hook, and let’s dive into making something truly extraordinary!
Materials & Supplies Needed
- Worsted weight (Category 4) yarn in Red, Green, and Cream (or your favorite modern color palette)
- 5.0 mm (US H/8) crochet hook
- Tapestry needle for weaving in ends
- Stitch markers
- Sharp embroidery scissors
- Blocking mats and pins (optional, but recommended for a professional finish)
Stitches & Abbreviations
- ch: chain
- sc: single crochet
- hdc: half double crochet
- dc: double crochet
- tr: treble crochet
- sl st: slip stitch
- st(s): stitch(es)
- BLO: back loop only
- RS: right side
Step-by-Step Pattern Instructions
Follow these step-by-step rounds to bring your poinsettia square to life. Make sure to check your stitch counts at the end of each round to keep your square perfectly aligned!
Round 1: The Center Blossom
Using Cream yarn, ch 4 and join with a sl st in the first ch to form a ring. Ch 1, work 8 sc into the center of the ring. Join with a sl st to the first sc and fasten off Cream. [8 sts]
Round 2: Inner Petals
Attach Red yarn to any st from Round 1. Ch 3 (counts as first dc), work 1 dc in the same st. Work 2 dc in each st all the way around. Join with a sl st to the top of the beginning ch-3. Fasten off Red. [16 sts]
Round 3: Expanding the Flower
Attach Green yarn to the BLO of any st from Round 2. Ch 1, work 1 sc in the same st, then work 1 hdc in each of the next 3 sts to begin squaring off the motif. Repeat this shaping sequence around, joining with a sl st to the first sc. [16 sts]
Round 4: The Square Frame
Ch 3 (counts as first dc), work (2 dc, ch 2, 3 dc) in the same st to form your first corner. *(Skip 2 sts, 3 dc in the next st) twice, skip 2 sts, work (3 dc, ch 2, 3 dc) in the next st for the next corner.* Repeat from * to * around, join with a sl st. [44 dc, 4 ch-2 corners]
Assembly & Finishing Touches
Once you have crocheted all your desired squares, lay them out on a flat surface to plan your color layout and overall design. Join the squares securely using your preferred method, such as the invisible mattress stitch or a continuous flat braid join.
Use your tapestry needle to weave in all loose yarn ends securely on the wrong side of the work. Finally, block your finished piece gently with steam or water spray to crisp up the geometric corners and showcase the stunning 3D texture of your poinsettia petals.
Pro Tips for Flawless Results
- Maintain Consistent Tension: Keep your yarn tension even, especially when working the raised petal rounds, to ensure every square turns out the exact same size.
- Block Each Square: Blocking your motifs individually before joining makes assembly much smoother and gives your final project a polished, professional look.
- Play with Color: Don’t feel restricted to traditional holiday colors; try icy blues and silvers or rich jewel tones for a modern twist!
Frequently Asked Questions
What skill level is required for the Crochet Poinsettia Square Pattern?
This pattern is generally suitable for confident beginners to intermediate crocheters. It uses familiar basic stitches while introducing layered elements that help build your skills gracefully.
Can this square be used for blankets and throws?
Absolutely! The square format makes it wonderfully modular, meaning you can easily join multiple blocks together to create stunning afghans, table runners, or cushion covers.
How do I adjust the finished size of the square?
You can easily scale the size of your square up or down by experimenting with different yarn weights and corresponding hook sizes without altering the fundamental pattern instructions.
Watch the Full Step-by-Step Video Tutorial
Prefer visual guidance? Follow along with the complete video tutorial below at your own pace: