
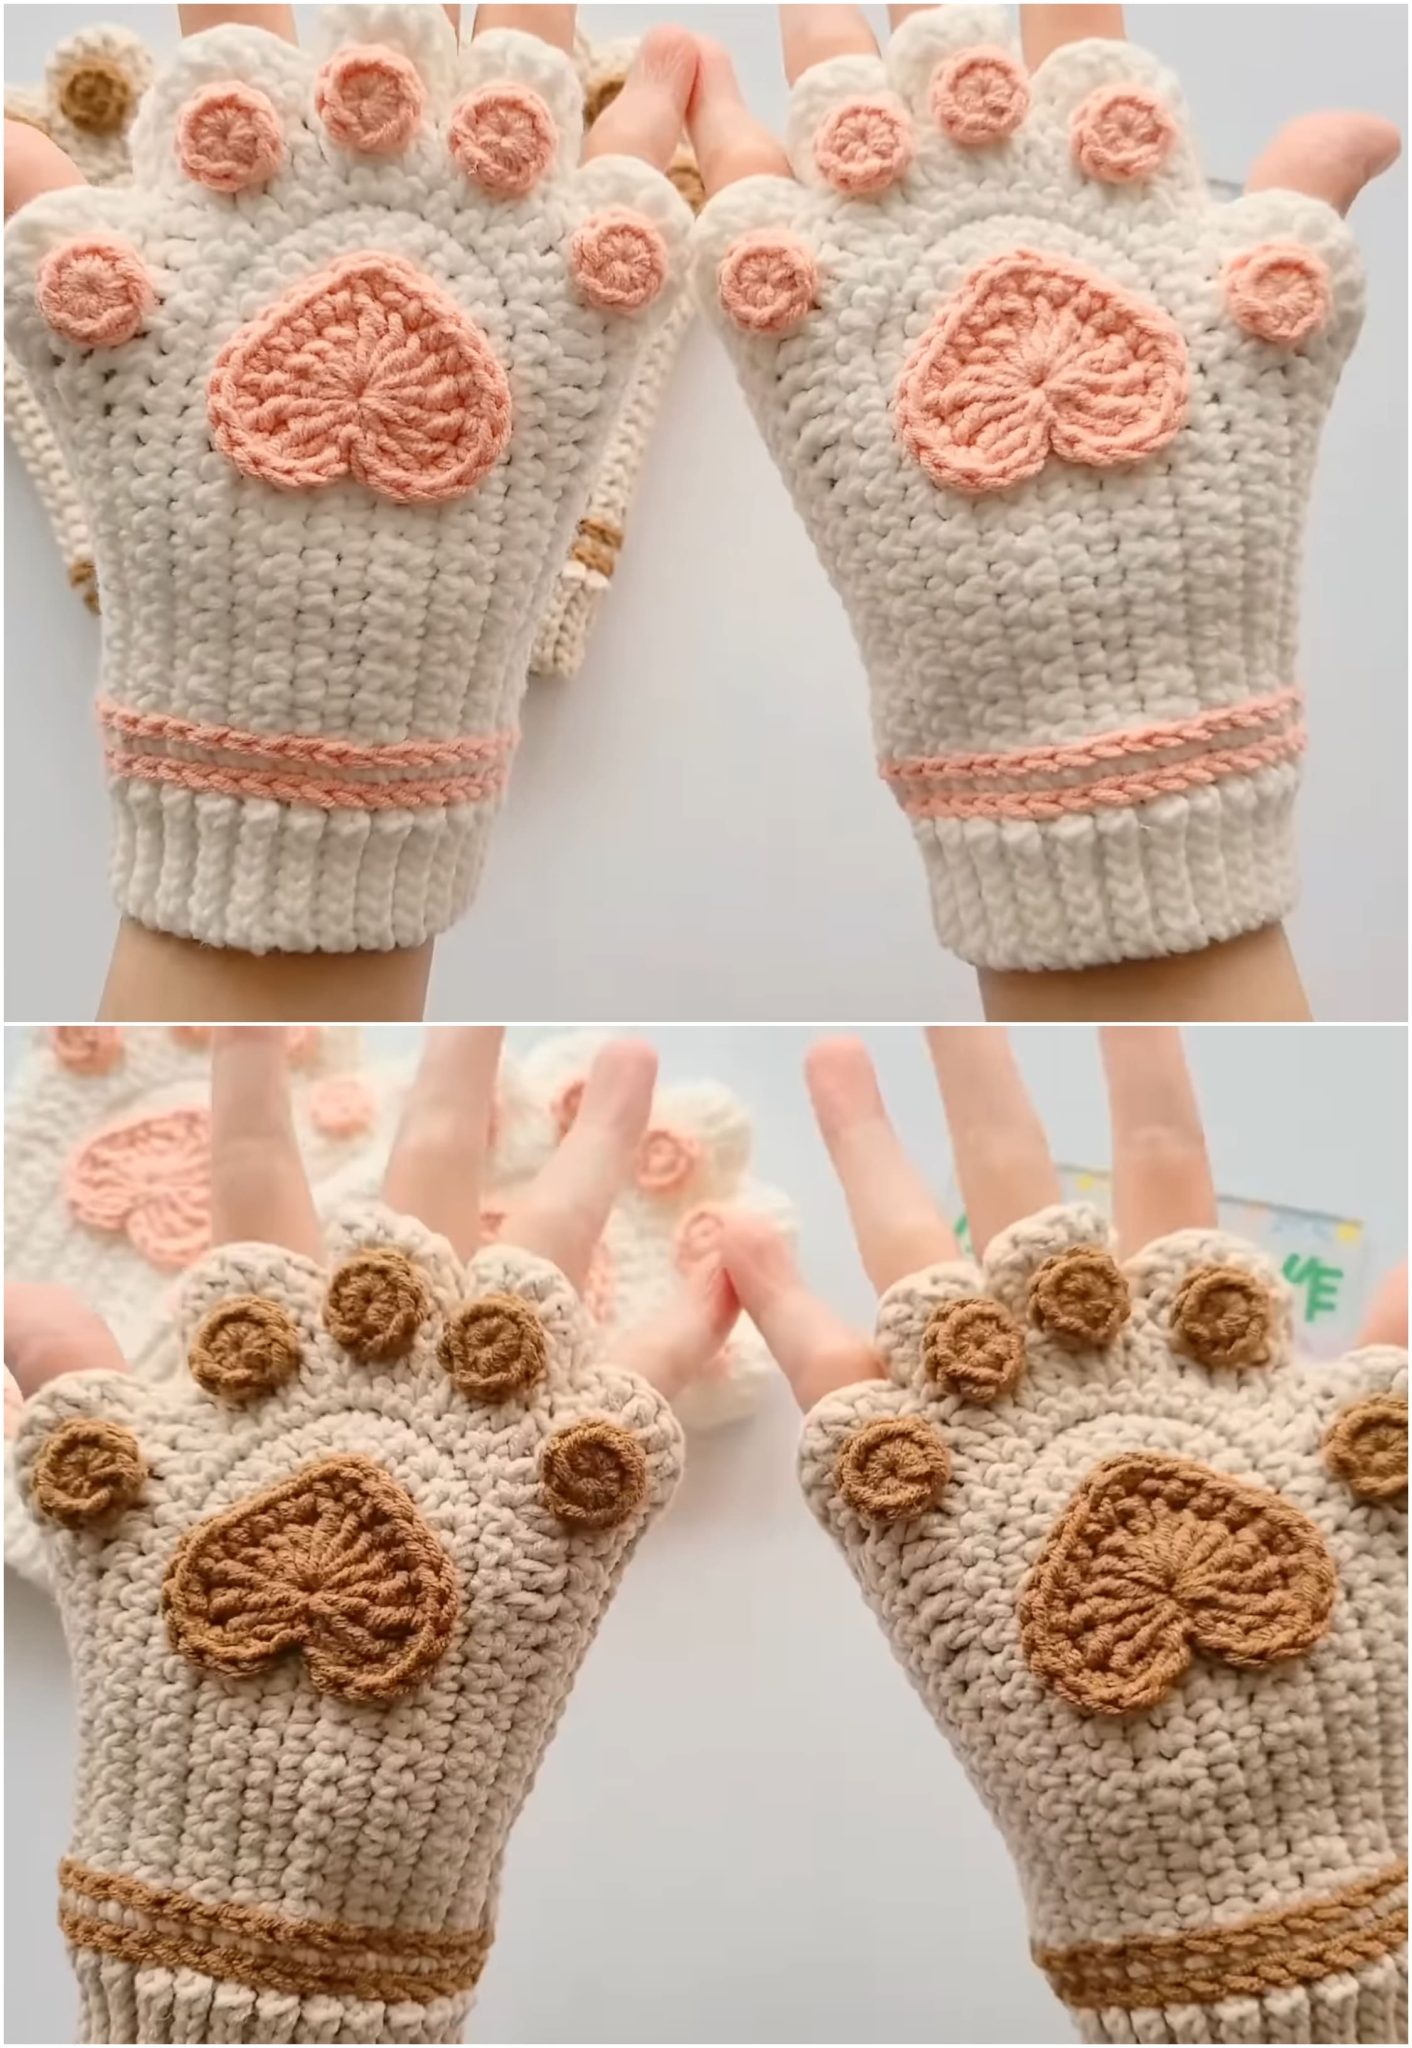
Overview & Inspiration
Welcome, fellow makers! There is nothing quite like combining practical comfort with a heavy dose of whimsy, and this project does just that. These charming accessories keep your hands warm while leaving your fingers completely free for typing, crafting, or sipping your favorite morning coffee.
Whether you are crafting for yourself or looking for a delightful handmade gift, this design is sure to bring a smile to your face. Let’s dive into your next favorite project and whip up some handmade cuteness!
Materials & Supplies Needed
- Worsted-weight or DK yarn (approx. 100-150 yards total): Main Color (MC) for the glove body and Contrast Color (CC) for the paw pads.
- Fibers: Wool blends for warmth, or acrylic/cotton for a lightweight feel.
- 4.0 mm (US G/6) or 4.5 mm (US 7) crochet hook (choose based on your personal tension).
- Tapestry needle for weaving in ends and sewing details.
- Stitch markers (at least 2) for tracking rounds and thumb openings.
- Sharp scissors.
- Optional: Small amount of polyester fiberfill for stuffing the main paw pad.
Stitches & Abbreviations
- ch: chain
- st(s): stitch(es)
- sl st: slip stitch
- sc: single crochet
- hdc: half-double crochet
- BLO: back loop only
- inc: increase (work 2 sc in the same stitch)
- dec: decrease (work 2 sc together)
- Rnd(s): Round(s)
- MC: Main Color
- CC: Contrast Color
Step-by-Step Pattern Instructions
Wristband (Make 2)
Using MC and your 4.0 mm hook, ch 8.
Row 1: Working in the 2nd ch from hook, sc across. Turn. [7 sts]
Row 2: Ch 1, working in BLO, sc across. Turn. [7 sts]
Repeat Row 2 until the band measures approx. 6 to 6.5 inches unstretched. Bring the two short ends together and sl st them closed to form a loop. Do not fasten off; turn your work to begin working along the edge of the wristband.
Main Body of the Glove
Rnd 1: Ch 1, evenly work 24 sc around the edge of the wristband. Join with a sl st to the first sc. [24 sts]
Rnds 2–5: Ch 1, sc in each st around. Join with a sl st. [24 sts]
Forming the Thumb Opening
Rnd 6: Ch 1, sc in next 18 sts, ch 4, skip 4 sts, sc in last 2 sts. Join with a sl st. [20 sc, 4 ch]
Rnd 7: Ch 1, sc in each sc and each ch across the thumb opening. Join with a sl st. [24 sts]
Upper Hand Portion
Rnds 8–10: Ch 1, sc in each st around. Join with a sl st. [24 sts]
Fasten off MC and weave in ends.
Cat Paw Pads (Make 2 Sets in CC)
Large Center Pad (Make 1 per glove): Ch 3, work 6 sc in 2nd ch from hook and join with a sl st. Fasten off, leaving a long tail for sewing.
Toe Beans (Make 4 per glove): Magic ring, work 5 sc in ring, join with a sl st. Fasten off, leaving a long tail for sewing.
Assembly & Finishing Touches
Position the large center pad and the four smaller toe beans onto the palm side of each glove. Use sewing pins to hold them securely in place before attaching.
Thread your tapestry needle with the matching CC yarn tail and carefully sew around the edges of each pad using neat, small stitches. Ensure the inside of the glove remains smooth and comfortable against your skin.
Weave in all remaining yarn tails securely on the inside of the gloves. Give your finished pair a gentle steam block if desired to set the stitches evenly.
Pro Tips for Flawless Results
- Always work a quick test swatch before starting to make sure your hook size matches your personal tension.
- Use stitch markers religiously when skipping stitches for the thumb opening to avoid miscounts.
- Choose a smooth-textured yarn so your stitches remain crisp and the paw pad shapes stand out clearly.
- Take notes while making the first glove so your second glove matches in stitch count, height, and sizing.
Frequently Asked Questions
Can I adjust the size of the wristband?
Yes, absolutely! You can easily lengthen the initial chain of the ribbing to make a wider band, or work fewer rows if your wrist is smaller.
Are these gloves suitable for absolute beginners?
They are very beginner-friendly! If you know basic stitches like single crochet and how to work in the back loops for ribbing, you will breeze right through this pattern.
Do I have to stuff the paw pads?
Not at all. Stuffing is completely optional; leaving them flat creates a sleek look, while adding a tiny pinch of fiberfill gives a fun, 3D textured effect.
Watch the Full Step-by-Step Video Tutorial
Prefer visual guidance? Follow along with the complete video tutorial below at your own pace: