
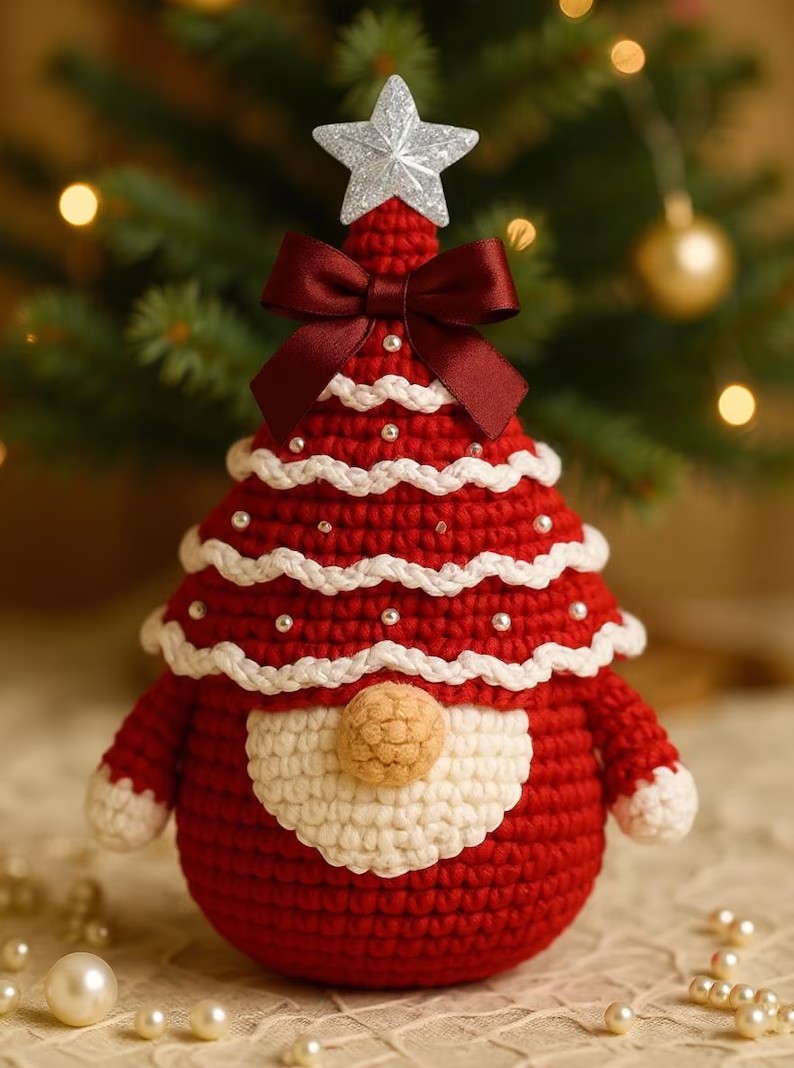
Overview & Inspiration
There is nothing quite like cozying up with your hook and yarn to bring a bit of handmade magic into your home for the holidays. If you are looking for a festive project that is equal parts charming and fun, this Christmas gnome crochet pattern is an absolute must-make!
Inspired by traditional Nordic folklore, these sweet little gnomes are believed to bring good luck, warmth, and protection to your space all season long. Whether you display them on your mantel or gift them to someone special, they are sure to steal your heart.
Materials & Supplies Needed
- Yarn: Worsted weight (Medium 4) acrylic or cotton yarn in Red, Green, White, and Grey.
- Beard: White or grey faux fur yarn or brushed cotton.
- Crochet Hook: 3.5 mm (US E/4) or 4.0 mm (US G/6) to keep stitches tight.
- Polyester fiberfill stuffing for the body and head.
- 10 mm safety eyes (optional) or embroidery floss for facial details.
- Small wooden bead or pompom for the nose.
- Tapestry needle for weaving in ends and assembly.
- Stitch markers to keep track of continuous rounds.
- Sharp scissors.
Stitches & Abbreviations
- MR: Magic Ring
- ch: Chain
- sc: Single Crochet
- hdc: Half Double Crochet
- inc: Increase (work 2 sc in the same stitch)
- dec: Decrease (sc 2 stitches together)
- sl st: Slip Stitch
- st(s): Stitch(es)
- Rnd: Round
Step-by-Step Pattern Instructions
We will work the body and head in continuous spirals without joining rounds, using your stitch marker to keep track of the start of each row.
Body and Head
- Rnd 1: Start with a MR using your body color yarn, work 6 sc into the ring [6 sts].
- Rnd 2: Work an inc in each st around [12 sts].
- Rnd 3: (1 sc, inc) repeat around [18 sts].
- Rnd 4: (2 sc, inc) repeat around [24 sts].
- Rnd 5 to 12: Sc in each st around to build height [24 sts].
- Rnd 13: (2 sc, dec) repeat around [18 sts]. Begin stuffing the lower body firmly.
- Rnd 14: (1 sc, dec) repeat around [12 sts].
- Rnd 15: Switch to skin-tone or beard-backing yarn. Work an inc in each st around for the head [24 sts].
- Rnd 16 to 18: Sc in each st around [24 sts].
- Rnd 19: (2 sc, dec) repeat around [18 sts]. Stuff the head firmly.
- Rnd 20: (1 sc, dec) repeat around [12 sts].
- Rnd 21: Work dec around to close, fasten off, and weave in the final tail [6 sts].
The Hat
- Rnd 1: Using red or green yarn, make a MR and work 4 sc into the ring [4 sts].
- Rnd 2: Sc in each st around [4 sts].
- Rnd 3: (1 sc, inc) repeat around [6 sts].
- Rnd 4: Sc in each st around [6 sts].
- Rnd 5: (2 sc, inc) repeat around [8 sts].
- Rnd 6 to 7: Sc in each st around [8 sts]. Continue increasing by 2 sts every few rounds until the hat base matches the circumference of the head [24 sts].
- Fasten off, leaving a long tail for sewing.
Assembly & Finishing Touches
Position your faux fur or brushed cotton beard just beneath the head and secure it firmly with your tapestry needle and matching thread.
Glue or sew your wooden bead or crochet nose right at the center top of the beard, slightly overlapping the edge of the hat line.
Place the pointed hat on top of the head at a playful tilt, then sew it securely in place around the base, weaving in all remaining yarn tails.
Pro Tips for Flawless Results
- Maintain consistent tension so your polyester stuffing doesn’t peek through the stitches.
- Use a smaller hook size than recommended on the yarn label to keep your fabric nice and dense.
- Mark the beginning of every round with a stitch marker to avoid losing your place in spiral rounds.
- Experiment with brushed wool or novelty faux fur yarns to give each gnome a completely unique personality.
Frequently Asked Questions
What is the best yarn to use for a Christmas gnome crochet pattern?
Standard worsted weight (Medium 4) acrylic or cotton yarns are ideal because they hold their shape beautifully and come in brilliant holiday colors.
Can I make these gnomes without a sewing machine or glue?
Yes, absolutely! All assembly can be securely done by hand using a tapestry needle and your leftover yarn tails.
How do I clean my finished Christmas gnome?
Because of the stuffing and potential wooden beads, spot cleaning with a damp cloth and mild soap is always recommended rather than machine washing.