
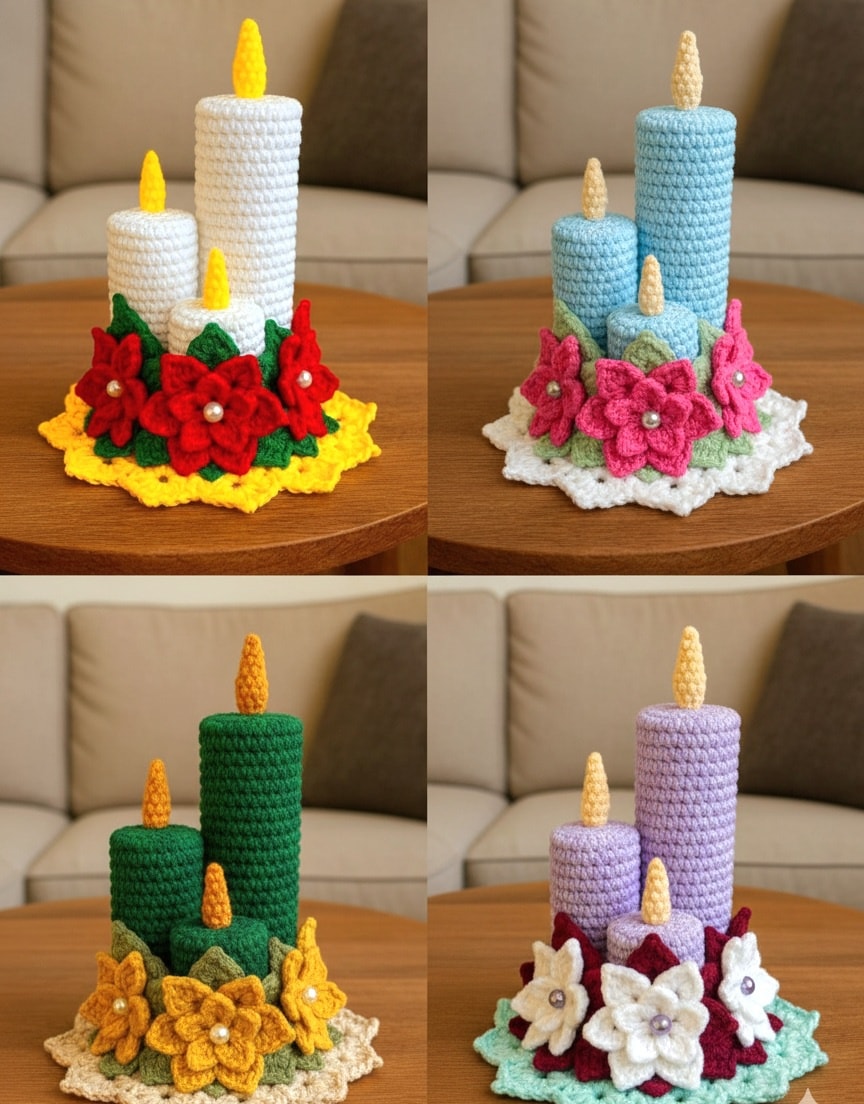
Overview & Inspiration
Hello, fellow yarn lovers! There is something truly magical about turning a few stray skeins from your stash into a cozy, handmade home accent that you can display year-round.
This charming crochet candle project combines creativity, relaxation, and safety all in one delightful make. Best of all, it’s completely flame-free, highly customizable, and makes a wonderful gift for friends and family!
Materials & Supplies Needed
- Medium-weight (Worsted / #4) cotton or acrylic yarn in white/cream (for the wax), black/brown (for the wick), and yellow/orange (for the flame)
- Crochet hook: 3.5 mm (E/4) or 4.0 mm (G/6)
- Fiberfill stuffing
- Tapestry needle (yarn needle)
- Scissors
- Stitch markers
- Optional: Small LED tealight, ribbons, or buttons for embellishment
Stitches & Abbreviations
- Ch: Chain
- Sl st: Slip stitch
- Sc: Single crochet
- Hdc: Half-double crochet
- Inc: Increase (work 2 sc in the same stitch)
- Dec: Decrease (sc 2 stitches together)
- BLO: Back loop only
- St(s): Stitch(es)
- Rnd(s): Round(s)
Step-by-Step Pattern Instructions
The Candle Body
Begin by making a foundation chain of 24 ch. Join carefully with a sl st to form a ring, ensuring your chain is not twisted.
Rnd 1: Ch 1, work 1 hdc in each ch around. Join with a sl st to the first hdc [24 sts].
Rnds 2 to 12: Working in continuous rounds (or joining each round if preferred), work 1 hdc in each st around [24 sts].
Rnd 13: To create subtle wax drips, alternate working in the BLO and both loops for your hdc stitches around [24 sts].
Rnd 14: Begin decreasing to shape the top: *1 hdc, dec; repeat from * around [16 sts].
Fasten off, leaving a long tail for closing later. Lightly stuff your candle body with fiberfill before closing the top opening.
The Wick and Flame
Using your black or brown yarn, attach it securely to the very center of the candle’s top opening.
Ch 4, sl st back down the chain to form a sturdy little wick.
For the flame, join yellow or orange yarn at the base of the wick. Ch 3, work a small teardrop shape using simple sc increases and decreases, then fasten off and weave in your tails.
Assembly & Finishing Touches
Use your tapestry needle to weave the remaining yarn tail through the final stitches at the bottom of the candle, pulling gently to cinch it closed securely.
Gently massage and shape the candle with your hands to distribute the fiberfill evenly and achieve a crisp cylindrical form.
If desired, give your finished piece a very light steam block to smooth out any uneven stitches and enhance the structure.
Pro Tips for Flawless Results
- Maintain a consistent tension throughout your rounds to prevent lumpy sections or distorted candle shapes.
- Avoid overstuffing your project; too much fiberfill will stretch your stitches and ruin the clean cylinder silhouette.
- Choose 100% cotton yarn for crisp stitch definition that helps your candle hold its realistic wax-like shape.
- Keep a pattern journal to record your hook sizes and exact stitch counts so you can easily replicate your favorite candle sets.
Frequently Asked Questions
Can I put a real candle inside this crochet version?
No, absolutely not! Because this piece is made entirely of yarn and fiberfill, it is a fire hazard. Always use battery-operated LED tealights if you want to add an internal glow.
What is the best yarn weight to use?
Medium-weight (Worsted / #4) yarn works best because it provides enough structure for the candle to stand upright without collapsing, especially when paired with a 3.5 mm or 4.0 mm hook.
How do I make the candle stand up straight without falling over?
Ensure your fiberfill is evenly distributed without being overstuffed. For larger candle designs, you can also insert a small cardboard or felt circle into the base before closing it up.
Watch the Full Step-by-Step Video Tutorial
Prefer visual guidance? Follow along with the complete video tutorial below at your own pace: