
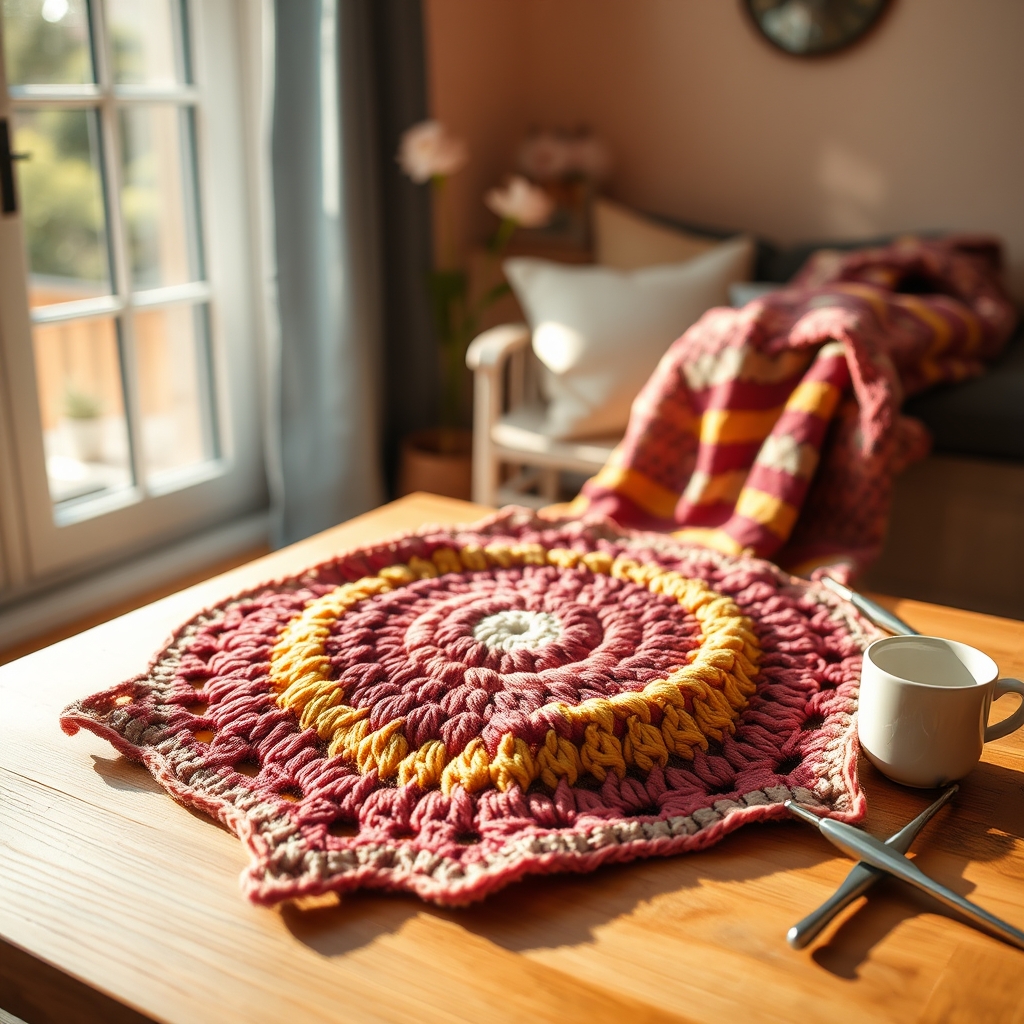
“`html
Introduction & Project Inspiration
Hey fellow makers! I stumbled upon RadCrochet’s “Quick Daisy Granny Square” and instantly fell in love with its sunny simplicity.
The daisy motif feels like a burst of spring, perfect for brightening blankets, bags, or a wall‑hanging that whispers “home”.
Materials & Yarn Recommendations
Before we dive in, gather these essentials so the project flows as smoothly as a summer breeze.
- Yarn: 100% wool or a wool‑blend in a light pastel (DK or worsted weight works best).
- Hook: Size G/4 mm for DK, or 5 mm for worsted – adjust if your yarn is bulkier.
- Tools: Scissors, tapestry needle, and a stitch marker (optional but handy).
I love using a soft, hand‑dyed pastel blue; the fibers catch the light and make each petal pop.
Technique Breakdown & Step‑by‑Step Overview
Grab your hook and let’s stitch the daisy together, one petal at a time.
Step 1 – Foundation Ring: Chain 4, join with a slip stitch to form a ring.
Step 2 – Center Cluster: Work 6 single crochets (sc) into the ring, pull the tail tight, and join with a slip stitch.
Step 3 – First Petal: Chain 3 (counts as first double crochet), *2 dc in the same stitch, chain 3, slip stitch into the next sc*; repeat around for 6 petals.
Step 4 – Outer Rounds: Slip stitch around the petal tips, then chain 2, *3 dc in each chain‑3 space, chain 3, slip stitch into the next petal tip*; continue until the square measures about 4‑5 inches.
Remember to keep your tension loose; the daisy should look airy, not stiff.
When you reach the desired size, finish with a slip stitch into the first chain‑2 space and cut the yarn, leaving a long tail for weaving in.
Finishing & Styling Ideas
Weave in all ends with a tapestry needle, then block the square lightly to open up the petals.
These daisies shine as a single statement piece on a wooden wall, or you can join 12‑16 squares for a cheery throw.
Try pairing the daisy squares with a neutral linen cushion cover for a balanced look, or mix with bold stripes for a playful patchwork.
Pro Crafter Tips
- Use a stitch marker at the beginning of each round; it saves you from losing track of the round count.
- If the petals look uneven, count your stitches twice before moving on—precision now prevents frustration later.
- For a luxe finish, lightly steam‑press the completed squares on a low‑heat setting; the fibers will settle beautifully.
Frequently Asked Questions
Q: Can I use acrylic yarn instead of wool?
A: Absolutely! Choose a smooth acrylic in a similar weight. The daisy’s shape stays the same, though the tactile warmth will differ.
Q: How do I adjust the size of the square?
A: Add extra rounds of 3 dc, chain 3, slip stitch around the edge. Each new round adds roughly ½ inch, letting you customize the final dimensions.
“`
Watch the Full Step-by-Step Video Tutorial
Prefer visual guidance? Follow along with the complete video tutorial below at your own pace: