
Overview & Design Inspiration
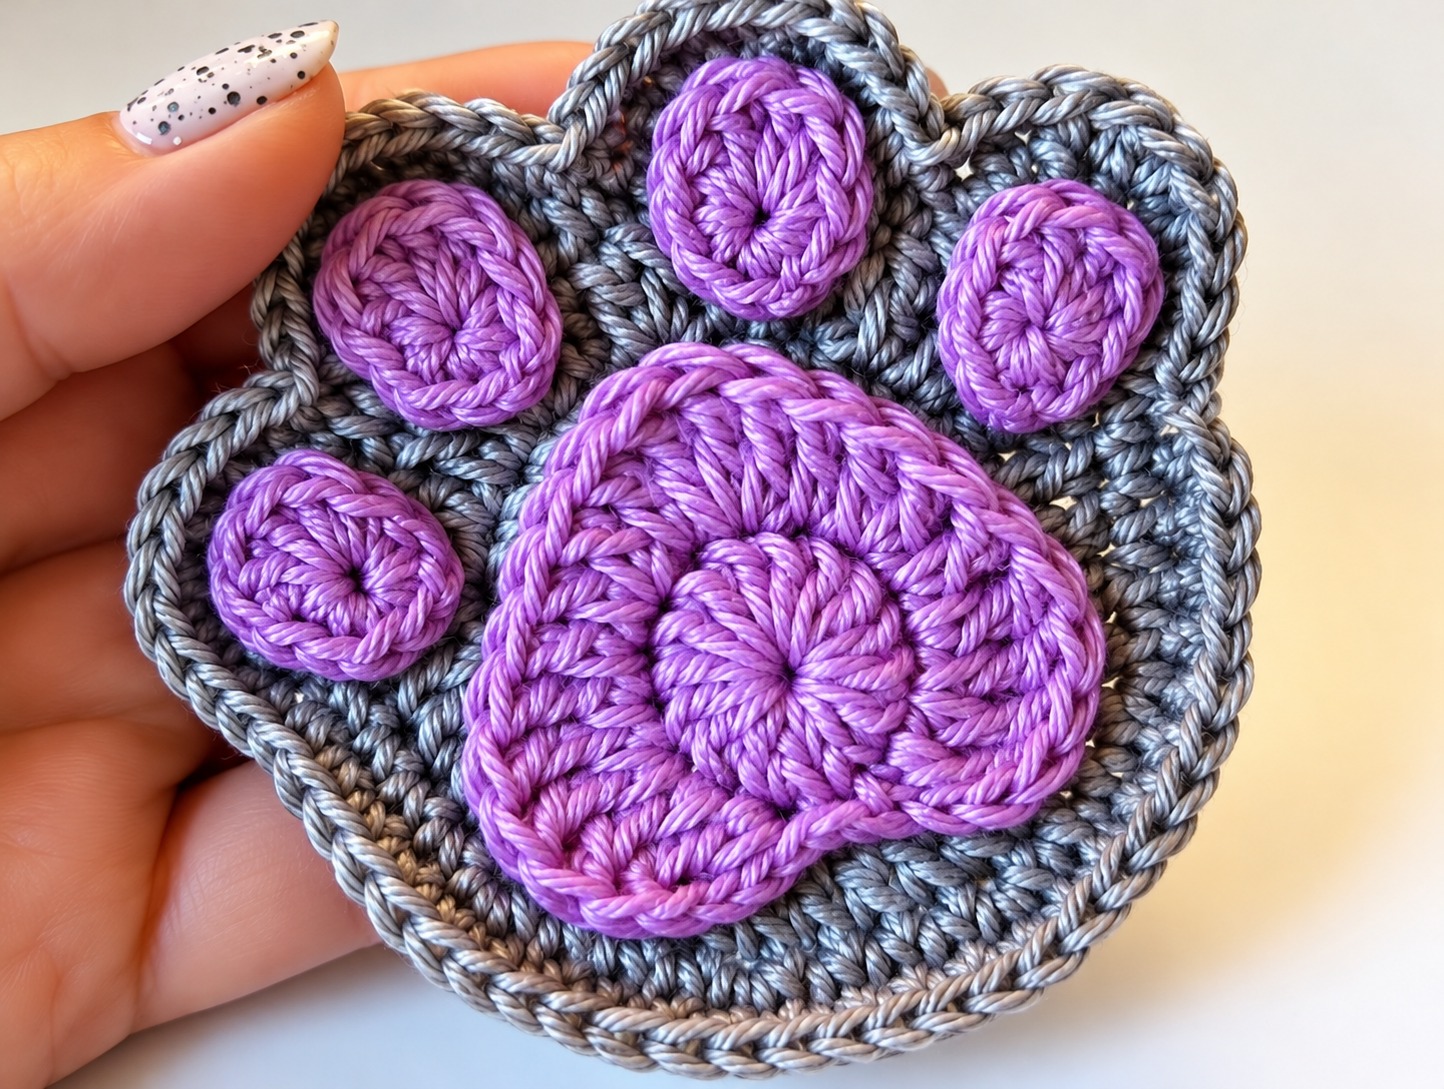
Welcome back to the cozy corner of our craft studio, fellow yarn enthusiasts! There is something endlessly joyful about making projects that celebrate our furry best friends, which is why we are completely obsessed with our latest creation: the “Crochet a Paw Pattern.” This delightful design captures the charm of a sweet animal footprint in a wonderfully tactile, handmade format.
Whether you are a devoted dog lover, a proud cat parent, or simply looking for a quick and rewarding stash-buster, this charming appliqué is guaranteed to make you smile. With its rounded background base, four adorable toe pads, and a distinctive central pad, it brings a playful touch of personality to whatever you choose to embellish.
Materials & Recommended Supplies
Before diving into your hookwork, gathering the right supplies will set you up for a smooth and satisfying crafting session. Here is everything you need to bring your crochet paw print to life:
- Yarn: Medium-weight (Worsted / Aran / Category 4) cotton yarn. Cotton provides gorgeous stitch definition and helps the finished pieces keep their crisp shape. You will need roughly 15–25 grams of background color and 10–15 grams of contrasting color for the pads.
- Crochet Hook: 3.0 mm or 3.5 mm (US size D/3 or E/4) hook. A slightly smaller hook ensures your stitches stay nice and tight, keeping those little pads neat and tidy.
- Notions: Yarn needle for weaving in ends and sewing, sharp embroidery scissors, and stitch markers.
- Optional Extras: Removable fabric-safe adhesive to temporarily position your pads before stitching them down.
Essential Techniques & Stitch Highlights
This project is a fantastic playground for practicing foundational crochet skills while creating something with genuine dimension. You will work with familiar favorites like the magic ring, single crochet, half double crochet, and slip stitches, making it wonderfully approachable for adventurous beginners.
The real magic happens through strategic shaping and color play. By starting your individual pads in a magic ring and building outward with gentle increases, you achieve smooth, gap-free circles. Combining a sturdy cotton fiber with comfortable, even tension ensures that your raised pads pop beautifully against the background without curling or warping.
Construction & Assembly Highlights
One of the best things about this project is its modular construction approach! Instead of working everything in one complex piece, you crochet the background base and the individual pads separately. This makes the assembly process entirely stress-free and allows you to adjust and pin your pieces into place before making a single stitch.
You will start by creating the large central pad—complete with a subtle shaping extension for that organic, natural look—followed by four matching round toe pads. Once all your lovely purple elements are ready, simply arrange them on your soft gray background base and sew them securely into place. It is a deeply satisfying puzzle that comes together in no time!
Customization & Styling Ideas
The creative possibilities for this pattern are practically endless! Switch up your color palette to match your pet’s actual markings, or go wild with pastel pinks, mint greens, or vibrant rainbow shades.
Because these paw prints work up so quickly, they make incredible embellishments. Sew them onto canvas tote bags, turn them into charming refrigerator magnets, craft them into pet-themed ornaments, or attach a pin back to wear your animal love proudly on your jacket or crochet cardigan.
Pro Tips for Flawless Results
- Maintain Even Tension: Keep your stitches firm but comfortable so your circles remain flat and retain their adorable, plump definition.
- Block Your Pieces: A gentle steam block before final assembly can work wonders in relaxing cotton fibers and giving your edges a super-professional finish.
- Pin Before You Sew: Use sewing pins or fabric glue to audition the placement of your toe pads on the background before committing to your yarn needle.
Frequently Asked Questions
Is this project suitable for absolute beginners?
Yes, absolutely! While it involves working in the round and sewing pieces together, the individual shapes are simple and use basic stitches like single crochet and slip stitch.
Can I use acrylic yarn instead of cotton?
Definitely. While cotton is wonderful for stitch definition and structure, lightweight acrylic is a fantastic and budget-friendly alternative, especially if you are making decorative items or appliques for garments.
How do I access the full step-by-step pattern?
You can easily grab our complete printable PDF pattern and follow along with the companion video tutorial by clicking the download links provided at the bottom of this page!
Watch the Full Step-by-Step Video Tutorial
Prefer visual guidance? Follow along with the complete video tutorial below at your own pace: