
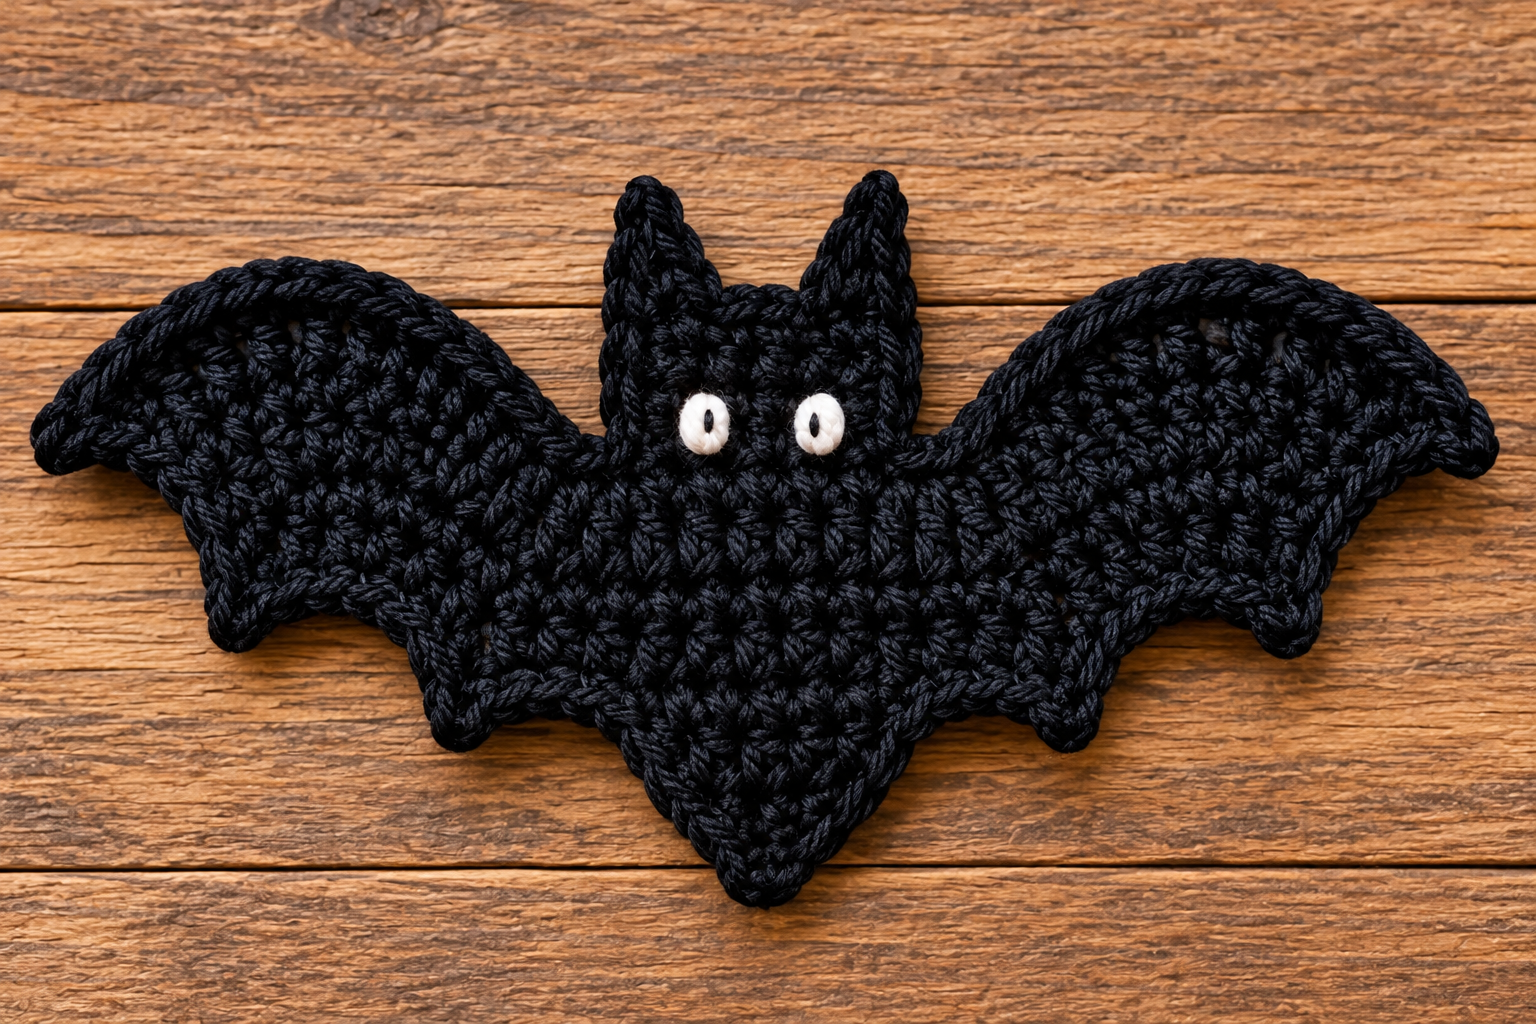
Overview & Design Inspiration
Welcome, fellow yarn lovers! There is something utterly magical about bringing a charming little creature to life with just a hook and a ball of yarn, and our latest project is bound to steal your heart. Whether you are prepping your home for a spooky seasonal display or simply adore handmade gothic cuteness, this adorable crochet bat is a must-make project that packs an incredible amount of personality into a compact design.
Inspired by classic nocturnal critters, this pattern combines a delightfully plump body with dramatically flared wings, pointy little ears, and high-contrast eyes that give it an irresistibly playful expression. It is a wonderfully rewarding project that proves you do not need overly complicated stitches to create high-impact, statement-making decor. Grab your favorite hook, settle into your coziest crafting chair, and let’s dive into the wonderful world of Amigurumi-style crochet fun!
Materials & Recommended Supplies
Choosing the right supplies is the secret step to making your finished bat look crisp, clean, and professional. Here is everything you will need to gather before you cast on your first stitch:
- Main Yarn: A smooth, medium-weight (#4 worsted) black yarn. Smooth fibers help your stitch definition pop so those gorgeous wing shapes really stand out.
- Contrast Yarn: A small scrap of white yarn for creating the expressive, contrasting eyes.
- Detailing Thread: A tiny bit of black embroidery floss or very thin yarn for the pupils and facial expressions.
- Crochet Hook: A 4.0 mm to 5.0 mm crochet hook (US G/6 to H/8), depending on your personal tension and how firm you want your fabric to be.
- Notions: A yarn needle for weaving in ends, sharp scissors, and a few stitch markers to keep track of your wing symmetry and body center.
Essential Techniques & Stitch Highlights
The secret behind this bat’s iconic silhouette lies in a clever, harmonious mix of basic crochet stitches working together. Rather than relying on advanced or intimidating techniques, this design uses strategic changes in stitch heights to naturally sculpt the piece.
You will lean heavily on the trusty single crochet (sc) to build a sturdy, compact foundation for the body, head, and crisp ear tips. When it comes time to shape the sweeping upper edges and dramatic spans of the wings, the pattern shifts gracefully into taller stitches like half double crochet (hdc) and double crochet (dc). By combining these varying heights with perfectly timed increases and decreases, the fabric naturally curves and flares without needing complicated shaping maneuvers.
Construction & Assembly Highlights
Bringing this little bat together is a wonderfully satisfying journey that builds from the center outward. The process begins right at the lower body, working in sturdy rows or rounds that gradually expand into a comfortable, proportional torso before narrowing slightly at the neck.
From the neck, the design flows effortlessly upward into the head, where you will shape the cute, pointed ears using a clever sequence of ascending and descending stitch heights that naturally form neat triangles. Depending on your construction preference, you can either fasten off and attach your wings separately or work them directly outward from the body sides, creating sweeping, scalloped lower edges and sharp wing tips that give the bat its unmistakable flying silhouette.
Customization & Styling Ideas
One of the best things about handmade crochet projects is how easily you can make them your own. Feel free to swap traditional black for deep plum, midnight blue, or even pastel gothic shades for a fun modern twist!
You can transform your finished bat into a versatile piece of home decor by stringing several together for a spooky-cute holiday garland, attaching a hanging loop for a rearview mirror charm, or turning a slightly larger version into a comforting cuddle buddy. Experiment with different yarn weights, too—bulky blanket yarn makes an ultra-plush, huggable pillow bat, while lightweight cotton creates a crisp, delicate appliqué for handmade garments or tote bags.
Pro Tips for Flawless Results
- Maintain Even Tension: Keep your stitches nice and firm, especially around the body and ears, so the stuffing (if you use any) doesn’t peek through and the fabric holds its crisp shape.
- Embrace the Stitch Marker: Use stitch markers liberally to map out your wing points and ensure absolute symmetry from the left side to the right.
- Block for Perfection: Give your finished bat a gentle steam block or pin it flat to shape the wings just right before displaying your spooky-cute creation.
Frequently Asked Questions
Is this crochet bat project suitable for confident beginners?
Absolutely! If you are comfortable with basic stitches like single, half double, and double crochet, plus basic increases and decreases, you have all the foundational skills needed to tackle this project successfully.
How do I make sure both wings look symmetrical?
The best trick is to use your first completed wing as a physical and visual template. Count your major stitch groups and periodically lay your work flat against a flat surface to check your proportions as you go.
Can I use bulkier yarn to make a giant bat?
Yes, you certainly can! Bulky or super-bulky chenille yarn works wonderfully for this pattern if you want to create a larger, ultra-plush decorative pillow version. Just remember to size up your crochet hook accordingly!
Watch the Full Step-by-Step Video Tutorial
Prefer visual guidance? Follow along with the complete video tutorial below at your own pace: