
Overview & Design Inspiration
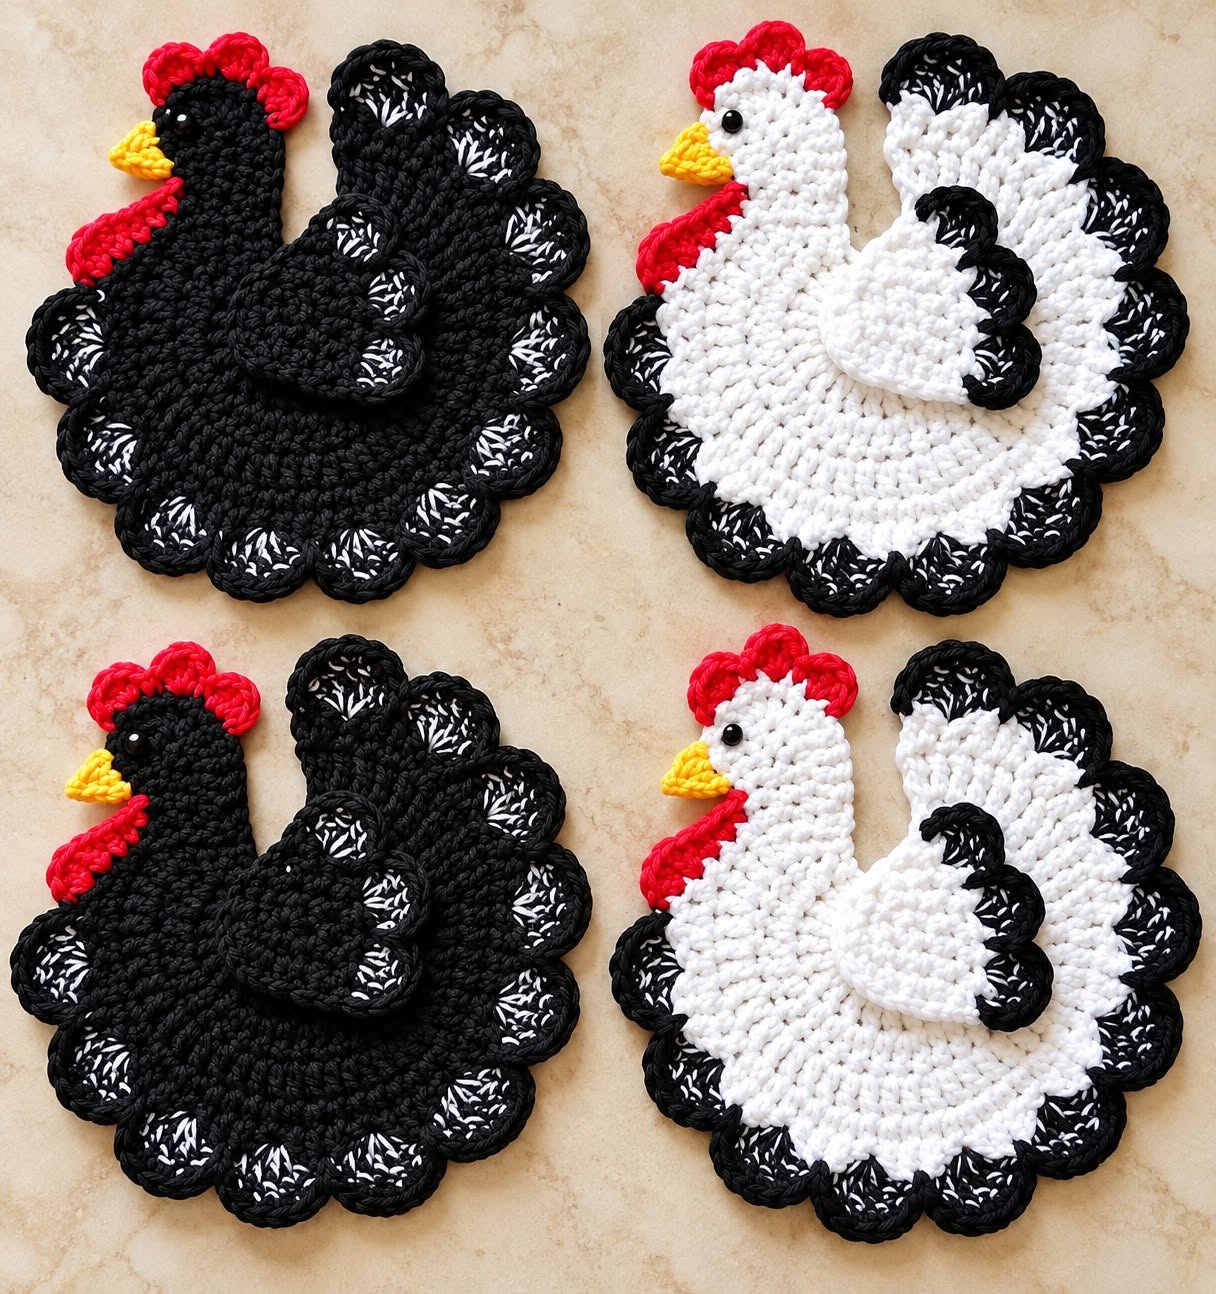
Welcome back to the studio, fellow yarn lovers! If you are looking for a project that instantly injects a dose of farmhouse charm into your home, you are going to fall completely in love with our latest obsession: the Crochet Chicken Coaster.
Combining rustic country style with everyday functionality, these adorable little feathered friends bring so much personality to a kitchen, dining table, or coffee corner. Whether you are treating yourself to a cheerful companion for your morning coffee or crafting a handmade gift for a dear friend, this delightful pattern transforms simple yarn into a conversation piece you will cherish.
Materials & Recommended Supplies
- Medium-weight (Category 4) cotton yarn in your choice of main colors (such as classic black and crisp white).
- Small amounts of red cotton yarn for the vibrant comb and wattle.
- Small amounts of yellow cotton yarn for the perky beak.
- A 4.0 mm (US G/6) crochet hook for sturdy, well-defined stitches.
- Essential notions: sharp scissors, a yarn needle for weaving in ends, and stitch markers.
- Optional black embroidery thread or yarn for stitching sweet, sleepy eyes.
Essential Techniques & Stitch Highlights
This charming project uses familiar, approachable US crochet stitches—such as single crochet, half double crochet, and double crochet—making it wonderfully accessible whether you are building your skills or looking for a quick, satisfying weekend make.
The design begins with a versatile magic ring to form a neat, tightly closed circular body base. From there, you will work comfortable increases in the round to build a flat foundation, seamlessly transitioning into shaped neck contours, playful scalloped tail feathers, and a charming raised wing that adds wonderful three-dimensional texture.
Construction & Assembly Highlights
Bringing your crochet chicken together is an absolute joy that unfolds in stages. You will start at the center of the rounded body, expanding outwards with classic double crochet rounds to create a sturdy, flat coaster base that sits perfectly level on any tabletop.
Next, the body flows naturally into the shaped head and neck, accented by a bright red comb, wattle, and yellow beak. Finally, you will attach the separate little raised wing and finish the edges with a decorative, textured tail, bringing your cheerful farmhouse chicken vividly to life.
Customization & Styling Ideas
One of the best things about this project is how endlessly customizable it is. Swap traditional black and white for soft spring pastels, rich rustic browns, or cheerful mustard yellows to match your exact home decor aesthetic.
Make a whole flock for your next family gathering, create a matching set for a housewarming gift, or style them as playful spring table accents. They are quick to whip up, highly addictive to make, and let you play endlessly with your favorite scrap yarns!
Pro Tips for Flawless Results
- Maintain Even Tension: Keep your stitches nice and consistent so your circular coaster sits completely flat without curling or bowing.
- Choose Cotton Yarn: Stick to durable, washable cotton fibers to ensure your coasters easily handle condensation and warm mugs.
- Embroider Secure Details: Opt for embroidered eyes and securely stitched components rather than plastic beads to keep your coasters safe and entirely washer-friendly.
Frequently Asked Questions
Are these chicken coasters beginner-friendly?
Yes, absolutely! While the finished design looks wonderfully detailed, it is built using basic stitches like single and double crochet, making it a fantastic project for adventurous beginners.
What is the best yarn to use for crochet coasters?
Worsted weight cotton yarn is always the gold standard for coasters because it absorbs moisture well, handles heat gracefully, and holds its crisp stitch definition through many trips to the laundry.
How do I access the full step-by-step pattern and video tutorial?
You can easily download the complete printable PDF pattern and follow along with our comprehensive video tutorial by grabbing the resources linked at the bottom of this page!
Watch the Full Step-by-Step Video Tutorial
Prefer visual guidance? Follow along with the complete video tutorial below at your own pace: