
Overview & Design Inspiration
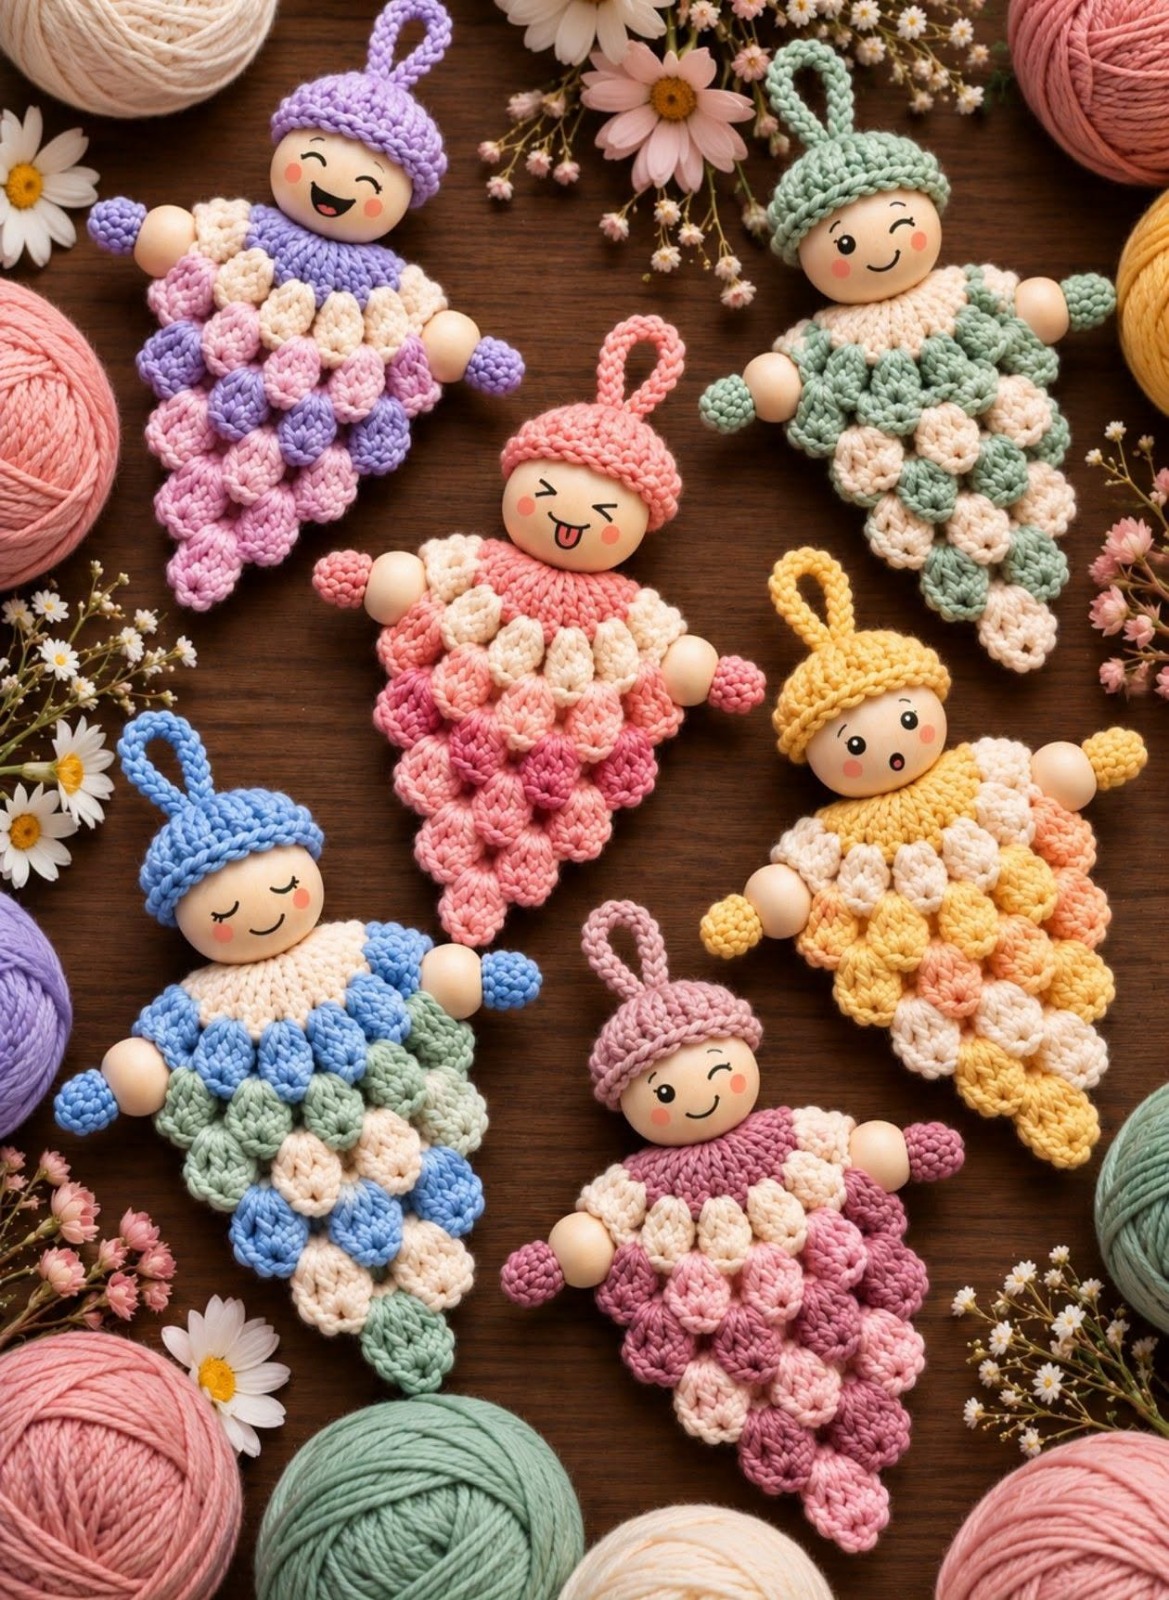
Welcome, fellow yarn lovers! There is something truly magical about turning a handful of leftover yarn and a few simple supplies into a tiny work of art, and this charming project does just that. Combining cozy crochet textures, playful colors, and sweet doll-inspired details, this little handmade piece brings instant warmth to any space.
Whether you are looking to trim your tree for the holidays, create a whimsical nursery mobile, or craft a heartfelt gift topper, this delightful design is endlessly adaptable. Best of all, it invites you to play with color and texture, making every single doll you create entirely unique.
Materials & Recommended Supplies
- Smooth cotton or cotton-blend yarn in DK or light worsted weight (main color, contrasting color, and neutral shade).
- Crochet hook in a 3.0 mm to 3.5 mm size to create a compact, structured fabric.
- Large unfinished wooden bead (approx. 25–35 mm) for the sweet doll head.
- Two smaller wooden beads for the tiny hands.
- Yarn needle and sharp embroidery scissors.
- Stitch markers to keep your rounds organized.
- Optional embroidery floss or non-toxic markers for facial details.
Essential Techniques & Stitch Highlights
This project is a fantastic playground for practicing your foundational US crochet skills while learning how to build rich, dimensional texture without complicated amigurumi shaping. By mastering basic stitches like single crochet and half double crochet, you create a sturdy foundation for the entire ornament.
The true star of the show is the plump puff-stitch variation used for the body. By pulling up multiple loops in a single stitch and securing them neatly, you create gorgeous, overlapping petals that give the doll incredible depth. Paired with clever color changes and staggered positioning, these textured clusters form a stunning cascading silhouette.
Construction & Assembly Highlights
The magic of this ornament comes together in a few delightful stages, starting right beneath the wooden head with a snug little collar. From there, you will work in the round, attaching your chosen colors layer by layer to build the textured puff-stitch body. Staggering your clusters between the previous row’s spaces ensures a rich, organic look rather than rigid vertical lines.
As you work your way down, you will gently decrease your stitch counts to taper the body into a cute, pointed base. Meanwhile, a snug little crochet cap sits atop the wooden head, complete with a sturdy hanging loop. Finally, assemble the pieces with a bit of yarn magic, attach the tiny wooden hands, and watch your sweet little doll come to life!
Customization & Styling Ideas
One of the most joyful parts of this project is how easily you can customize the finished look to match your personal style or seasonal decor. Soft pastels like pink, lavender, sage green, and cream create a darling vintage aesthetic, while traditional reds and greens feel wonderfully festive for the winter holidays.
Feel free to experiment with neutral modern palettes, bright rainbow scraps, or even adding tiny embroidered facial expressions to give your dolls distinct personalities. Beyond tree ornaments, string a collection of them together for a magical seasonal garland or use them to top off your most special handmade gifts.
Pro Tips for Flawless Results
- Maintain Consistent Tension: Keep your stitches relatively snug so your puff stitches pop and the wooden beads stay securely in place.
- Test Your Bead Fit: Always check your collar and hat openings directly against your wooden beads as you crochet to ensure a custom, professional fit.
- Embrace Staggered Placement: Avoid stacking your puff stitches directly on top of one another; staggering them creates that signature rich, layered texture.
- Gentle Shaping: Once your ornament is complete, use your fingers to gently plump and shape the petals rather than aggressively blocking the piece.
Frequently Asked Questions
Can I use acrylic yarn instead of cotton for this project?
Yes, absolutely! While cotton or cotton-blend yarns offer wonderful stitch definition and a crisp texture, acrylic yarn works wonderfully if you want a softer, squishier feel or want to pull from your acrylic scrap stash.
Are these ornaments suitable for beginner crocheters?
They certainly are! As long as you are comfortable with basic stitches like single crochet and working in the round, the puff stitch variations are straightforward and wonderfully forgiving.
How do I clean my finished doll ornament?
Because these ornaments often feature wooden beads and delicate yarn details, it is best to spot-clean them gently with a damp cloth and mild soap rather than submerging them in water.
Watch the Full Step-by-Step Video Tutorial
Prefer visual guidance? Follow along with the complete video tutorial below at your own pace: