
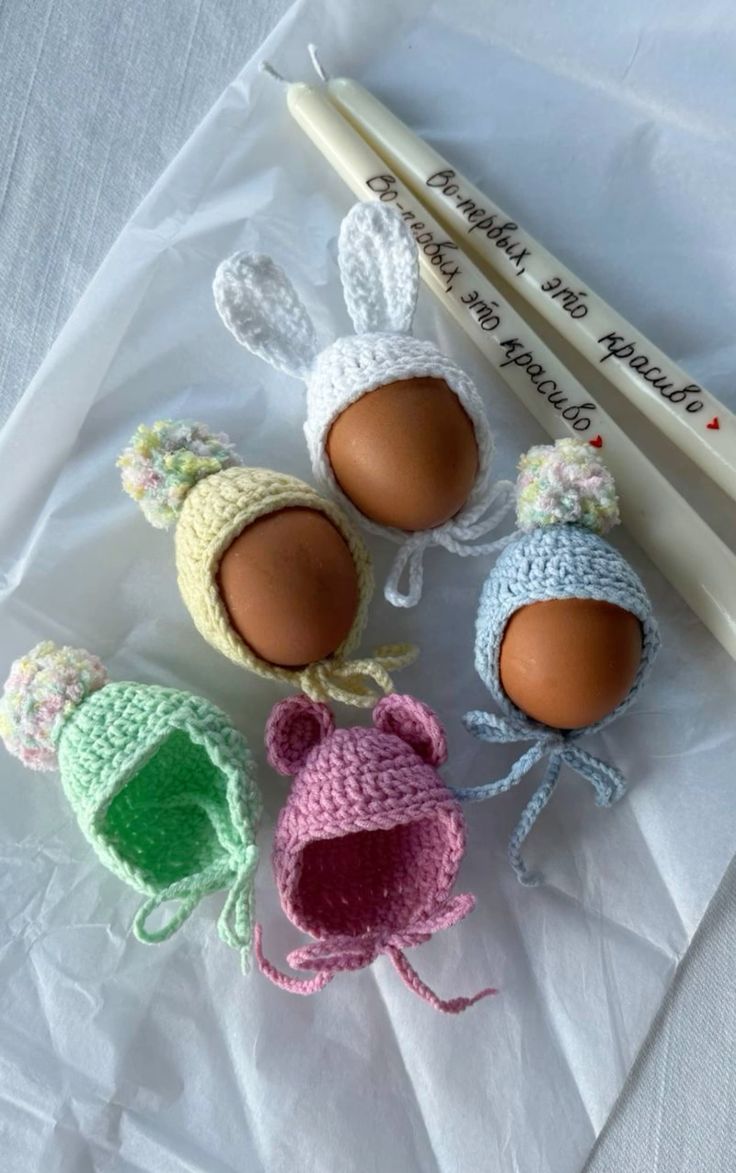
Overview & Inspiration
Welcome, my wonderful crafty friends! Spring is just around the corner, and nothing brings a cozy, handmade touch to the season quite like our favorite Crochet Easter Egg Decorations Pattern.
Whether you are styling a festive spring centerpiece, crafting thoughtful gifts, or diving into a joyful weekend stash-busting project, these charming little eggs are an absolute delight to stitch up. They are beginner-friendly, wonderfully portable, and totally customizable to match any home decor style!
Materials & Supplies Needed
- Yarn: Lightweight cotton or cotton-blend yarn (DK or Sport weight) in your choice of pastel, neutral, or vibrant spring colors. Great for using up yarn scraps!
- Crochet Hook: 3.25 mm (US D/3) hook to create a tight fabric that prevents stuffing from showing through.
- Stuffing: Polyester fiberfill for a lightweight, washable, and easy-to-shape interior.
- Tools: Stitch markers, a yarn needle for weaving in tails, and sharp scissors.
- Optional Embellishments: Embroidery thread, tiny beads, or buttons if you want to add surface embroidery and extra flair.
Stitches & Abbreviations
- ch: Chain
- sc: Single crochet
- inc: Single crochet increase (work 2 sc in the same stitch)
- dec: Single crochet decrease (inv-dec or standard sc2tog)
- st(s): Stitch(es)
- rnd(s): Round(s)
- sl st: Slip stitch
Step-by-Step Pattern Instructions
This pattern is worked in continuous rounds starting from the bottom base up to the top tip. Use a stitch marker to keep track of the start of each round.
- Rnd 1: Start with a magic ring and work 6 sc into the ring. [6 sts]
- Rnd 2: Work [inc] in each st around. [12 sts]
- Rnd 3: [1 sc, inc] repeat around. [18 sts]
- Rnd 4: [2 sc, inc] repeat around. [24 sts]
- Rnd 5 to Rnd 9: Sc in each st around to build the main body height. [24 sts]
- Rnd 10: [2 sc, dec] repeat around. [18 sts]
- Rnd 11: [1 sc, dec] repeat around. [12 sts]
- Note: Begin stuffing your Easter egg firmly with polyester fiberfill now, continuing to shape it as you close the top.
- Rnd 12: [dec] repeat around to close the opening. [6 sts]
- Fasten off, leaving a short yarn tail, and use your yarn needle to weave through the remaining front loops, pulling tight to seal the top completely.
Assembly & Finishing Touches
Once your egg is securely closed, give it a gentle roll between your palms to evenly distribute the polyester fiberfill and create a smooth, symmetrical egg silhouette.
Thread your yarn needle with the remaining tail and weave it securely into the center of the egg body to hide it completely. If you are adding embroidery details, surface slip stitches, or stripes, now is the time to embellish your creation before styling!
Pro Tips for Flawless Results
- Maintain Snug Tension: Keep your stitches nice and even so the polyester stuffing won’t peek through the gaps.
- Use a Smaller Hook: Drop down one hook size from what is recommended on your yarn label to ensure a dense, polished finish.
- Stuff Gradually: Add your fiberfill in small pinches to avoid lumps and achieve a beautifully rounded egg shape.
Frequently Asked Questions
What skill level is needed for this pattern?
This project is completely beginner-friendly! It relies solely on basic stitches like single crochets, increases, and decreases, making it quick and satisfying for crafters of all skill levels.
How long does it take to make one crochet Easter egg?
Depending on your personal speed and experience, a single crochet egg usually takes only 20 to 40 minutes to complete from start to finish.
Can these crochet eggs be washed and reused?
Yes! Because they are made using durable cotton yarn and polyester fiberfill, you can gently hand-wash and air-dry them to enjoy them year after year.
Watch the Full Step-by-Step Video Tutorial
Prefer visual guidance? Follow along with the complete video tutorial below at your own pace: